
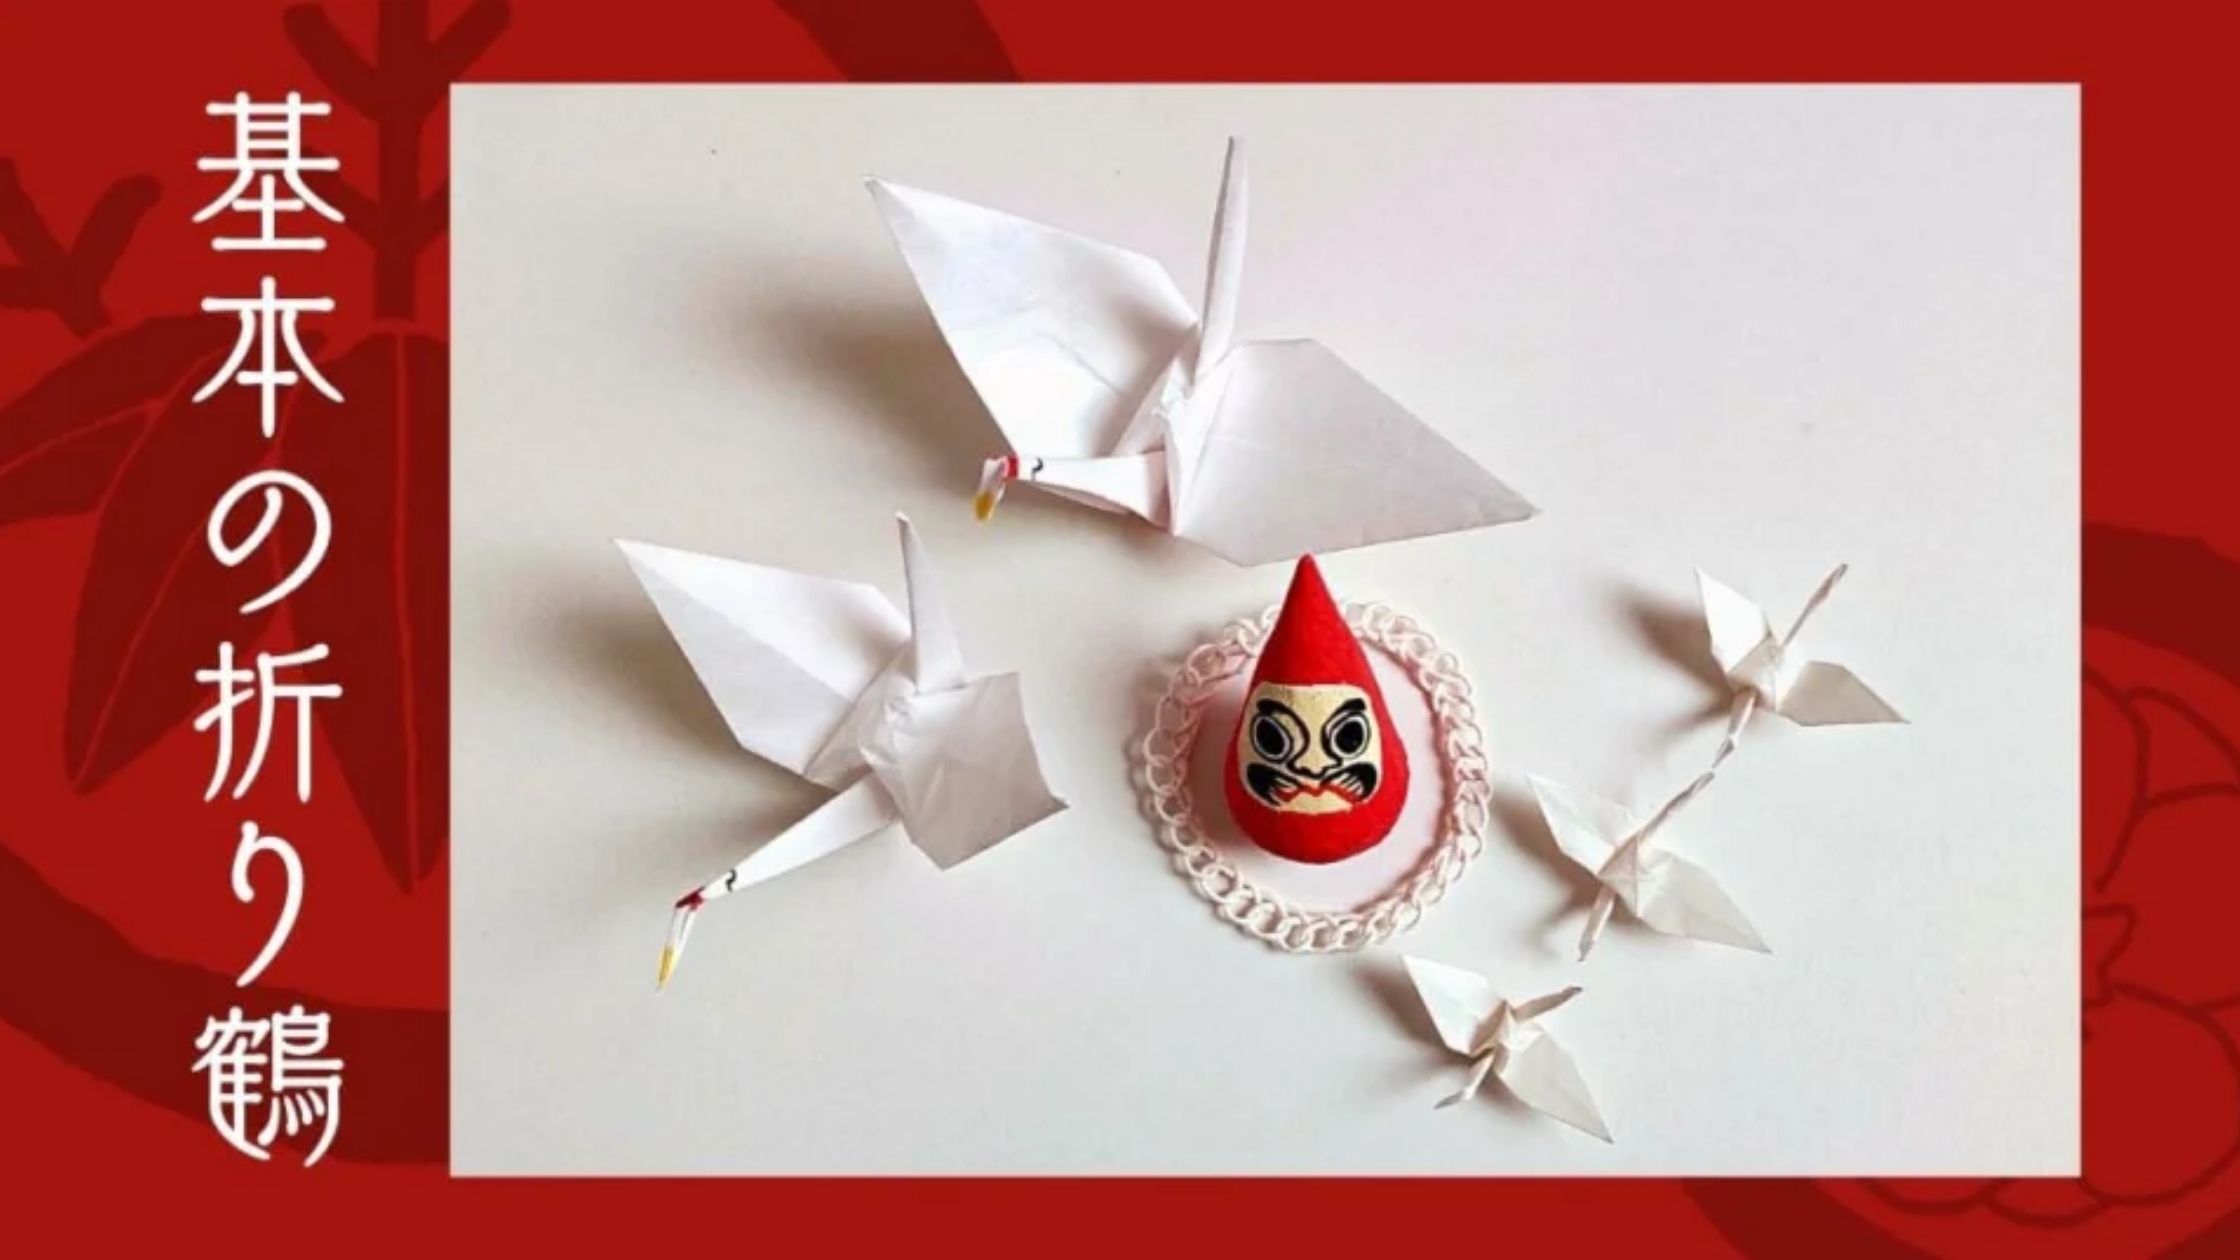
In Japan, the crane is a sacred symbol of longevity and happiness.
By folding this elegant crane envelope, you are not just preparing a gift, but wrapping your heartfelt wishes in a centuries-old tradition.
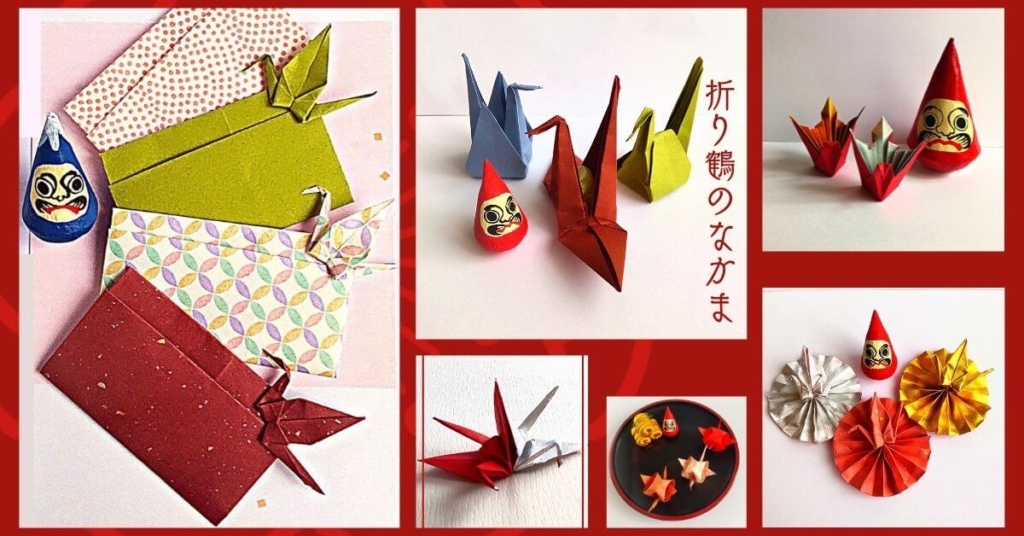
There are many different types of origami cranes
For example, there are the “Longevity Crane,” the “Fan Crane,”
and the “Sharing Good Fortune Crane.”
Some can be folded into boxes, while others can be made into small gift envelopes.
We plan to introduce various crane-folding techniques one by one.
First, learn how to fold a basic crane, and then try your hand at folding different kinds of cranes.
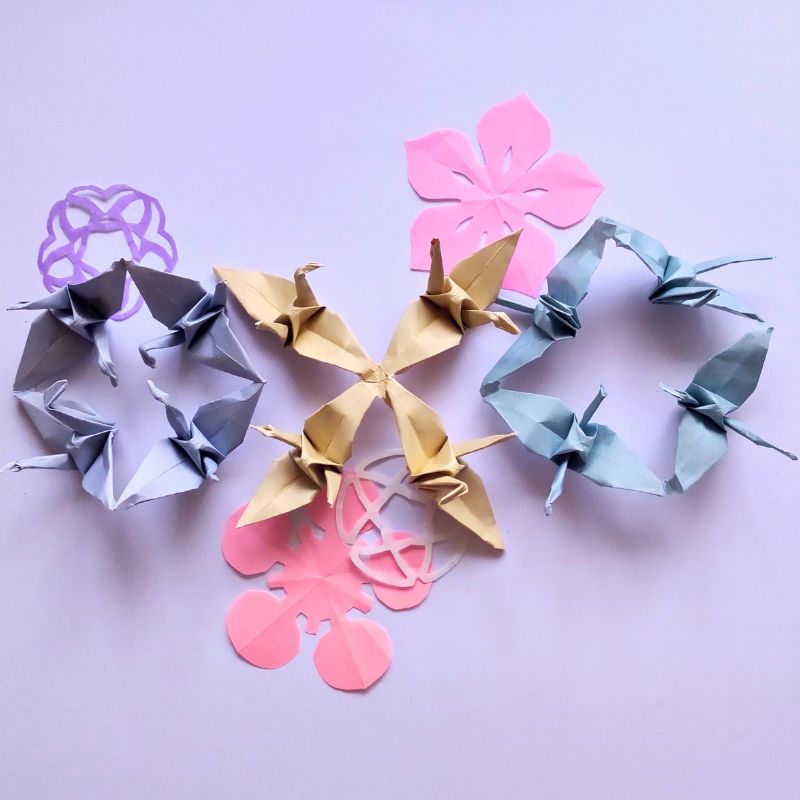
I made four paper cranes from a single sheet of origami paper.
How to Fold a Paper Crane
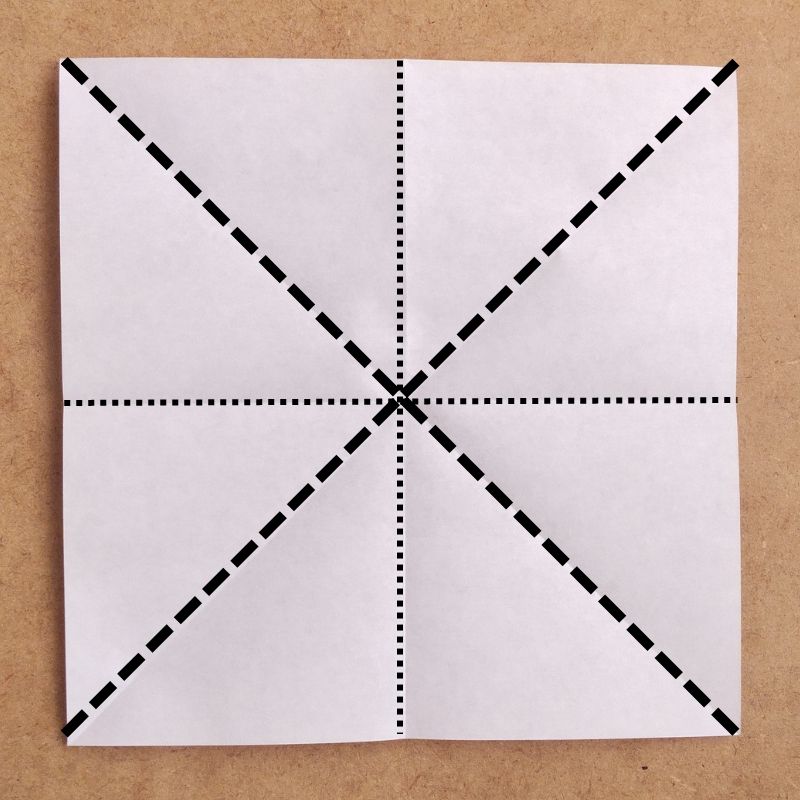
First, fold it twice to make a square, then fold it twice more to make a triangle.
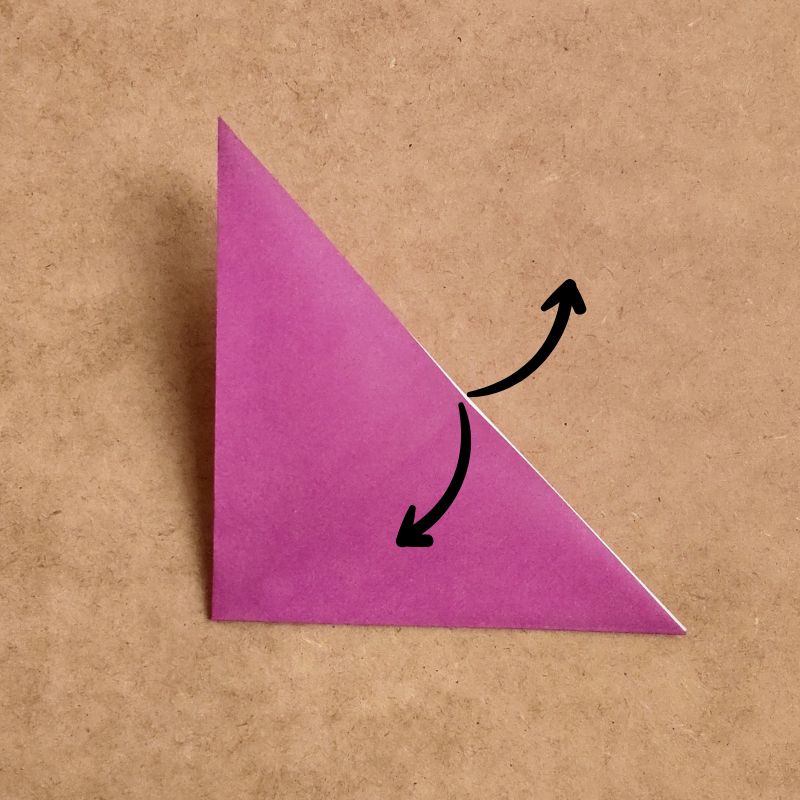
Next, unfold the triangle and fold it into a square.
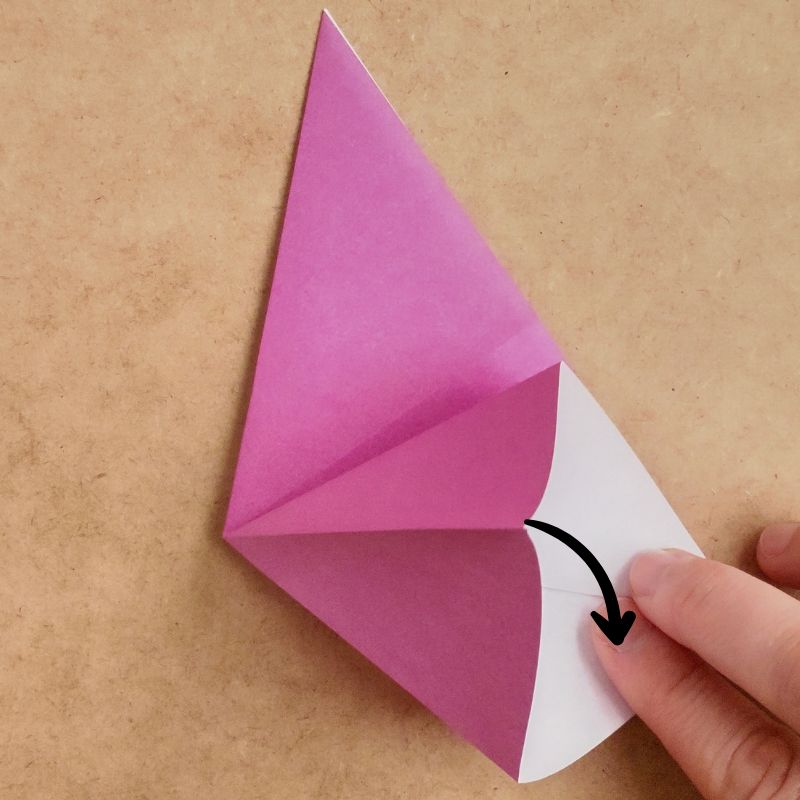
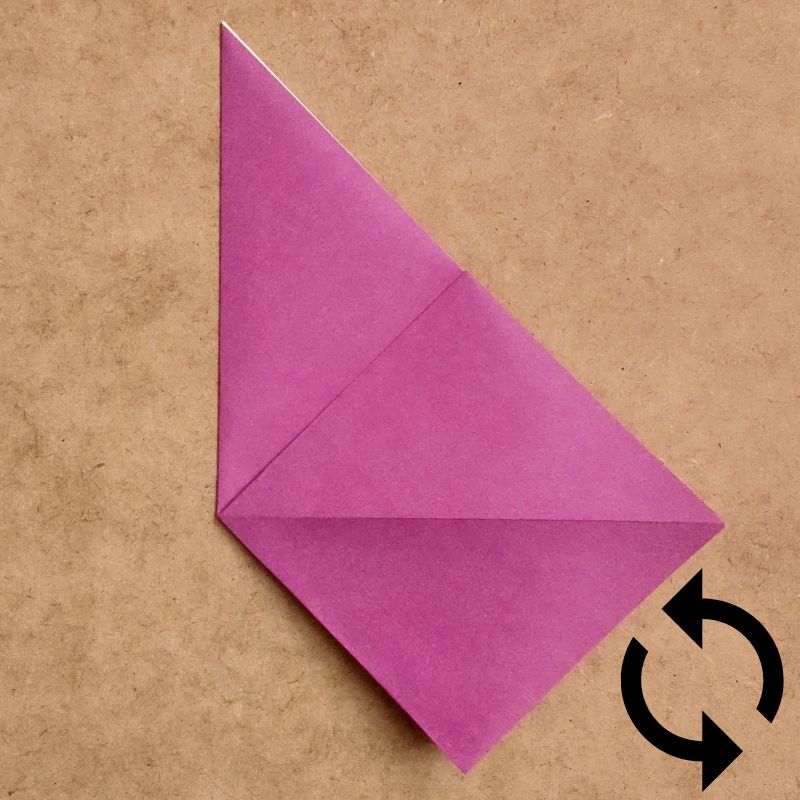
Next, fold it into a square, then flip it over.
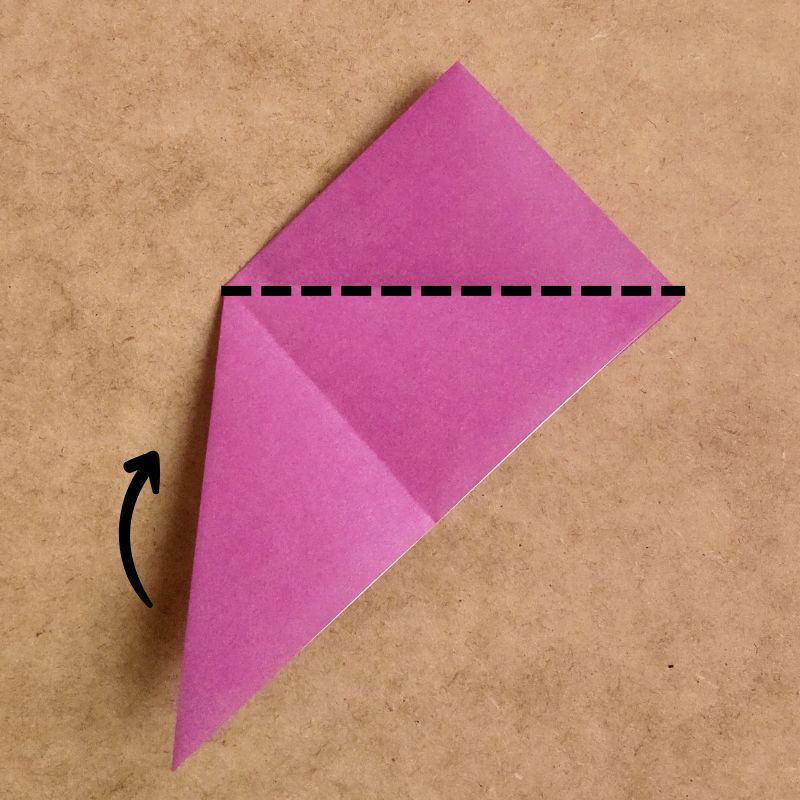
Flip it over, then open the triangle in the same way to form a square.
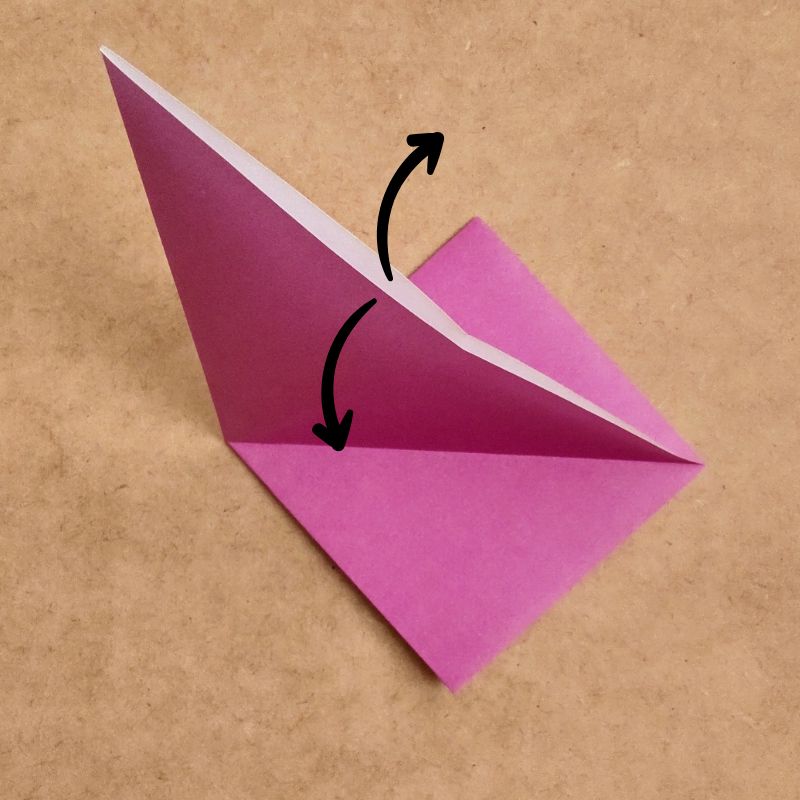
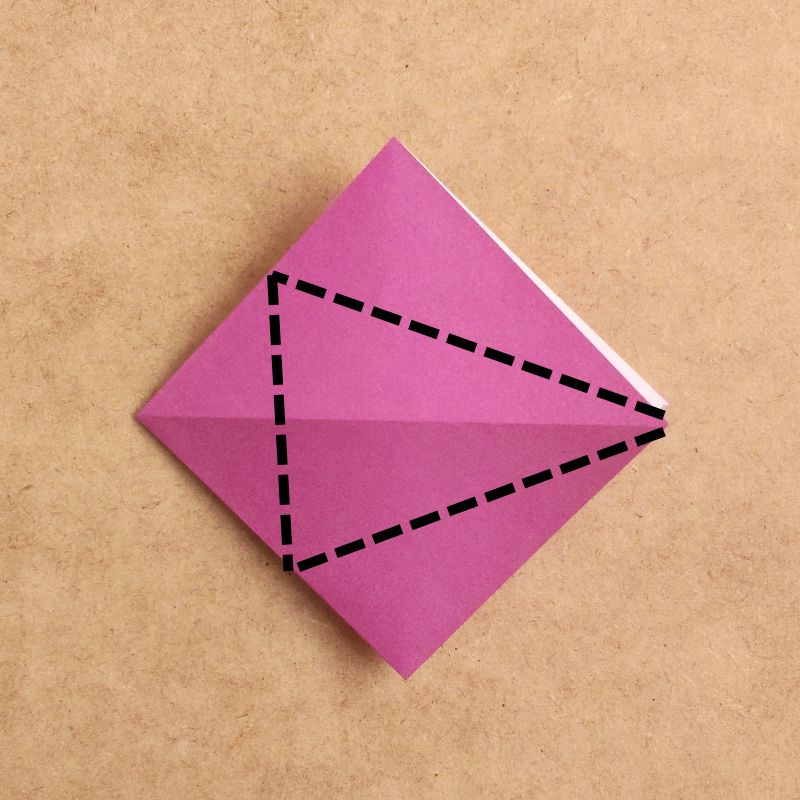
Align the top and bottom corners with the center, crease them, and then unfold.
Next, crease the corner that will form the crane’s back.
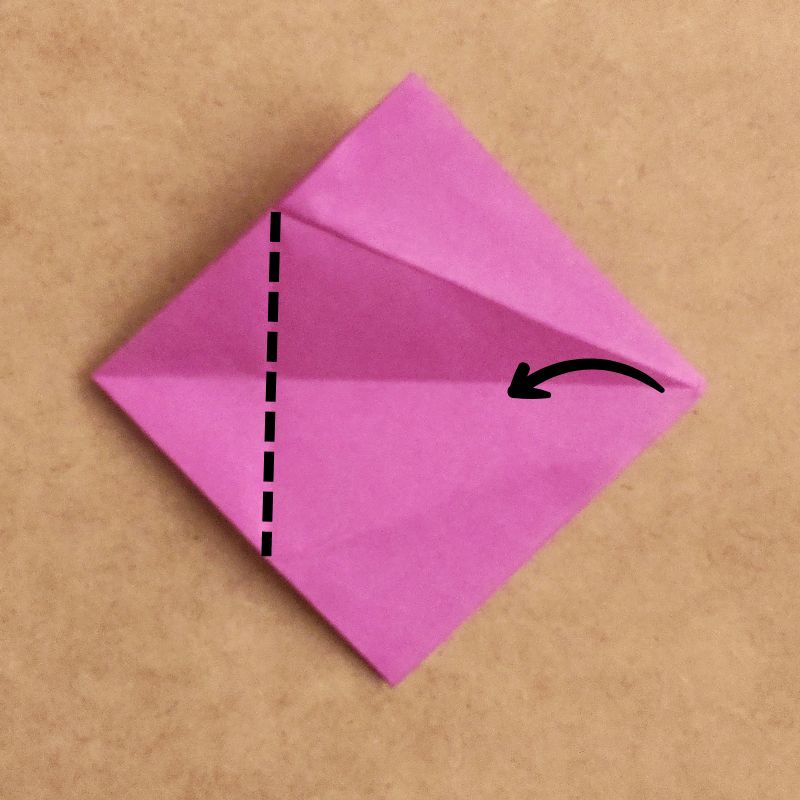
Next, unfold one sheet while folding the line that will form the spine into a valley fold.
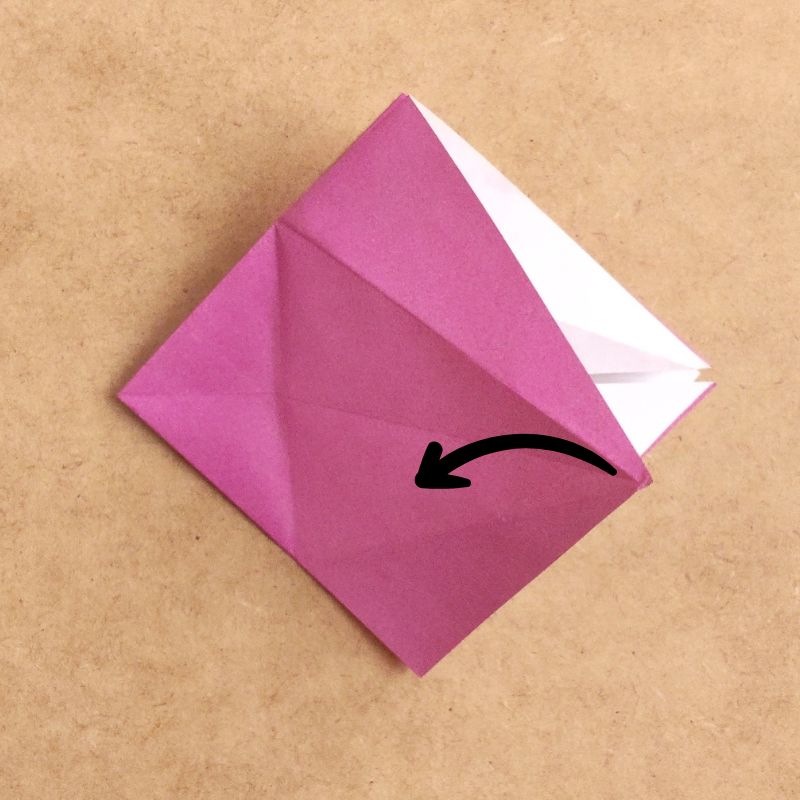
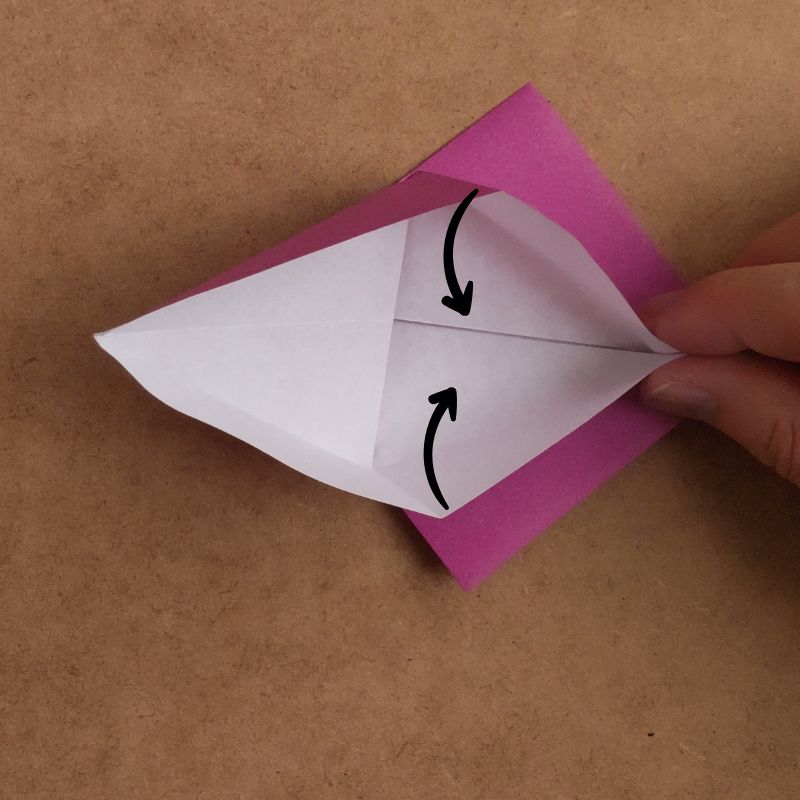
Then, fold both sides together.
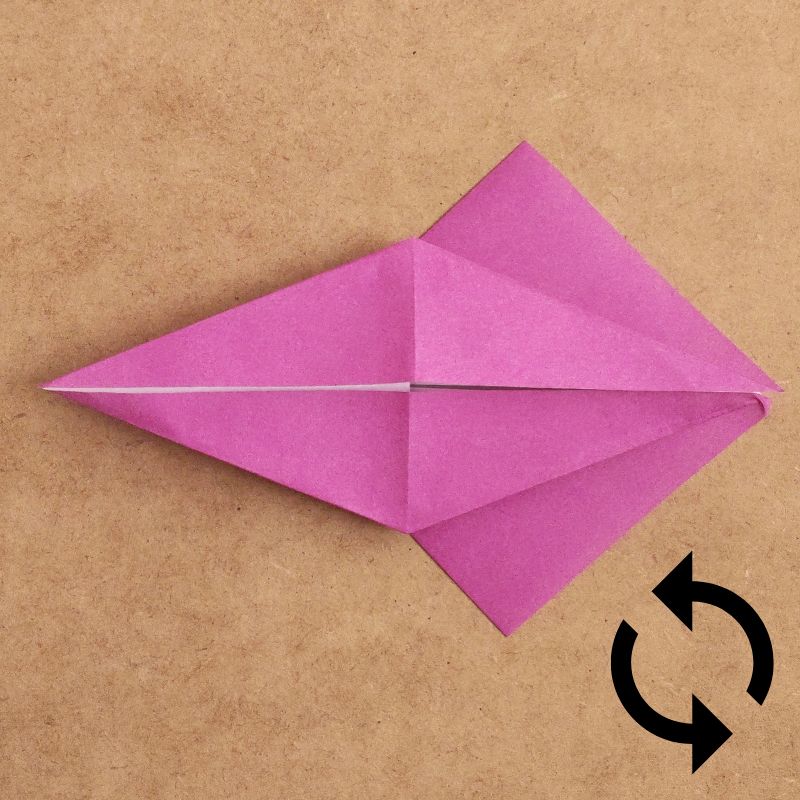
Turn it over and fold it the same way.
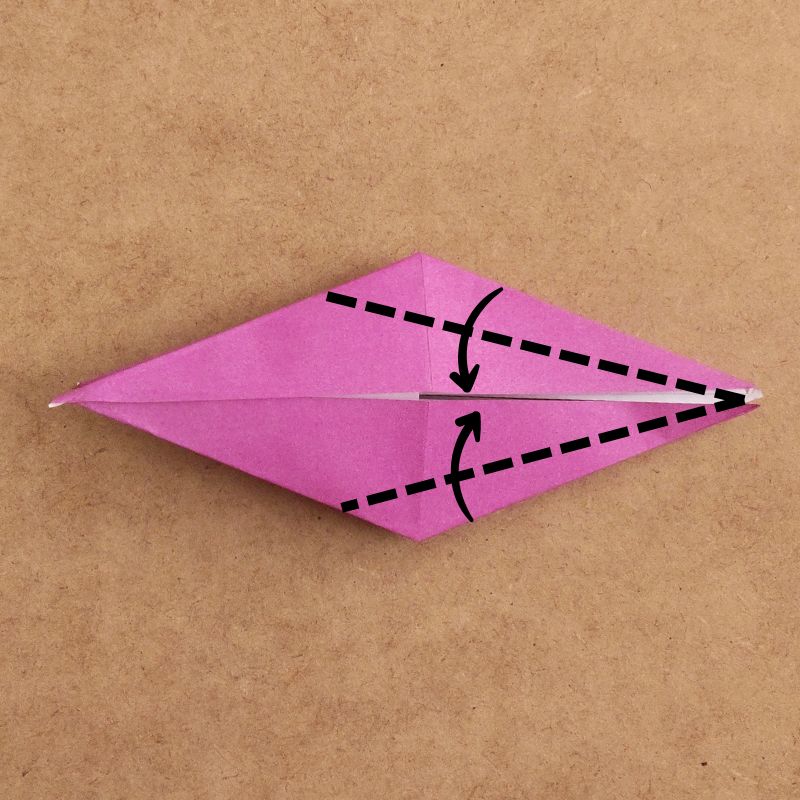
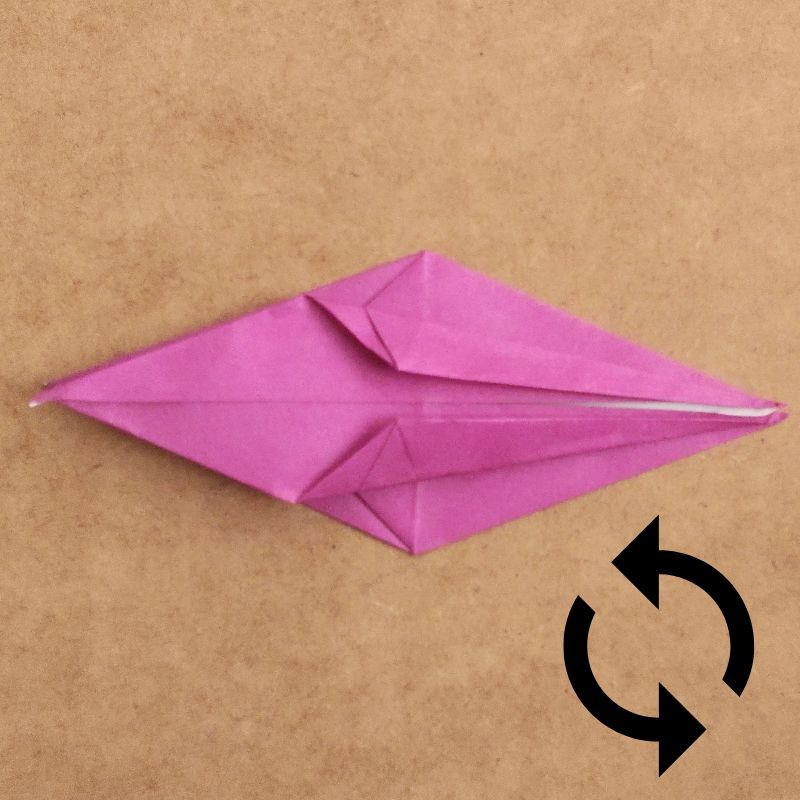
Now, let’s fold both sides toward the center.
Flip it over and fold the back side as well.
 yurari
I’ll be careful not to confuse the neck with the wing.
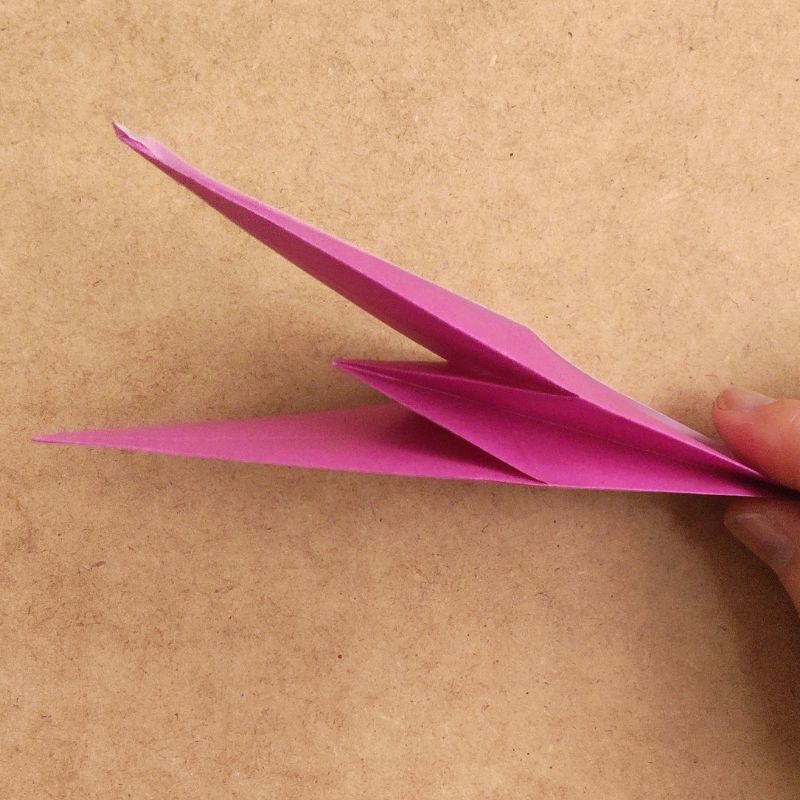
If you’re unsure, you can tell by looking at it from the side.
The one with the ridge in the middle is the wing.
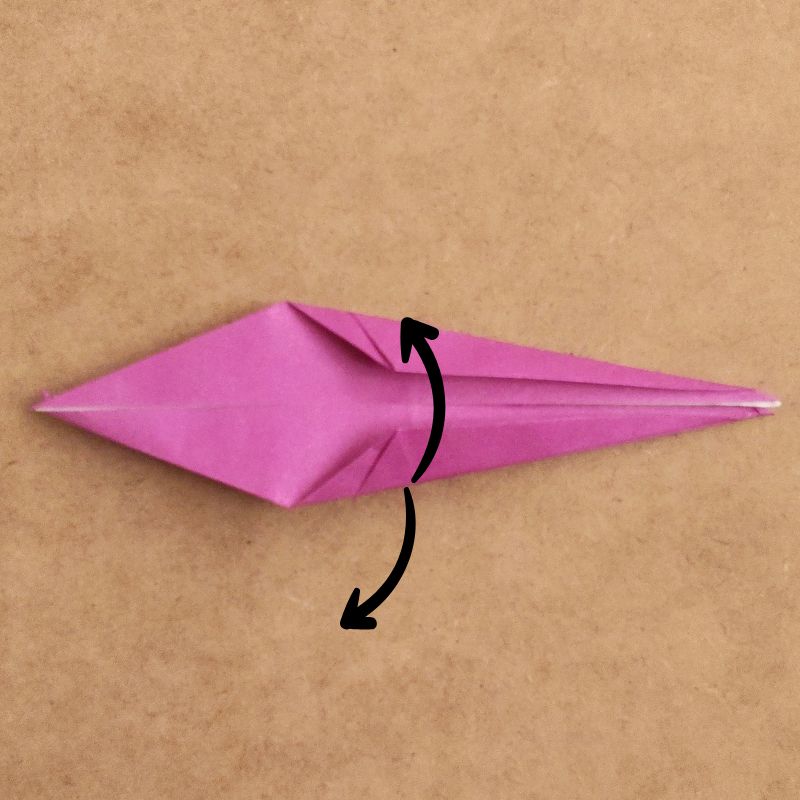
Flip both sides over to reveal the other side.
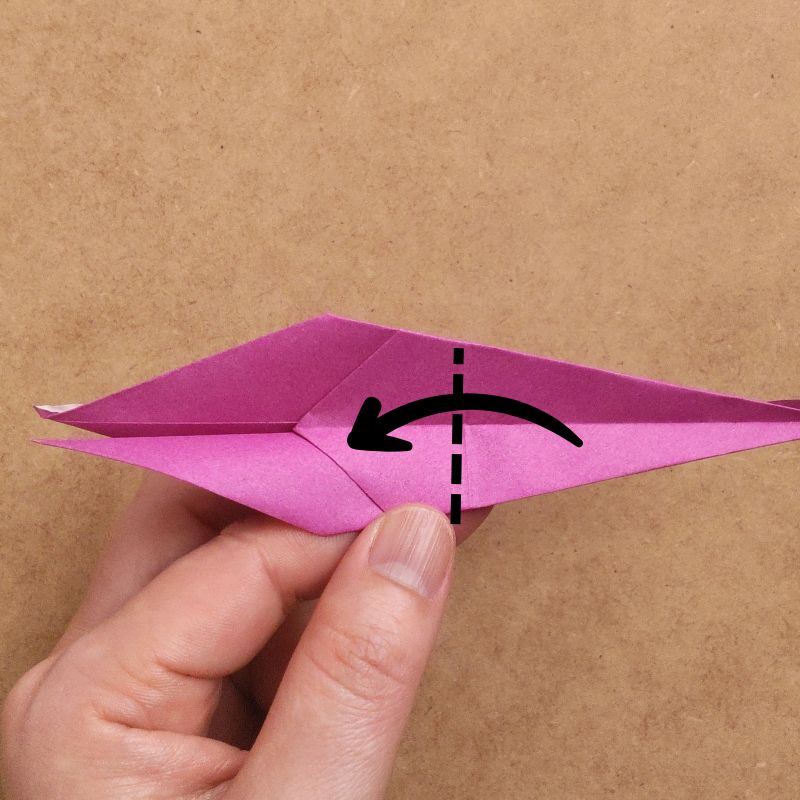
When you flip it over, you can see the wings, neck, and tail.
Fold up the neck and tail.
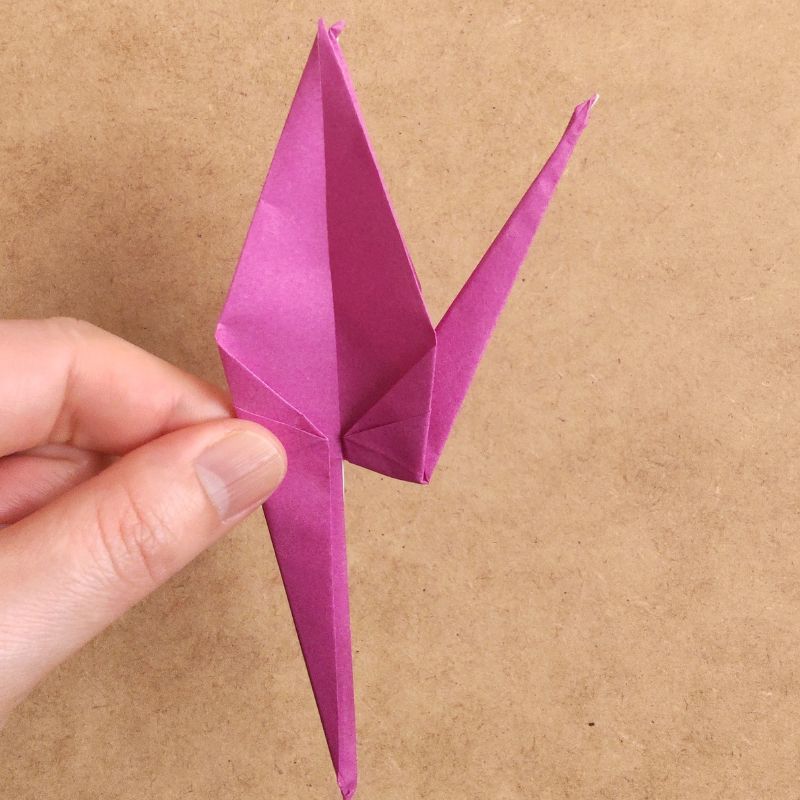
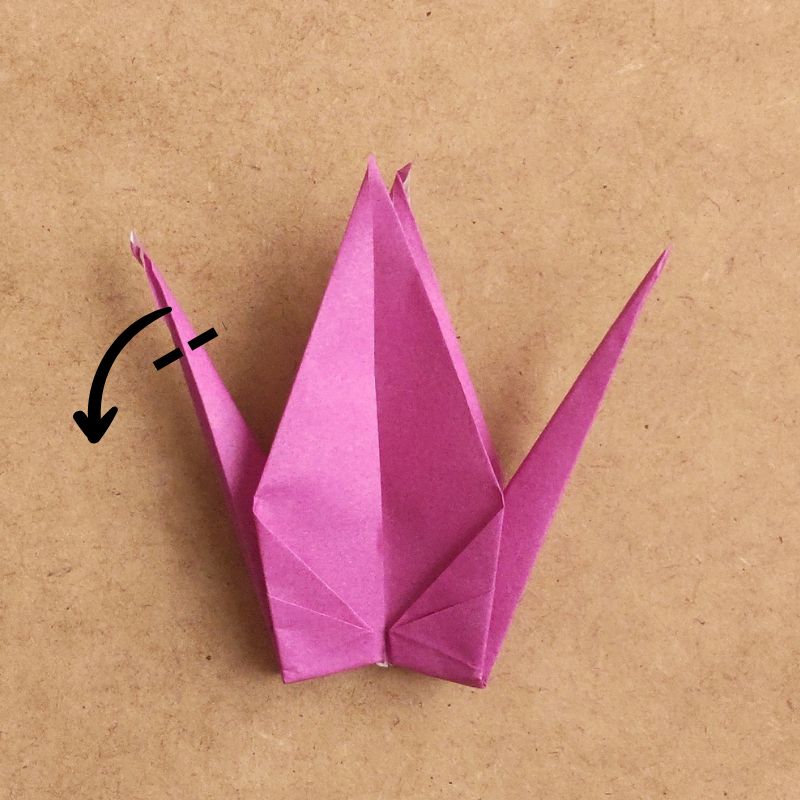
Adjust the balance, then pull the neck and tail outward.
Finally, bend the beak.
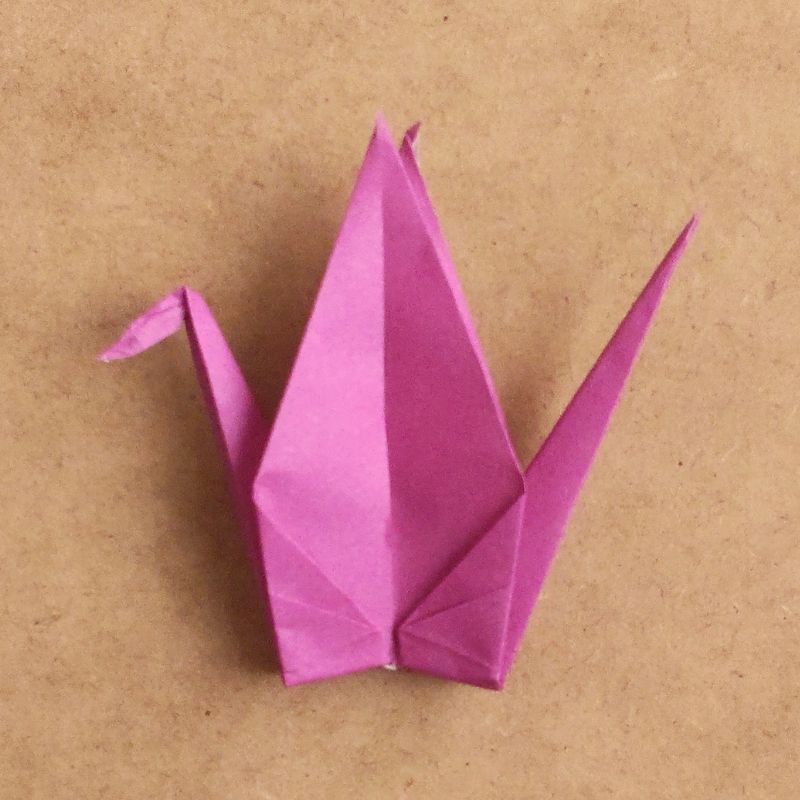
Here is the finished origami crane.
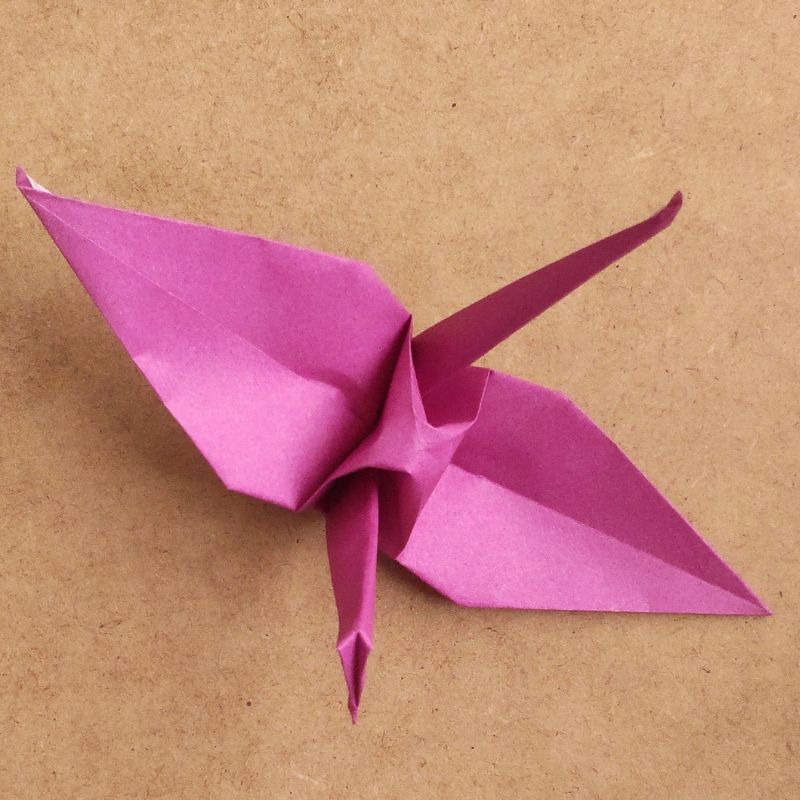
Incorporating origami cranes into daily life
It’s also fun to incorporate origami cranes into your daily life by varying the colors and sizes of the paper.
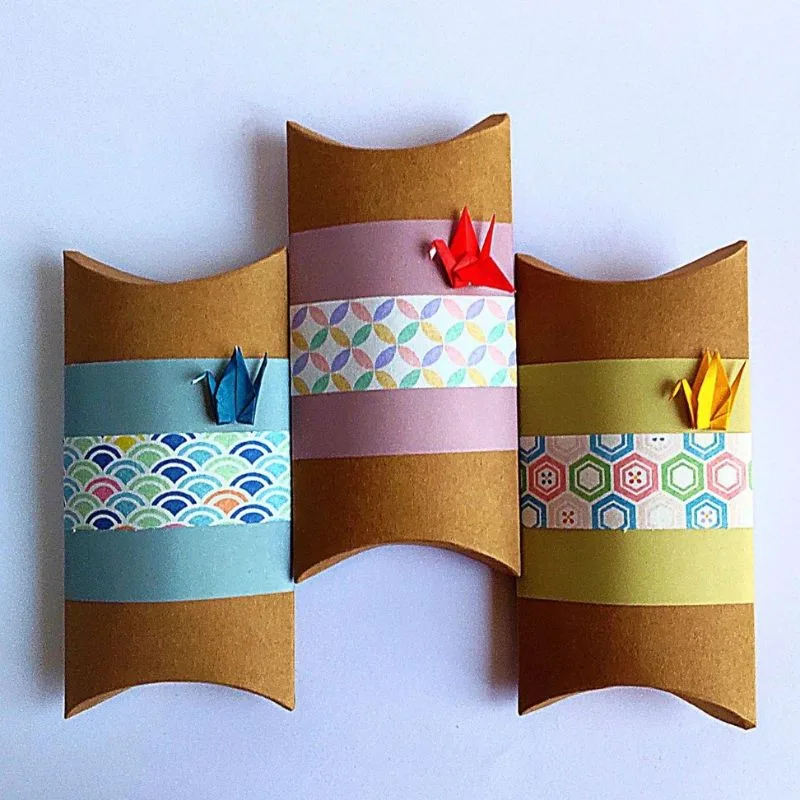
I wrapped two types of origami paper around a small gift.
Then, instead of a traditional gift tag, I attached an origami crane.
It added a cheerful touch to this casual gift.
For the second one, I used a white paper bag and tied the mizuhiki into a bow instead of a ribbon.
When tying the bow, I tucked one side of the origami crane’s wing inside to secure it.
Since you just tuck it in, it’s very easy to do.
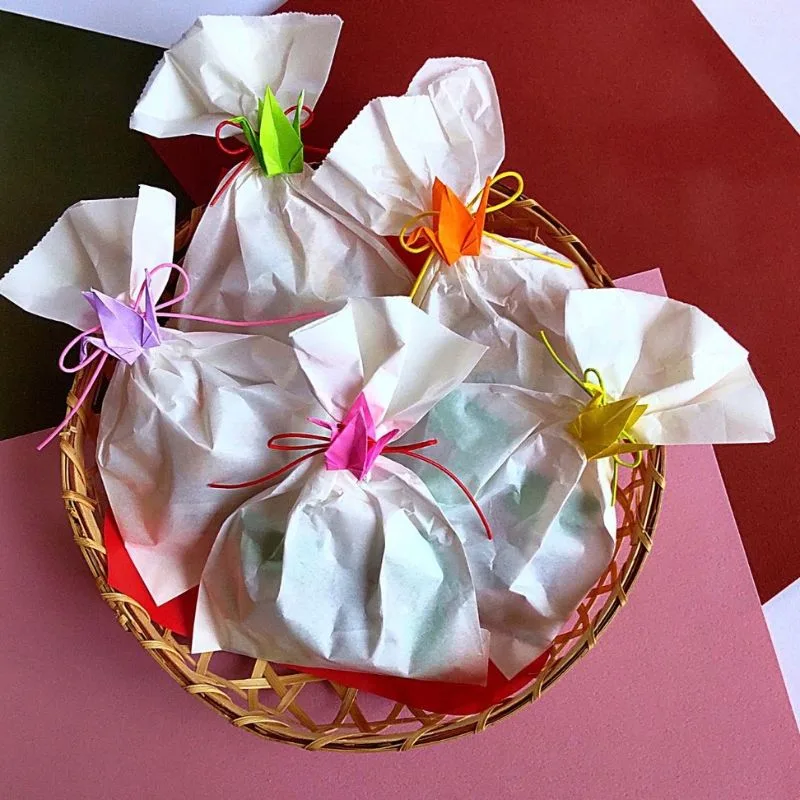
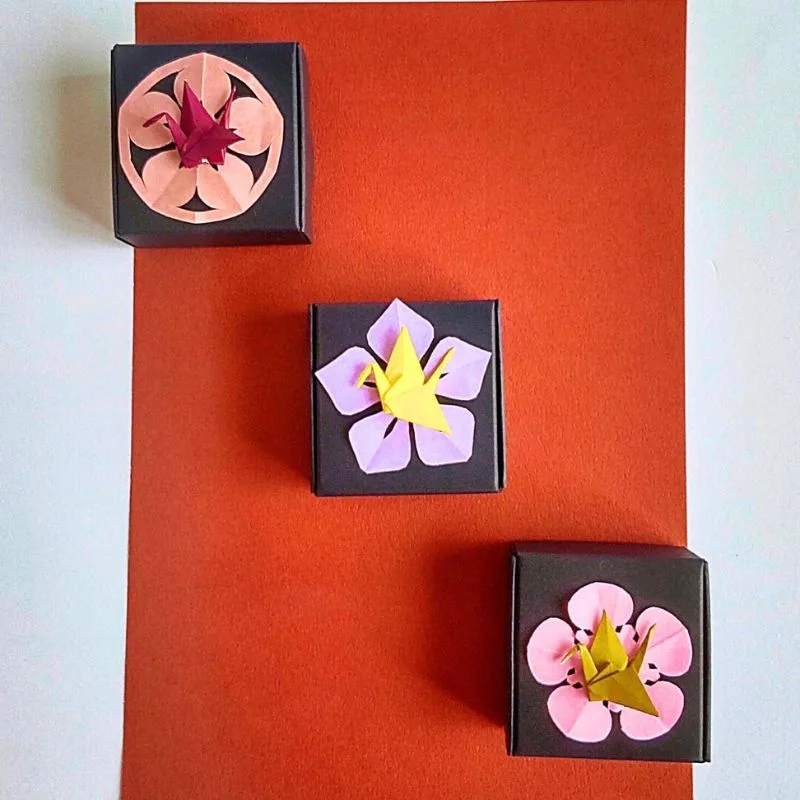
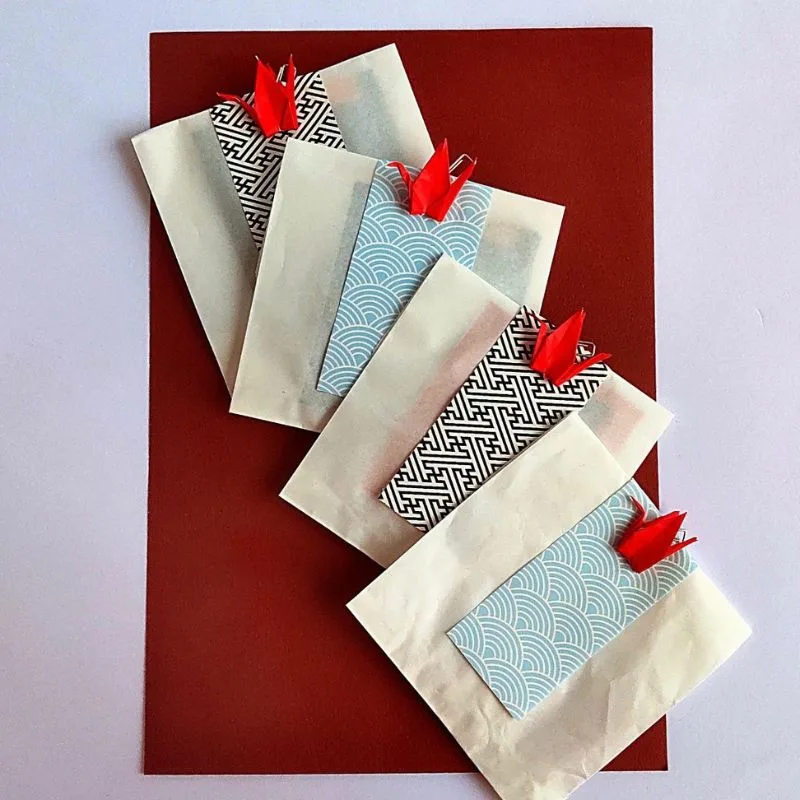
Once again, I attached the cut-out origami and the paper cranes to the white paper bag with a paper clip.
By the way, there are tea bags inside.
You could also use lighter-colored origami and add a message like “Thanks for your hard work.”
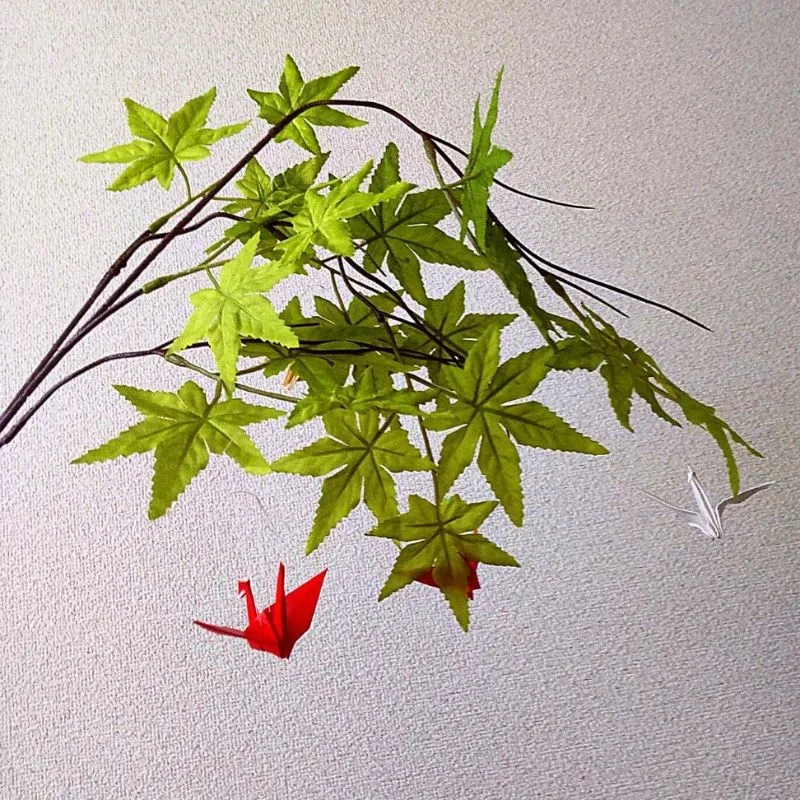
Finally, we hung the origami cranes on tree branches.
Why not try attaching wish cards to origami cranes to make Tanabata decorations this year?
We’ll decorate them with our wishes.
Watch a video on how to fold it

In Conclusion
That concludes our guide on how to fold the crane.
Why not try displaying it at celebratory gatherings or during the New Year?
yurariI hope you enjoy the process of folding as much as the finished piece.
Don’t worry if it’s not perfect at first—every fold is a step toward your own unique creation.
Happy folding!