
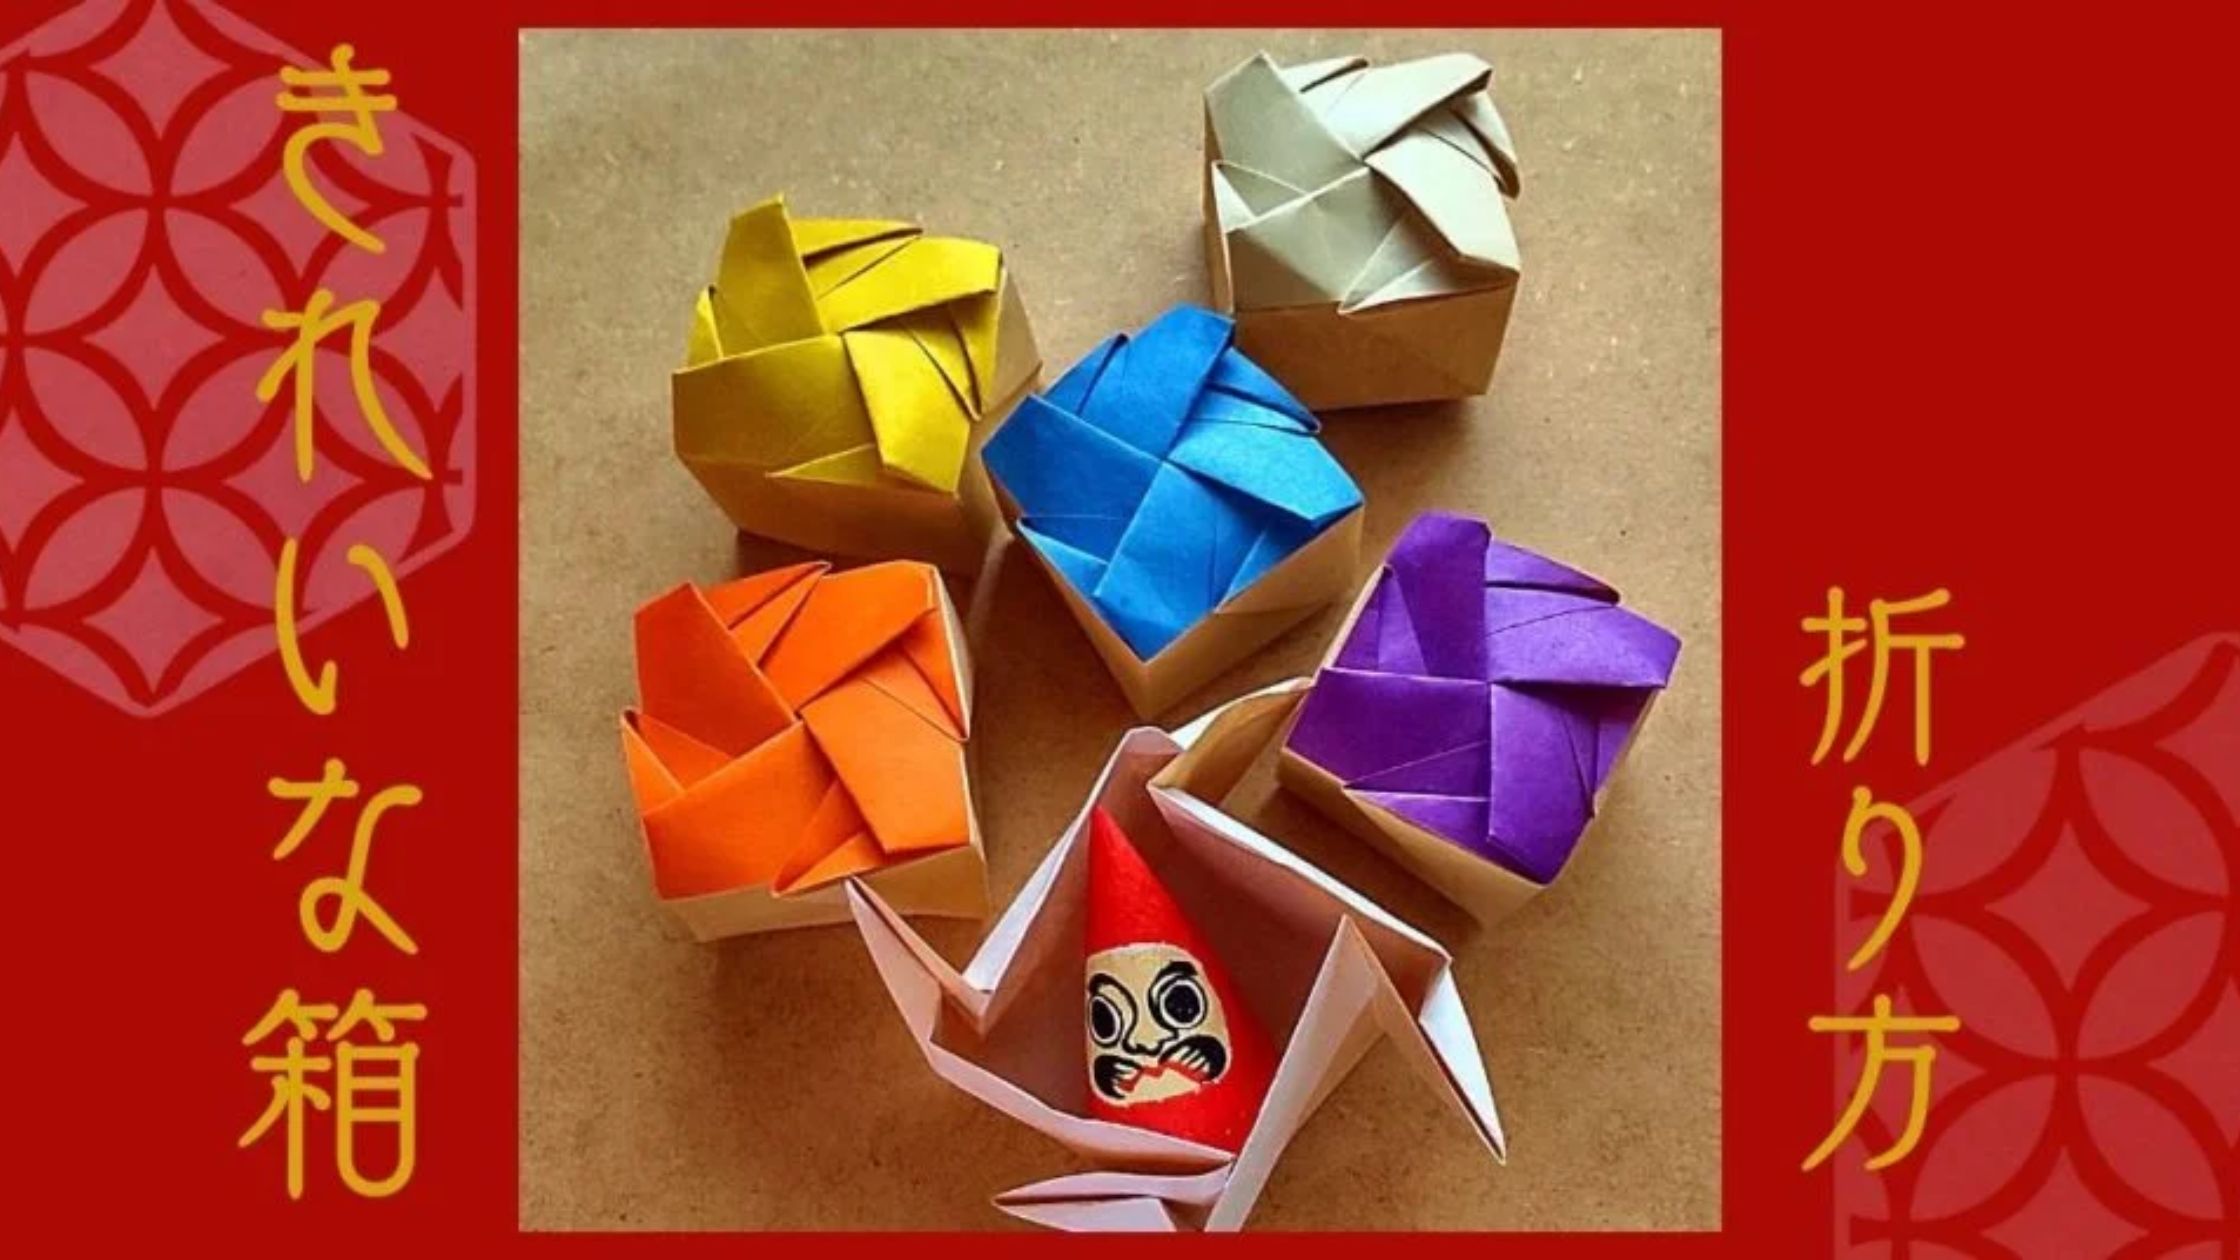
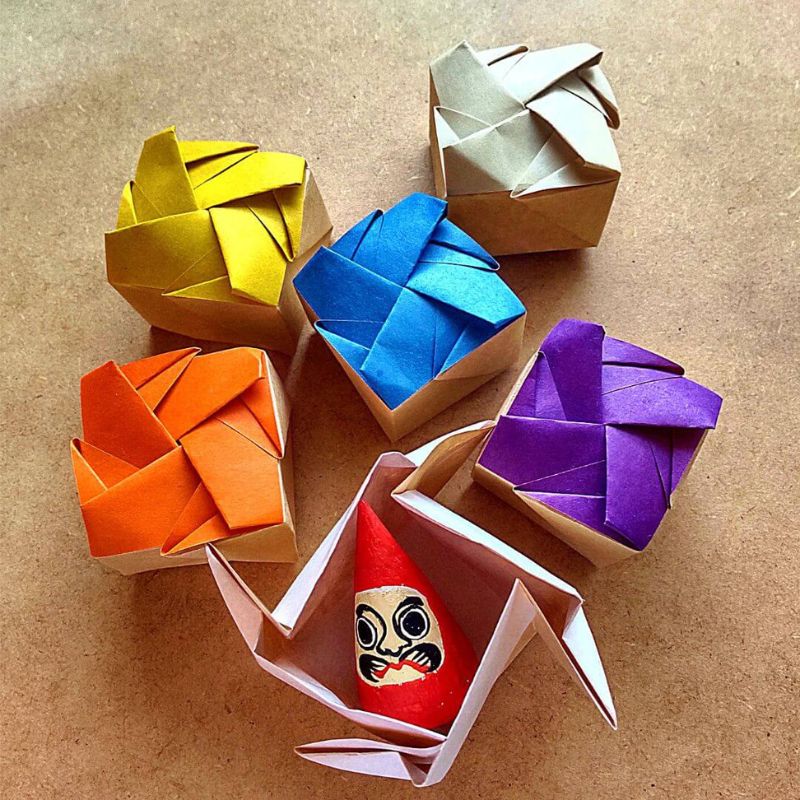
Would you like to try folding this exquisite box? I fell in love with it at first sight. When I finally mastered the fold, I was so happy that I made dozens of them in every color imaginable!
This box is perfect for small gifts. In fact, it’s so beautiful on its own that you don’t even need a ribbon. Your friends and family will surely be surprised and delighted by such a handcrafted treasure.
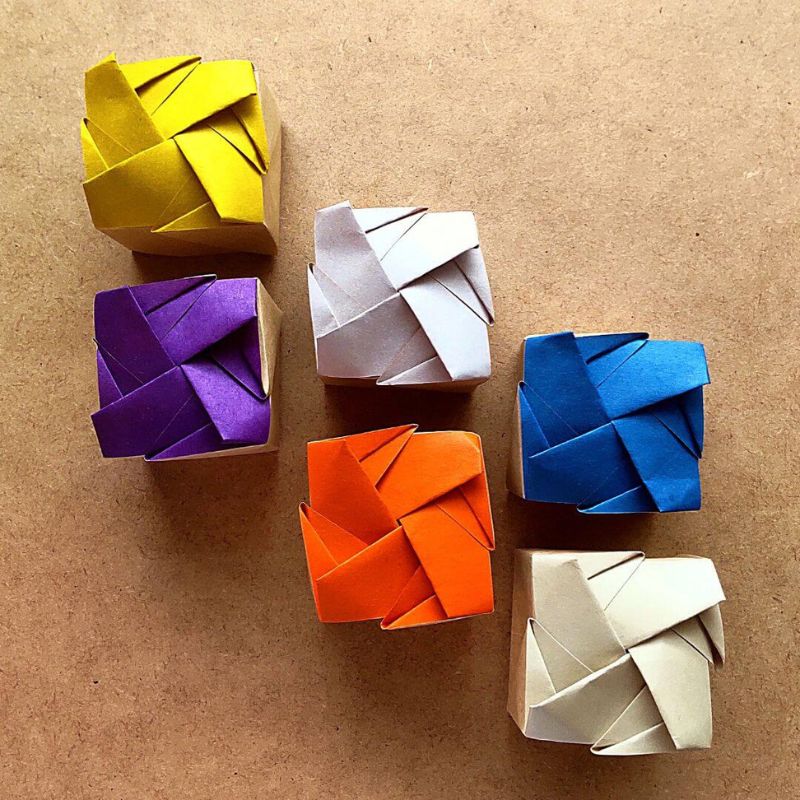
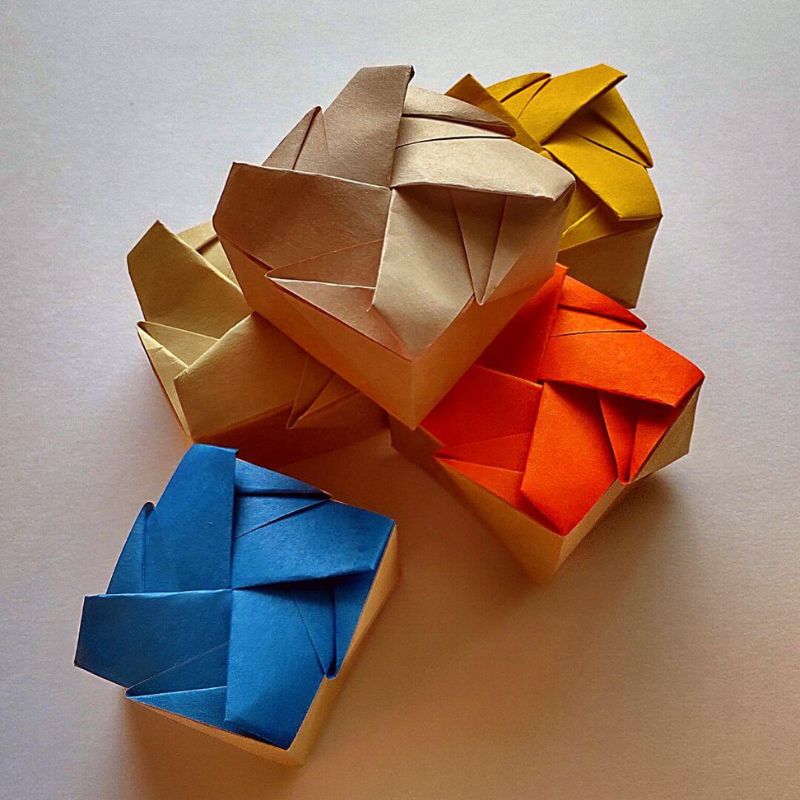
How to Fold a Beautiful Box
It may seem like there are a lot of steps, but you simply repeat the same folding method four times.
To summarize, the process is: triangle → triangle → crease for the bottom of the box → re-crease → assemble into a box shape.
If you’re using origami paper with different colors on the front and back, the front color will become the lid.
The back color will become the color of the box.
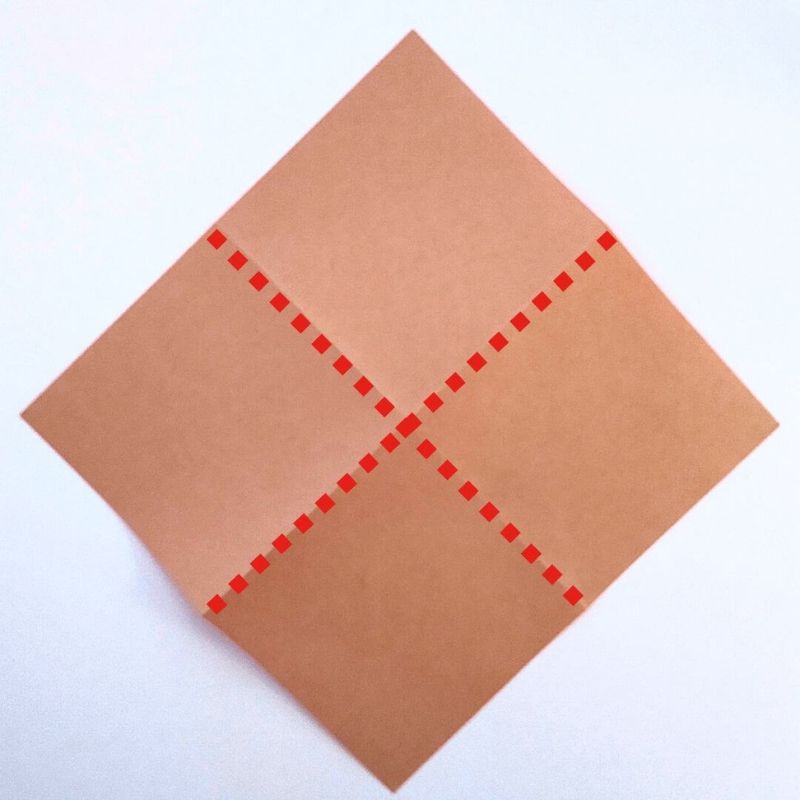
First, fold the paper into quarters.
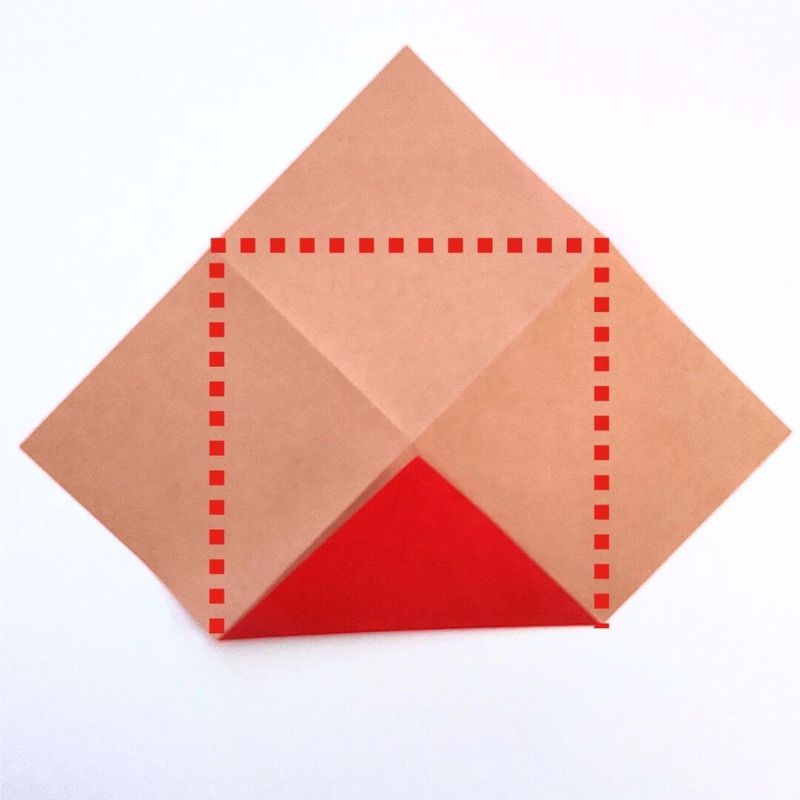
Next, open it up and fold it into a triangle, aligning the corners.
Fold the other three corners in the same way.
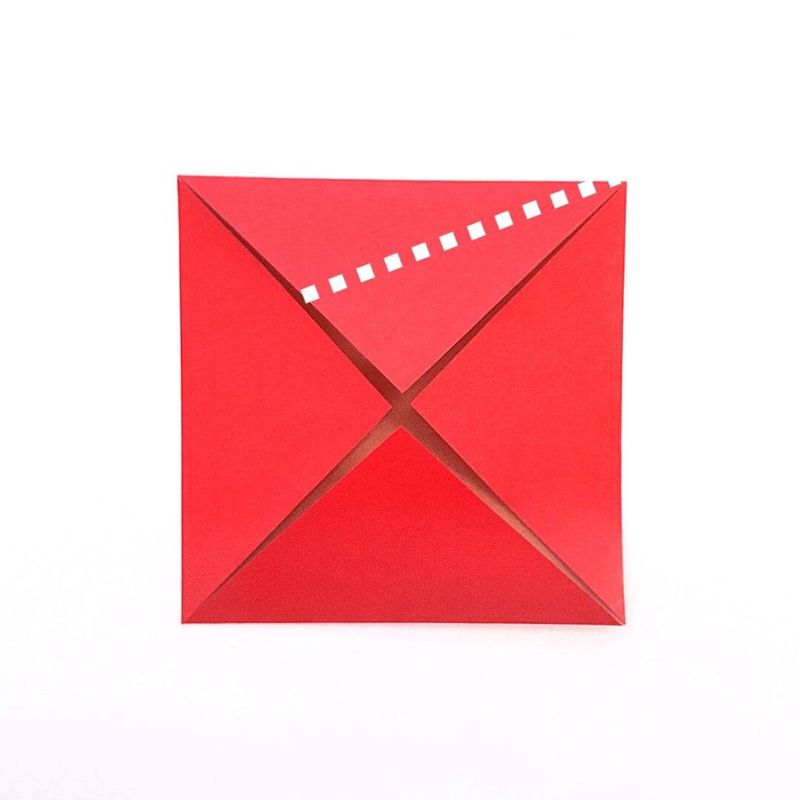
It has become a small square.
Using the dotted line as a guide, fold the triangle in half along the top edge.
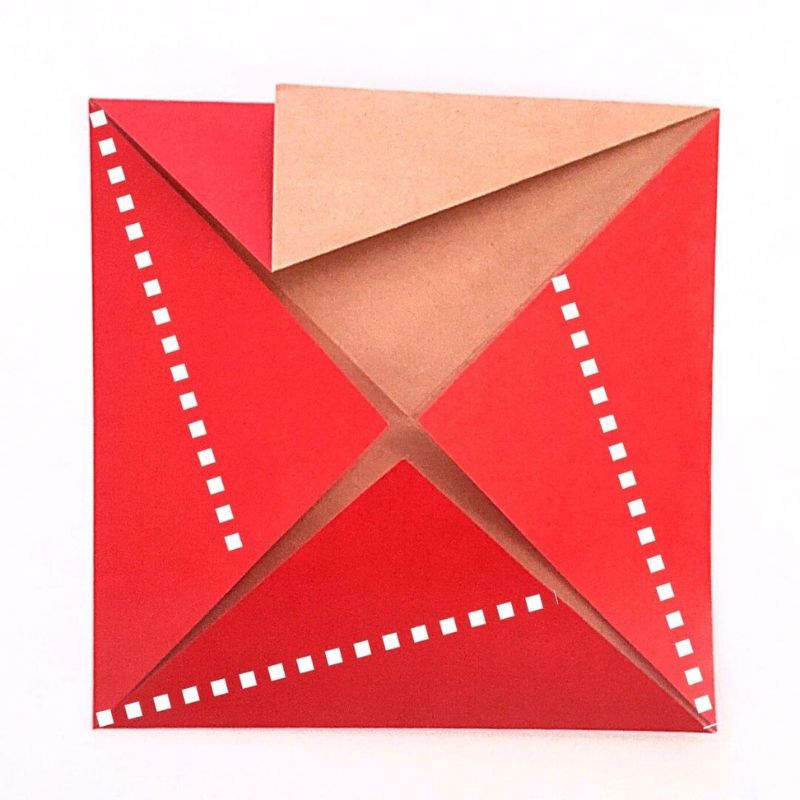
Fold the other triangles in the same way.
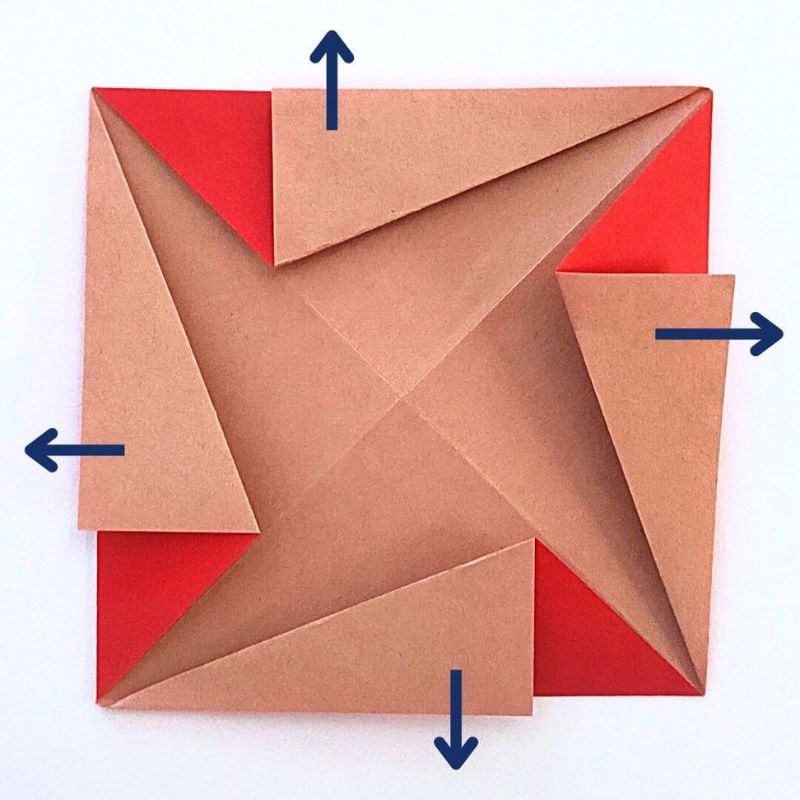
Next, fold the triangle outward.
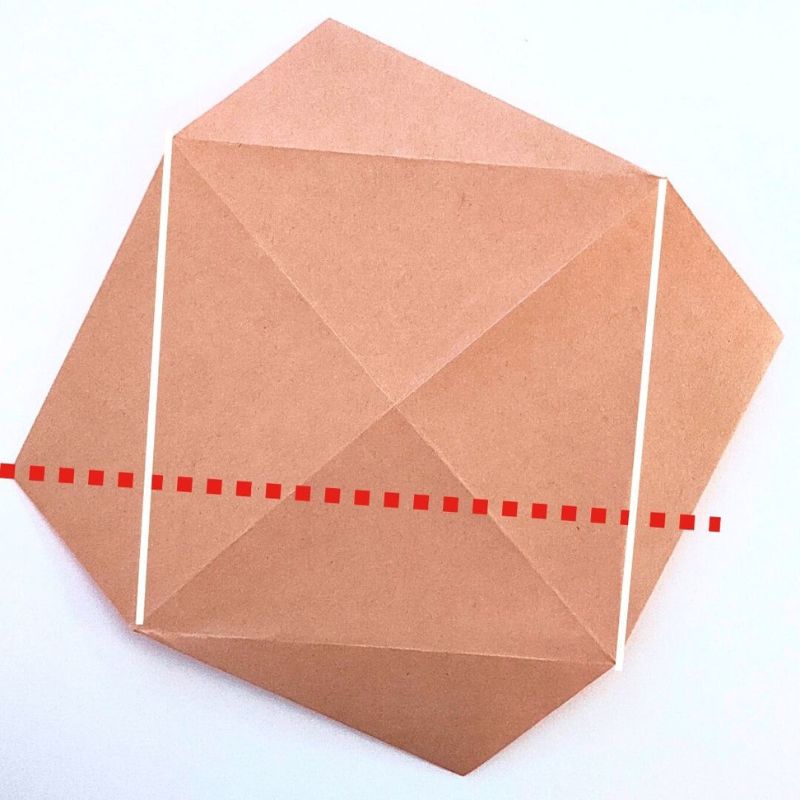
Fold along the red dotted line, making sure the white line overlaps.
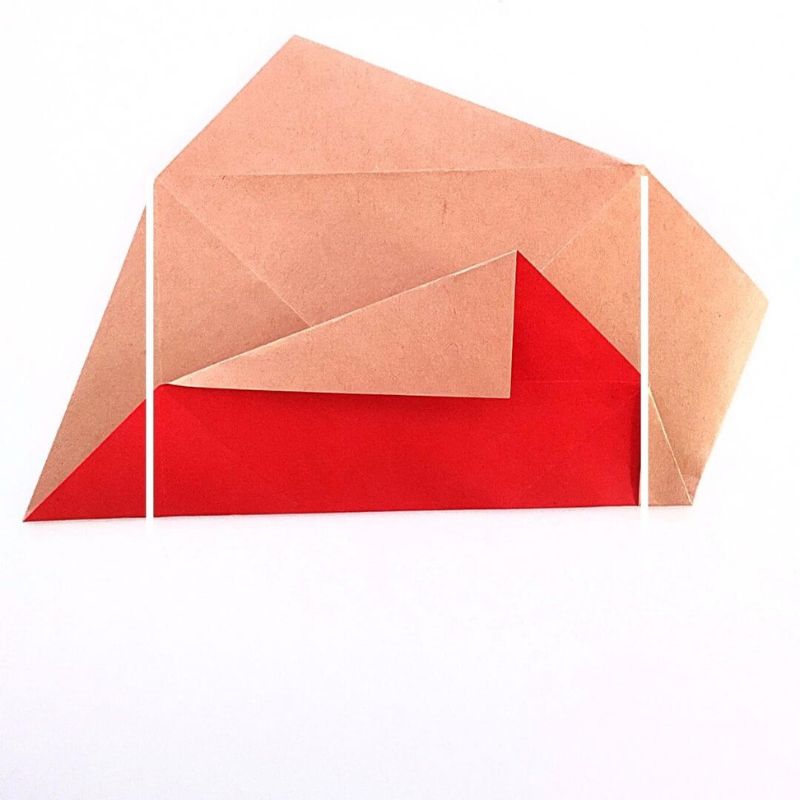
The white lines are perfectly aligned.
Repeat this three times.
 だるまくん
だるまくんI’m creasing the fold that will form the bottom of the box.
If you fold it carefully so it doesn’t shift, it will assemble neatly when you put it together at the end.
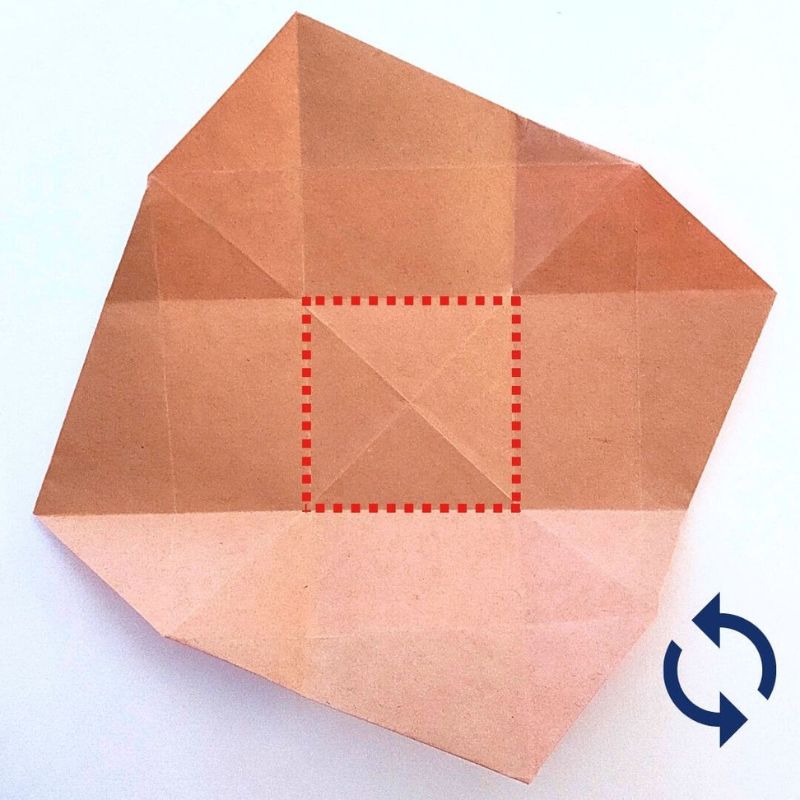
Another small square has been formed.
Flip it over.
Almost there.
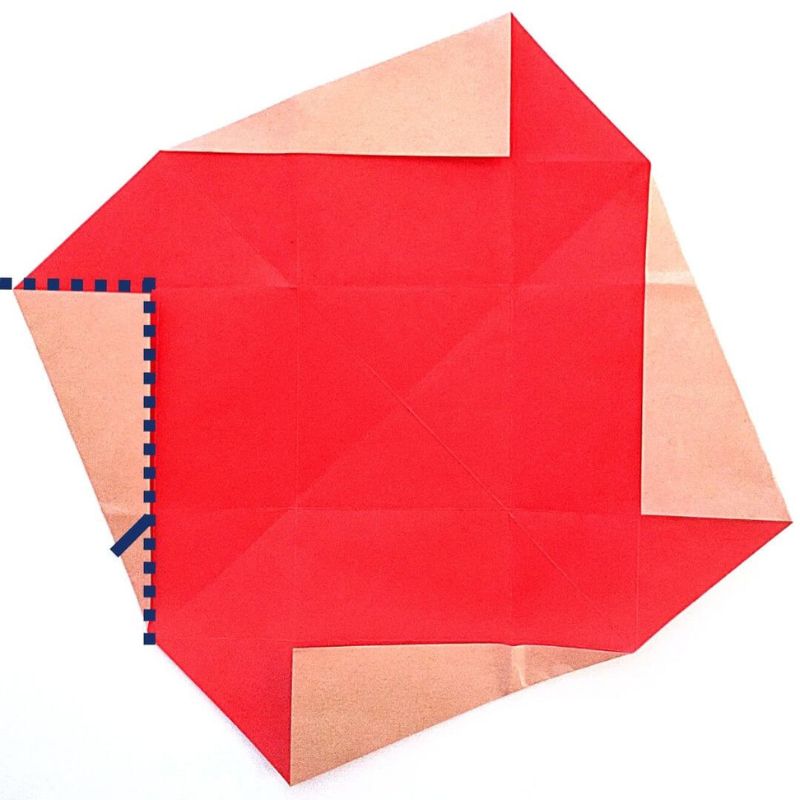
I’ll add creases on the opposite side to make it easier to assemble into a box shape.
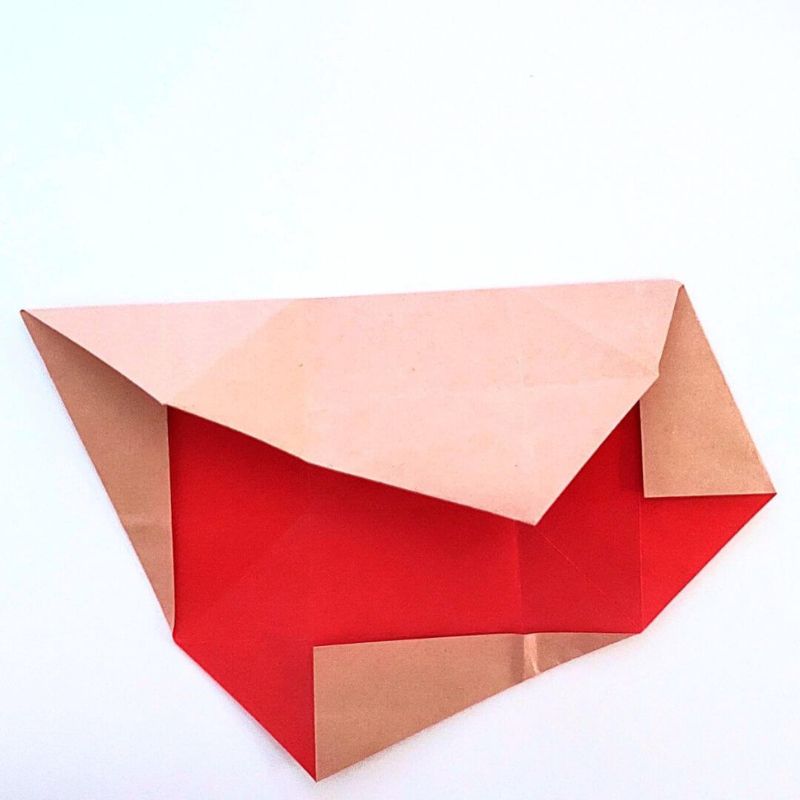
Next, fold the top down.
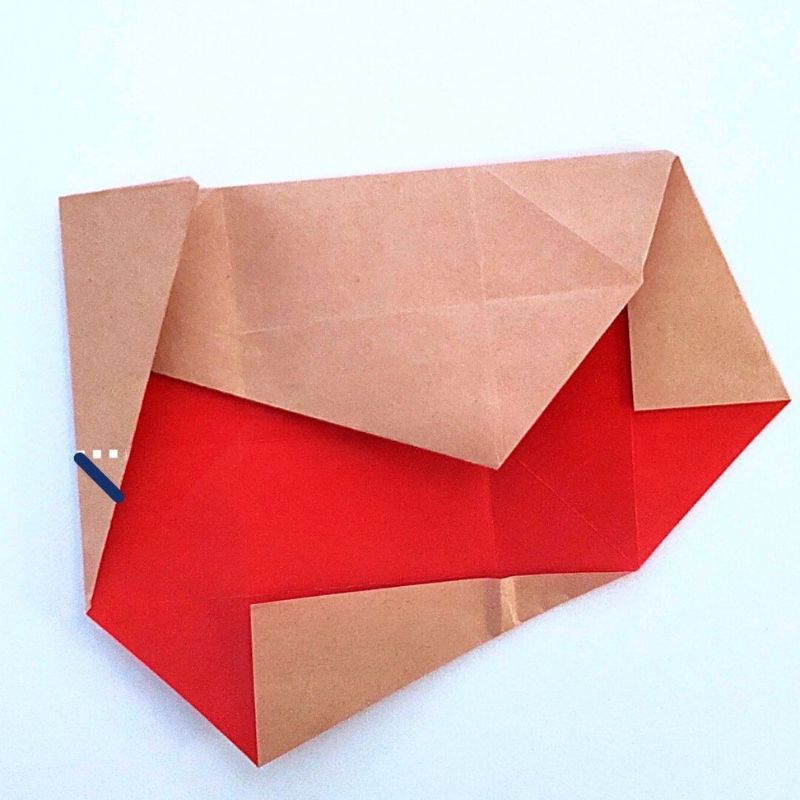
Fold the triangle on the left.
It’s a bit tricky, but align the dotted line with the outer line to create a crease along the blue line.
Repeat this process three more times.
Now assemble it into a box shape
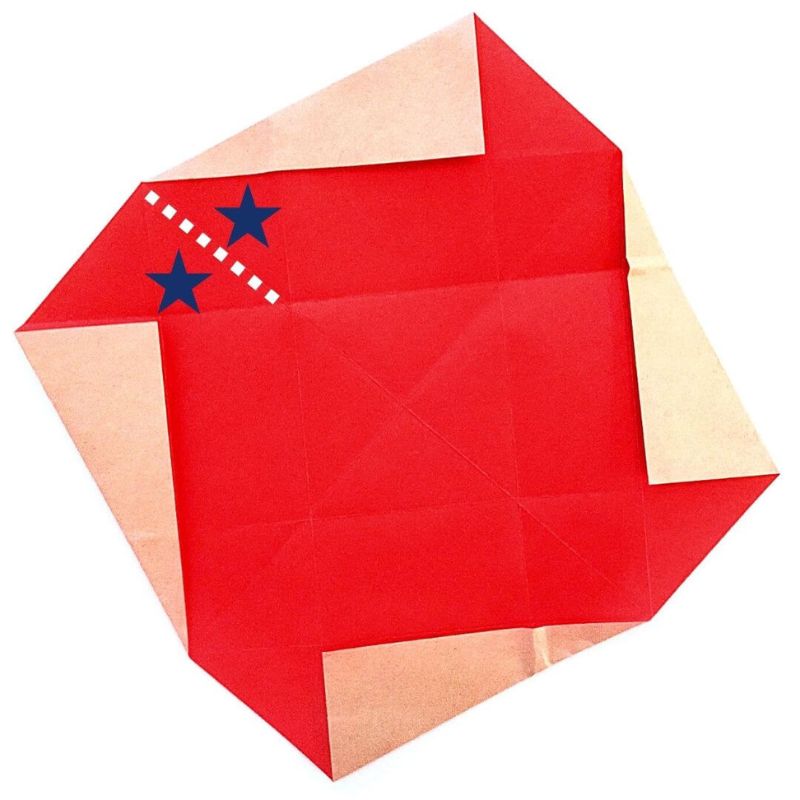
Align the sides marked with ★ and ★.
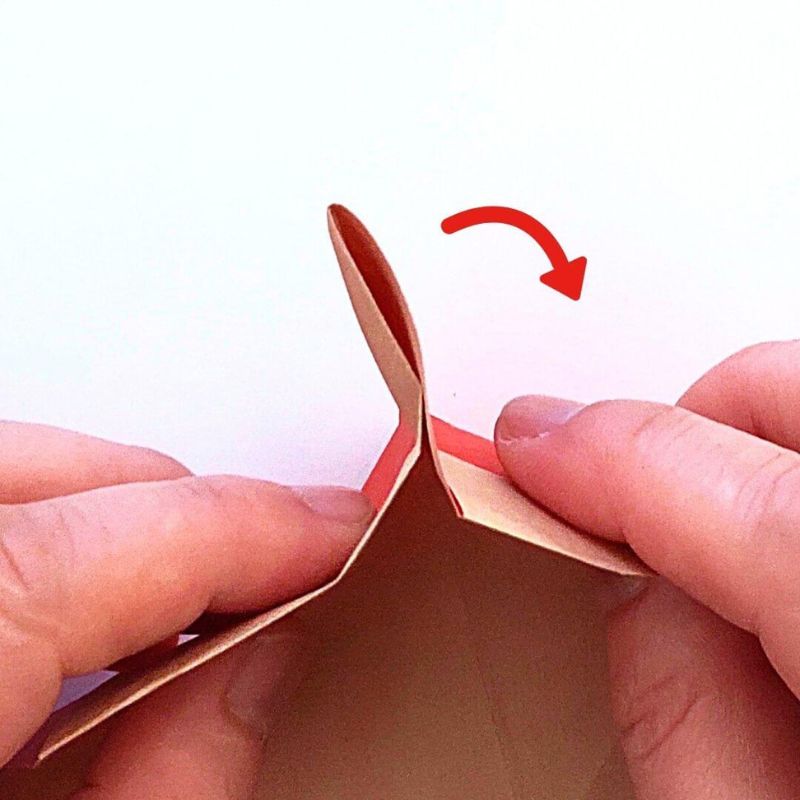
Once aligned, tilt it to the right.
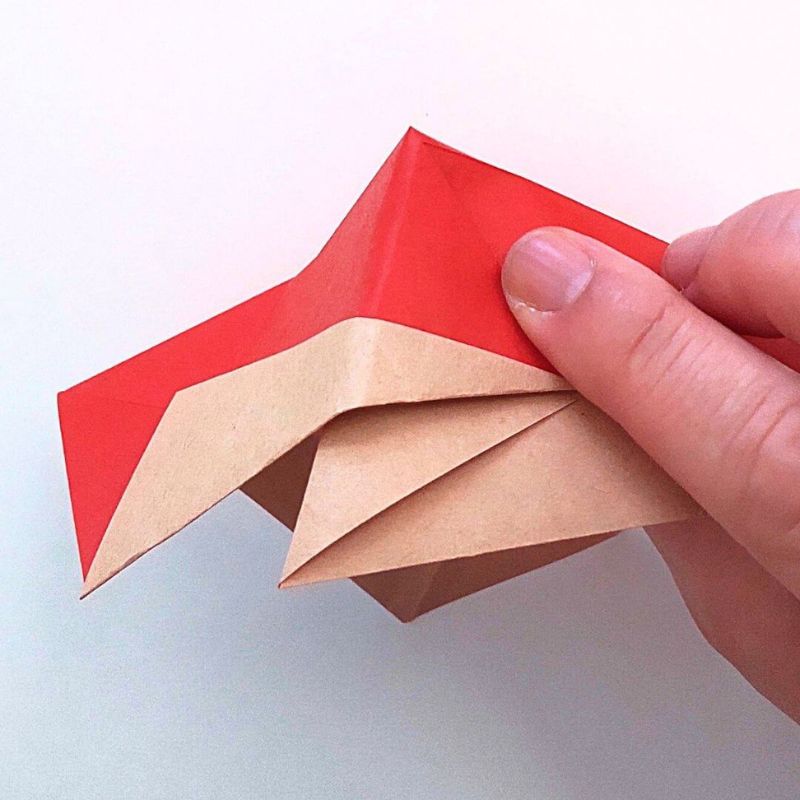
This is how it looks.
Repeat this three more times.
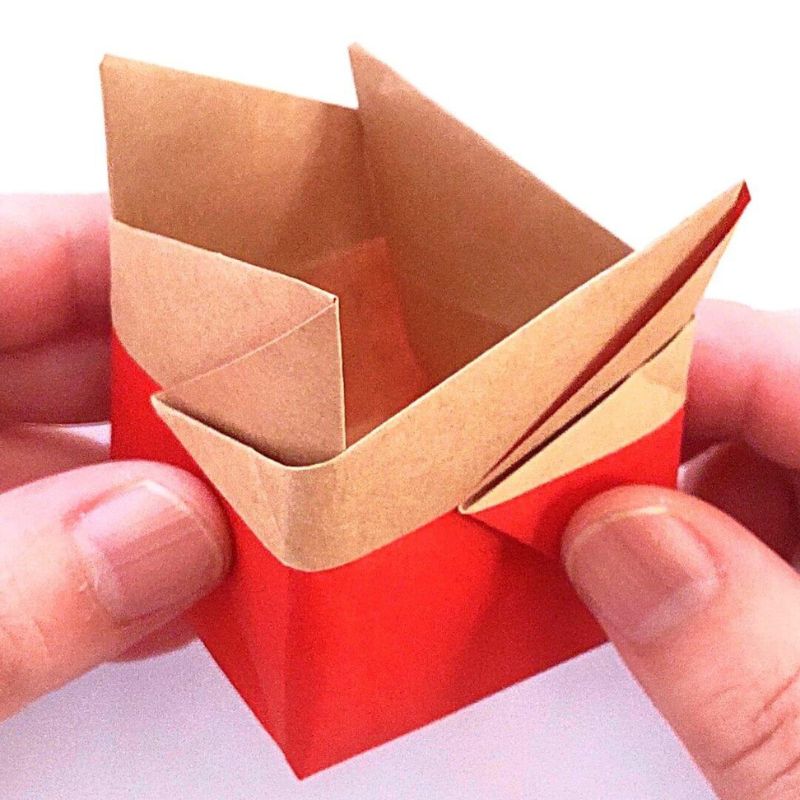
Next, fold down the top corners one by one.
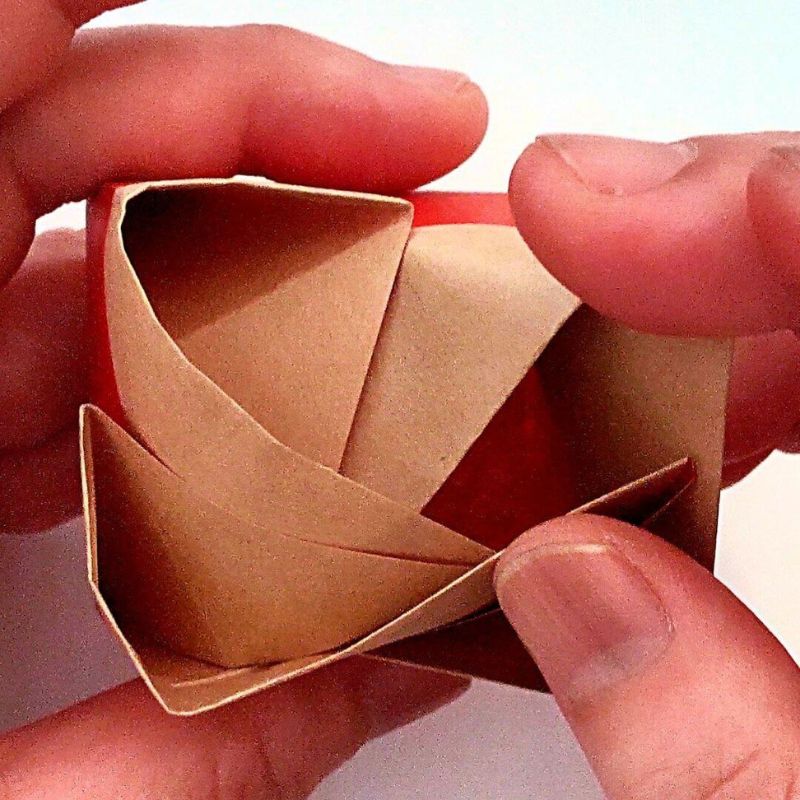
Working counterclockwise, lower them one by one, overlapping them as you go.
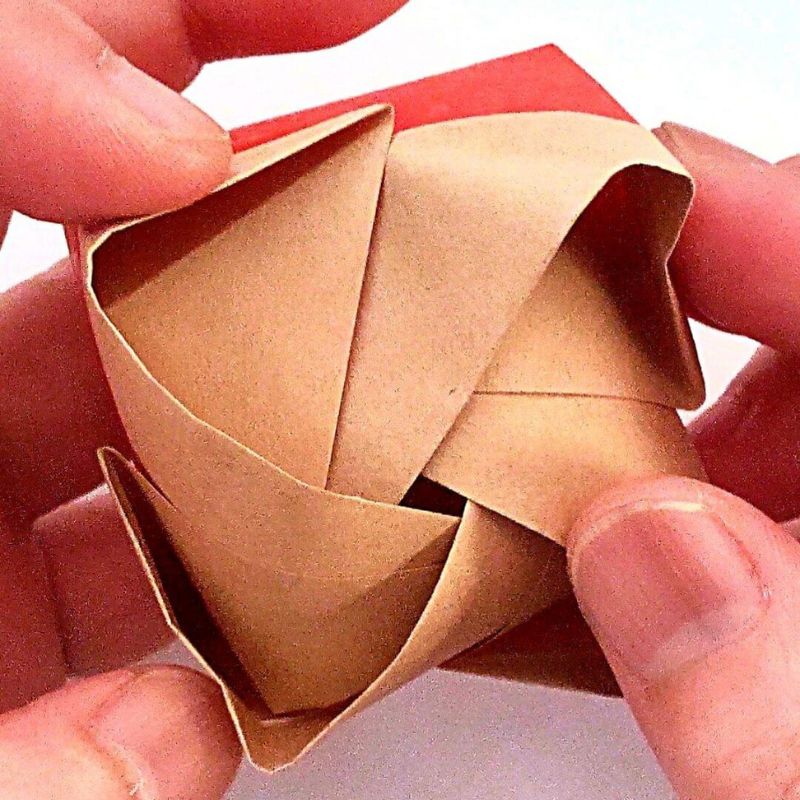
Fold the last corner over and tuck it into the first corner.
Finally, shape it into the desired form, and it’s done.
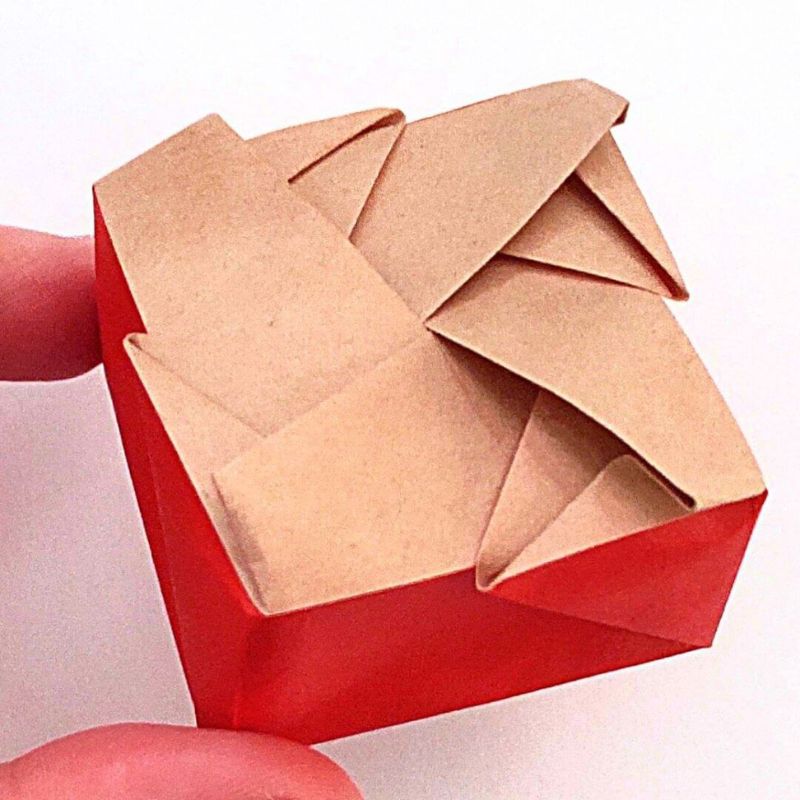
This is the first box I folded.
It’s a bit lopsided, isn’t it?
After practicing a few times to see if I could fold it neatly, I realized that the small square that forms the bottom of the box wasn’t actually a square.
So, when I focused on folding it so that the bottom of the box would be a square, it turned out perfectly.
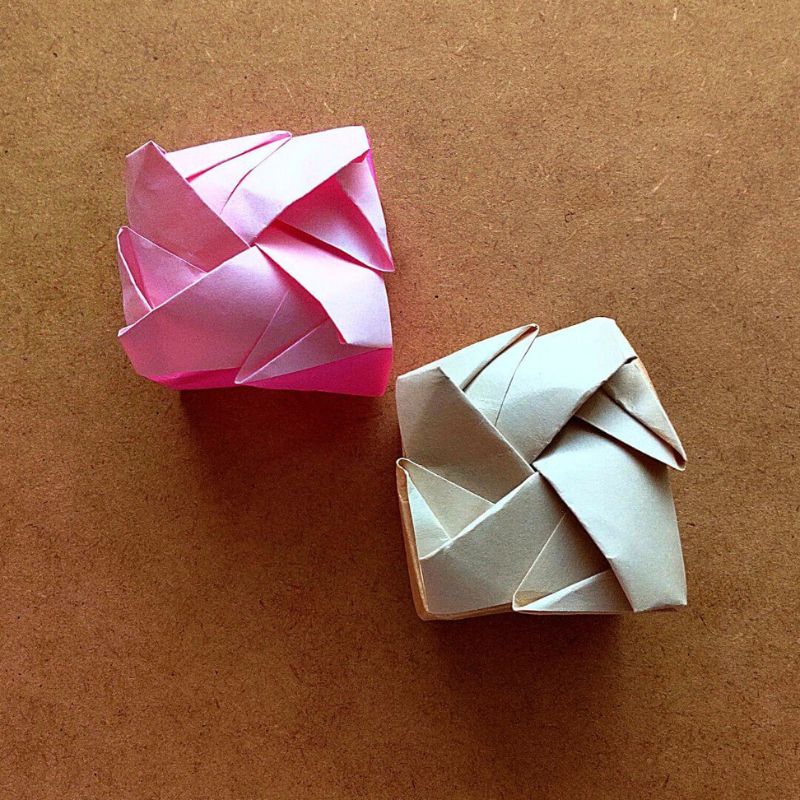
Finished Size
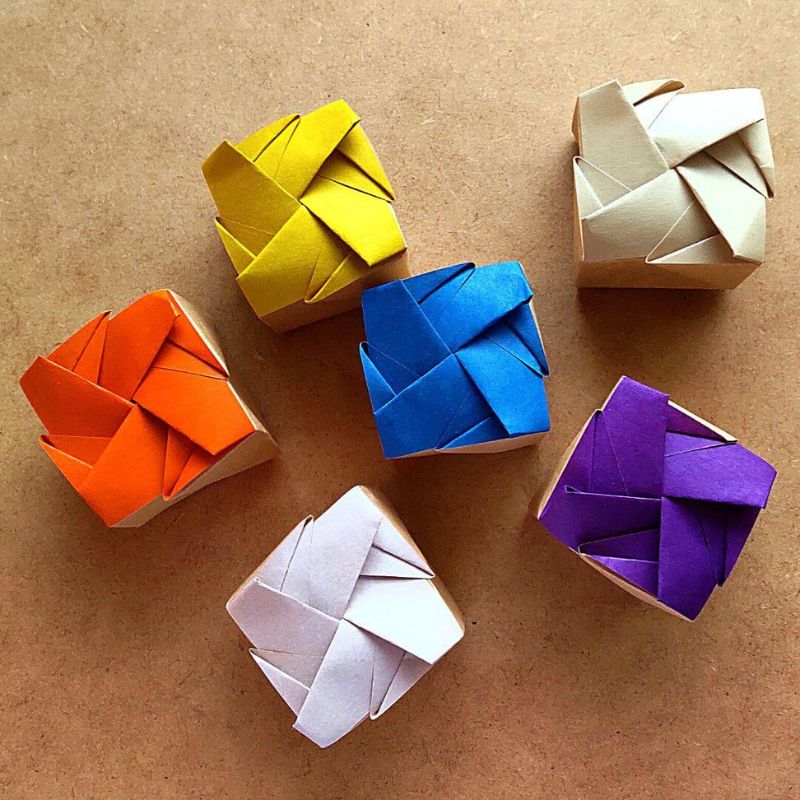
This was folded from a 15cm × 15cm sheet of origami paper.
Height: approx. 3cm
Base: approx. 4.5cm × 4.5cm.
This is one-quarter the size of the standard version.
I folded it using a 7.5 cm × 7.5 cm sheet of origami paper.
Height: approx. 1.5 cm
Base: approx. 2.3 cm × 2.3 cm.
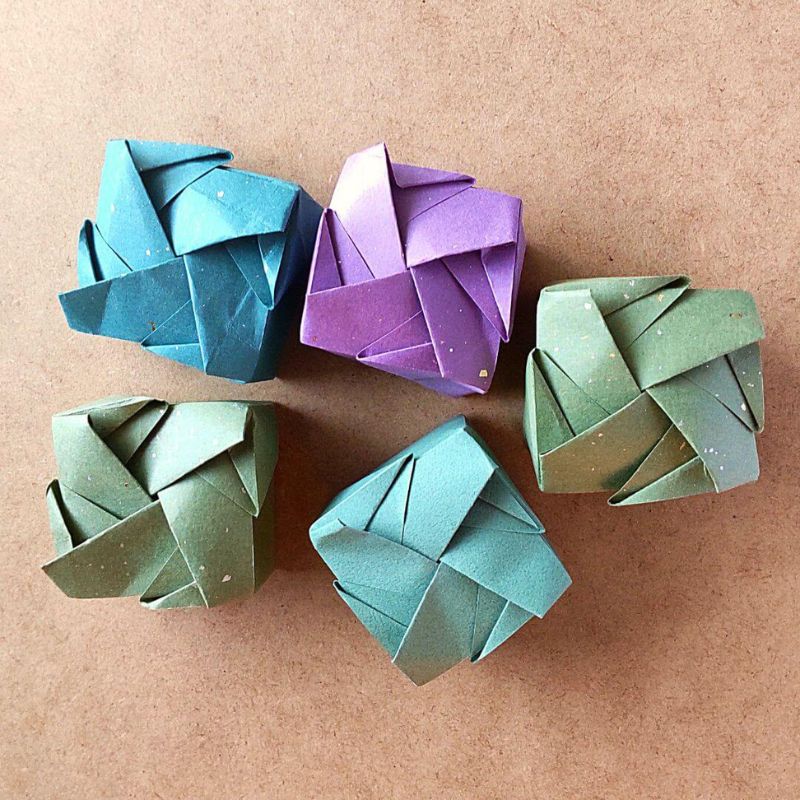
Using a Beautiful Box
You’ll end up with a box that closes securely.
It’s especially perfect for holding small gifts.
Watch a video tutorial on how to fold it
On Pinterest, we show you how to fold it in a video.

In Conclusion
That concludes our guide on how to fold a beautiful box.
Using sturdier origami paper will result in a more solid box.
It’s fun to think about what to use it for and what to put inside.
 yurari
Take your time, breathe, and enjoy the quiet magic of paper.
Comments
List of comments (2)
Lovely box, thank you I made it with a 7.5 cm paper.
It’s so skillful to make something out of small paper.