
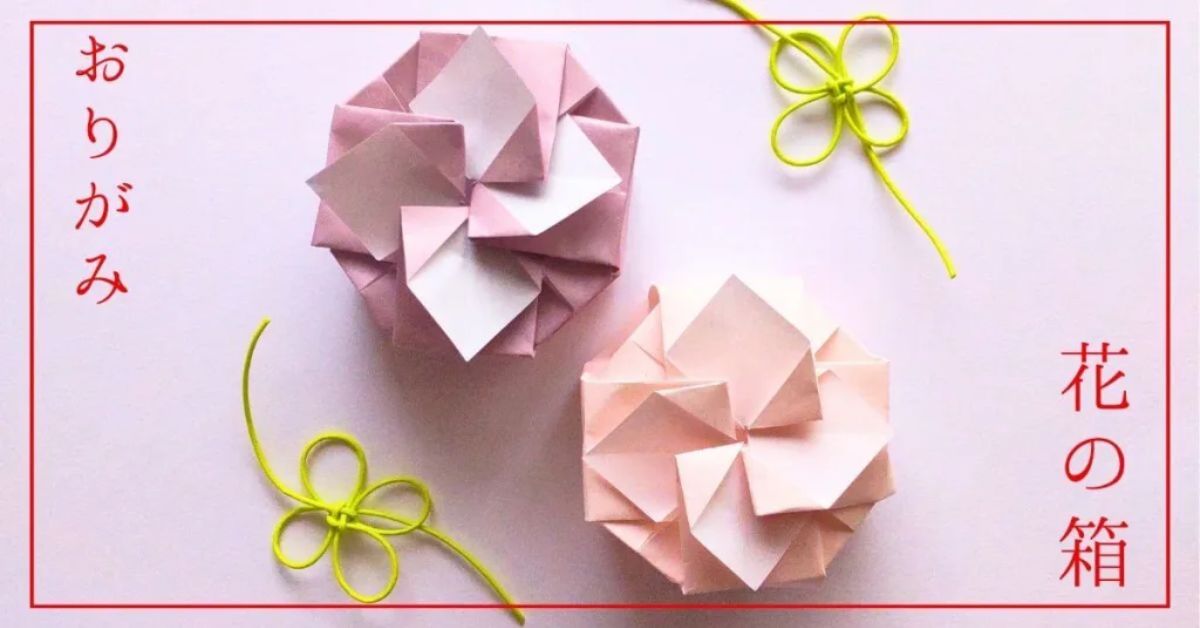
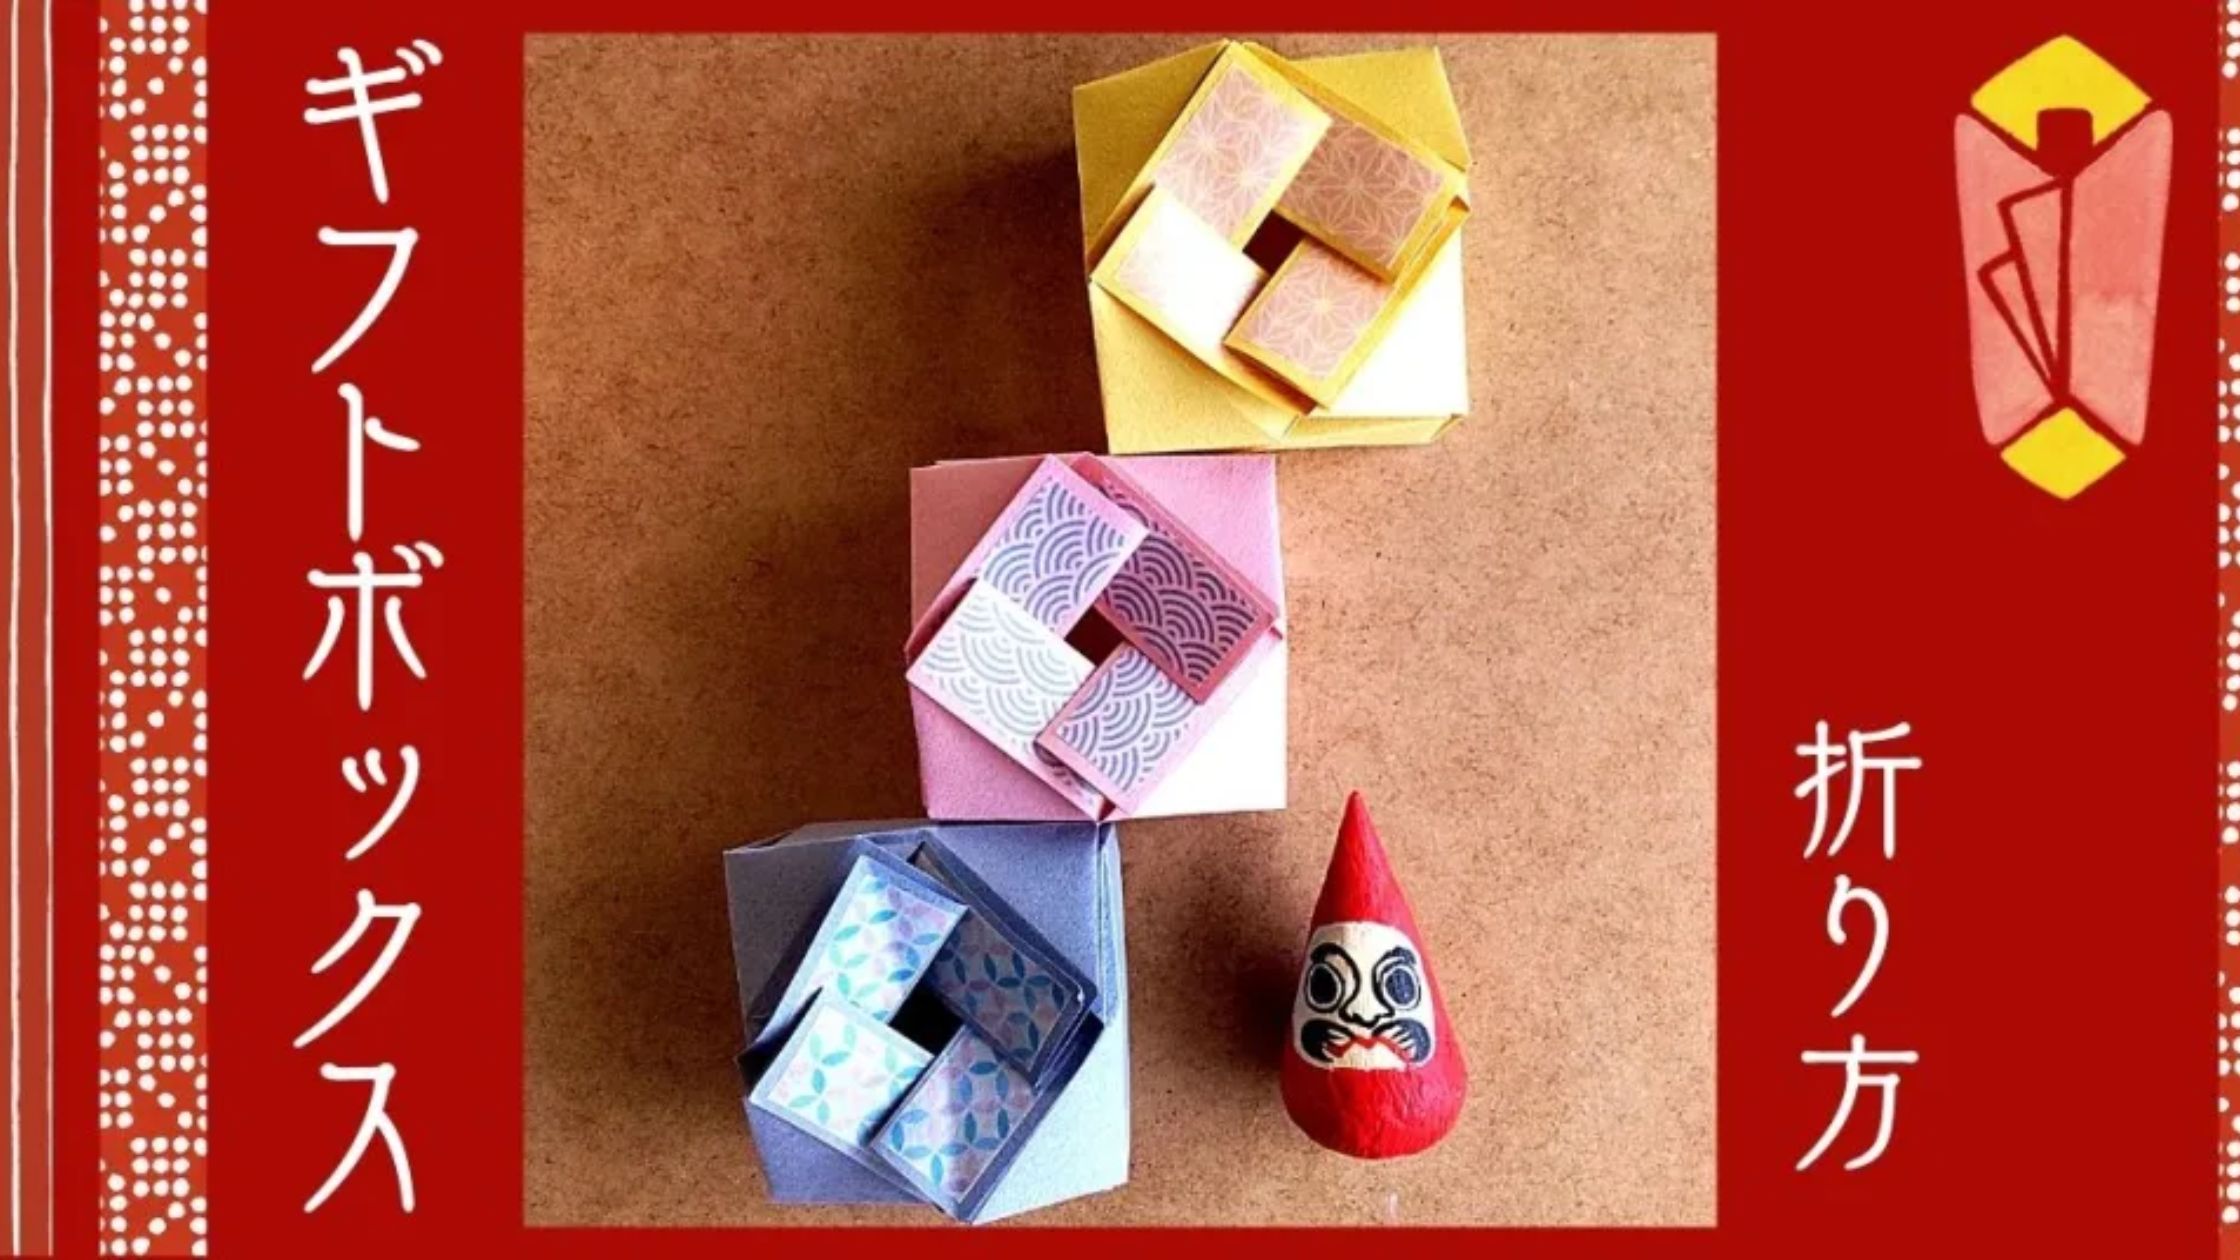
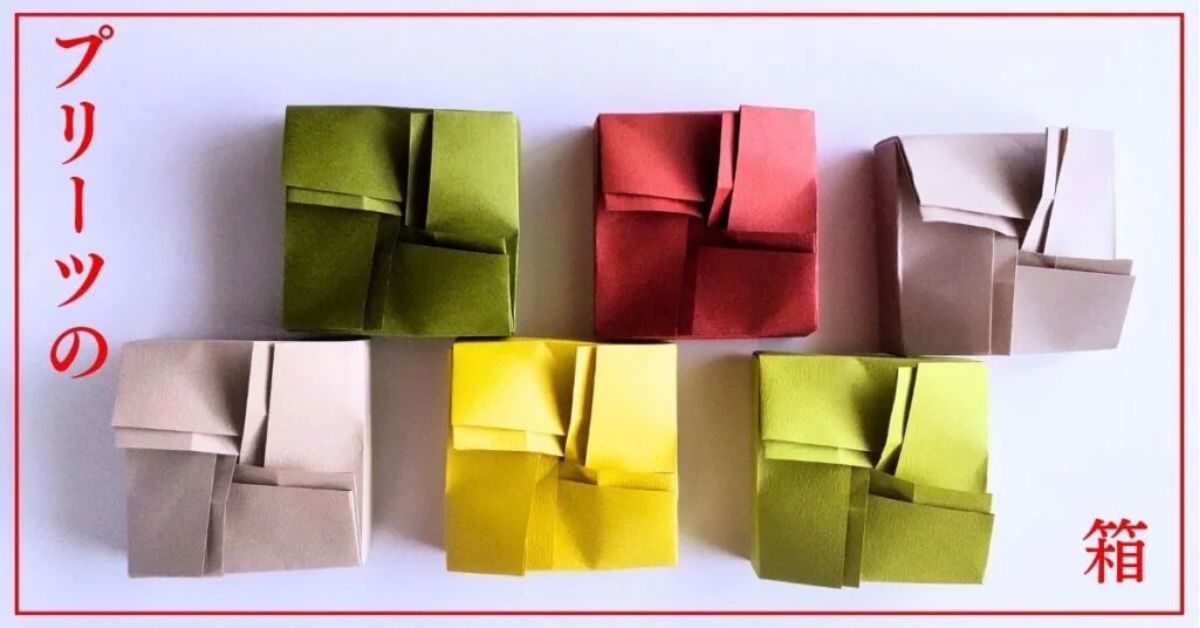
Here’s a guide on how to make a pretty flower box.
This box requires a lot of creases, but the process isn’t complicated.
However, there are quite a few repetitive steps.
I hope you enjoy the excitement of folding it into a box shape.


Folding Instructions
I made it out of 15-centimeter origami paper.
Make a crease

Let’s get started.
Fold it in half to form a square, then fold it in half again to form a triangle.
Next, fold the corners toward the center, then unfold them.
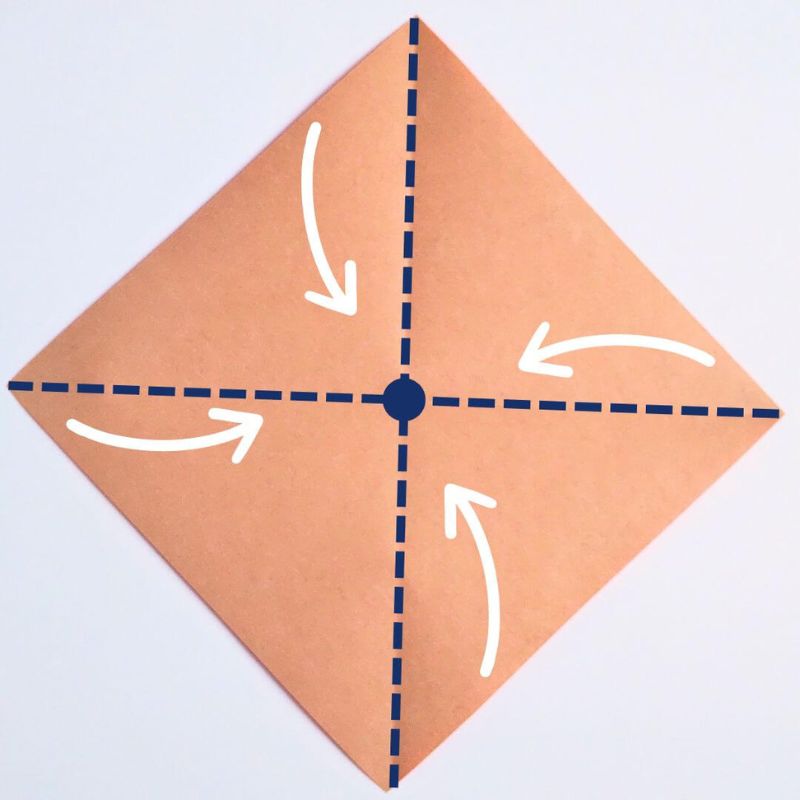


Turn it over and fold the bottom corner along the crease you just made.
Repeat this process with the remaining corners.


I’ll turn it over again.

Fold along the crease you just made, aligning it with the center line.
Next, fold the top and bottom corners together.


Fold along the center line.
Then, rotate it 90 degrees.

The shape is slightly different, but fold it the same way as before.
I think it will be easier to fold since there are markings to guide you.
Align the star markings and fold, then fold back along the center line.


Similarly, align the star marks and fold, then fold back along the center line.


Next, we’ll crease the parts that will form the lid of the box.
Align the star marks.
Then, fold along the center line.
Repeat this for all the corners.


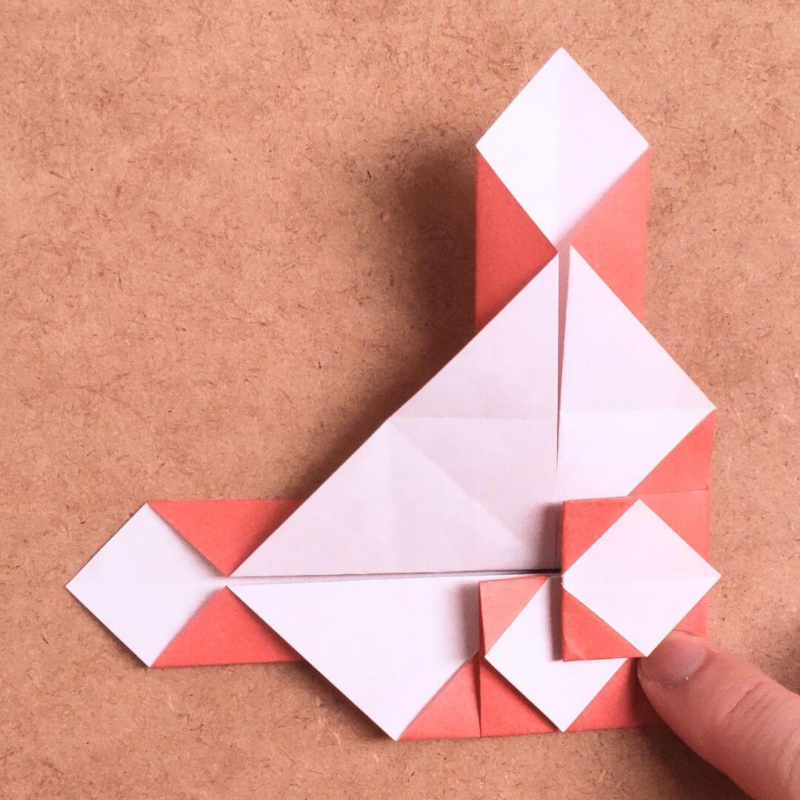


Once you’ve folded it this far, flip it over.

Once you’ve folded it this far, flip it over.
Then, everything will open.

Open it up and crease it a little more.

Now, there’s just a little bit left to fold.
First, make creases in each of the four corners.
Then, make creases at the four corners.


Next, fold it into four sections.
I think it’s easier to fold if you flip it over first.

Now it’s time to shape it into a box.
Let’s fold them up and put them in the box.
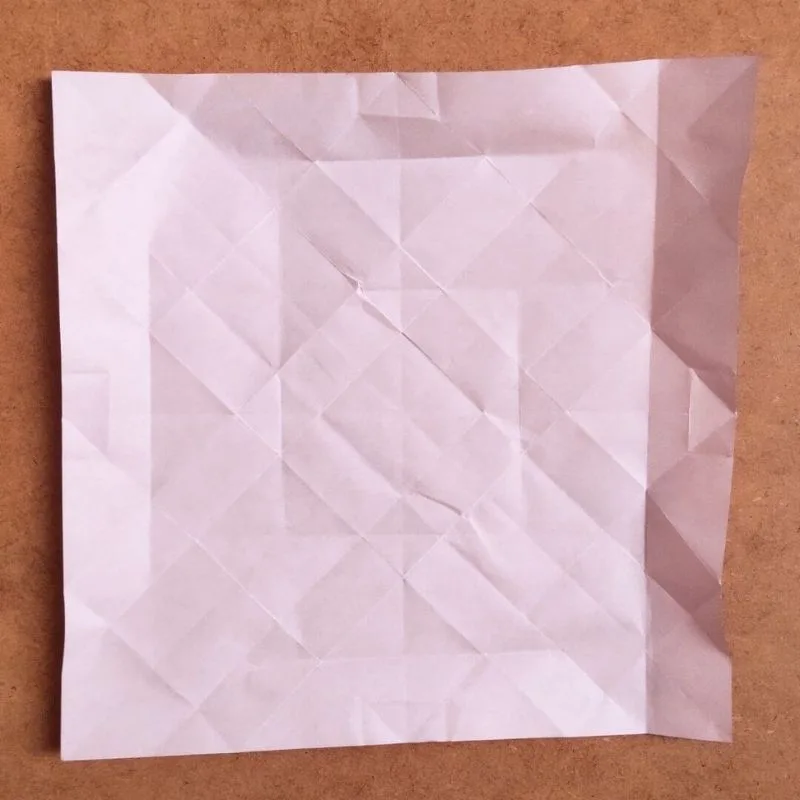
Unfold the origami paper, which has had many creases made in it so far.
Fold the line along the mountain fold, fold the dotted line along the valley fold.
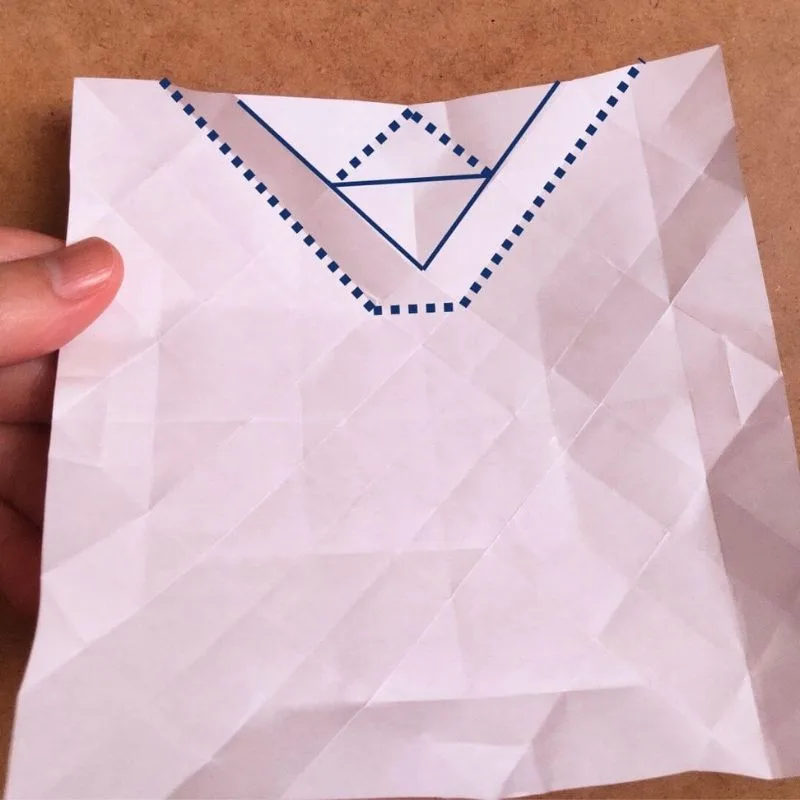
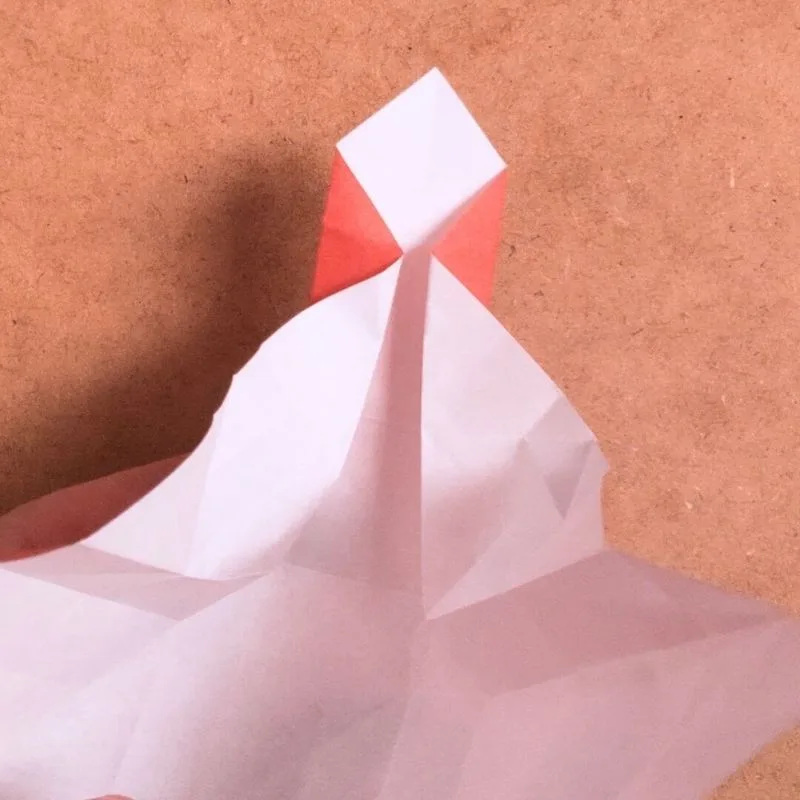
First, fold both corners into this pointed shape and take a close look at the crease in between.
If you spot a triangle between the corners, you’ve got it.
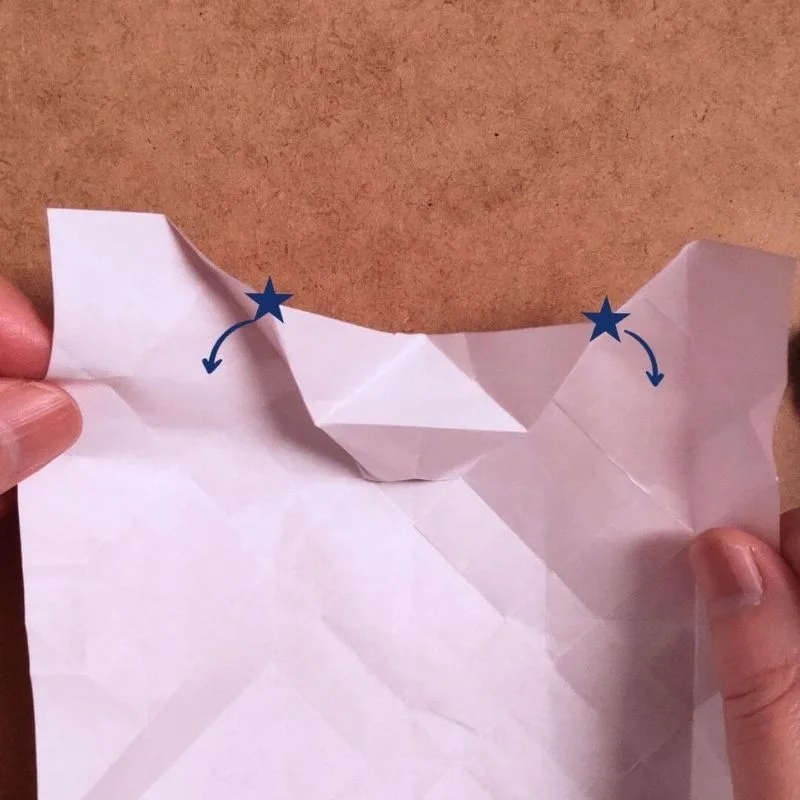
Actually, I find it easier to fold if you only fold the side marked with a star.
Once you’ve made it a few times, you’ll get better at spotting the triangle.
Place the star-marked part against the corner.
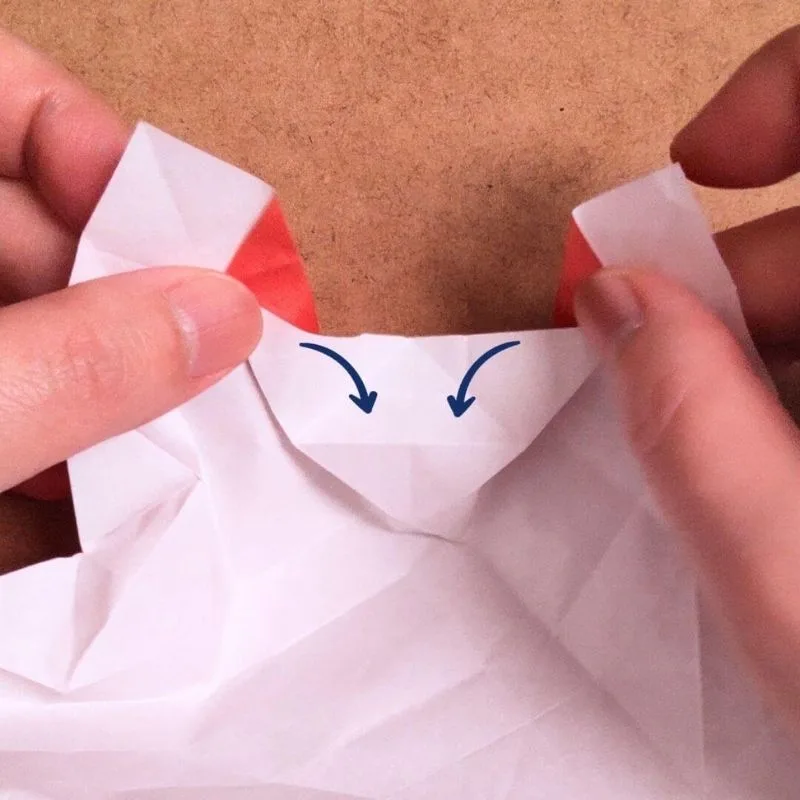
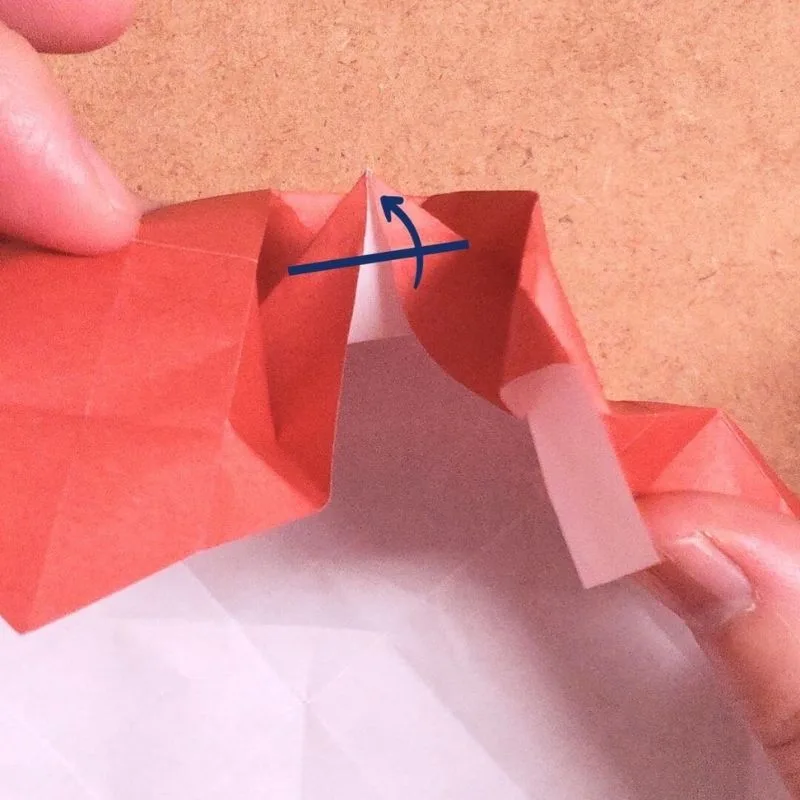
Next, fold along the crease in the direction of the arrow to reveal the front side.
This will create a sharp corner.
Then, fold the sharp corner backward.
Folding this sharp corner will secure the crease.
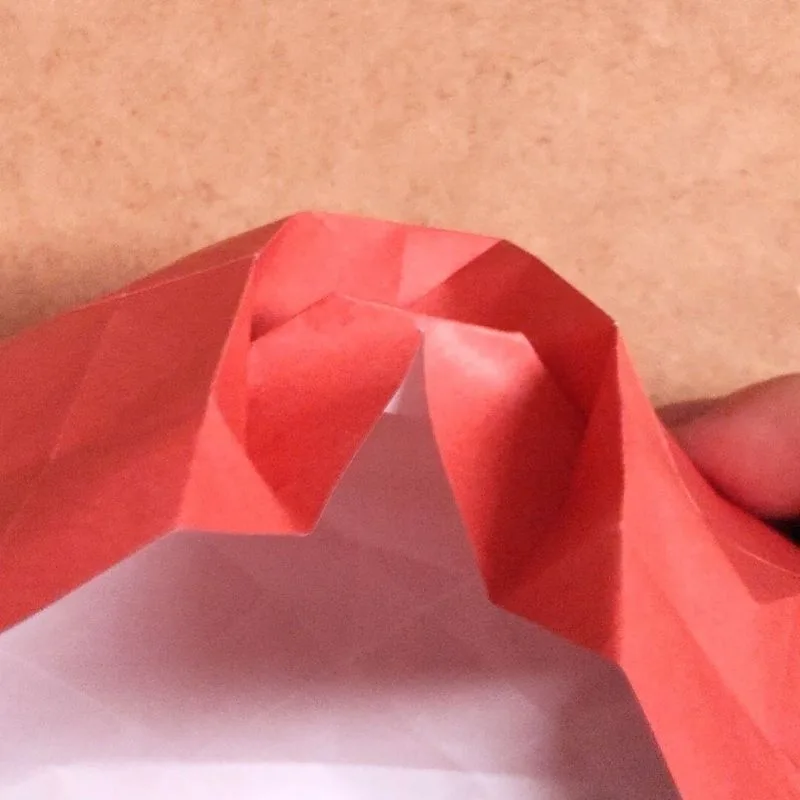
Here’s a view from the back.
The corners are sharp, though you can’t see them from here.
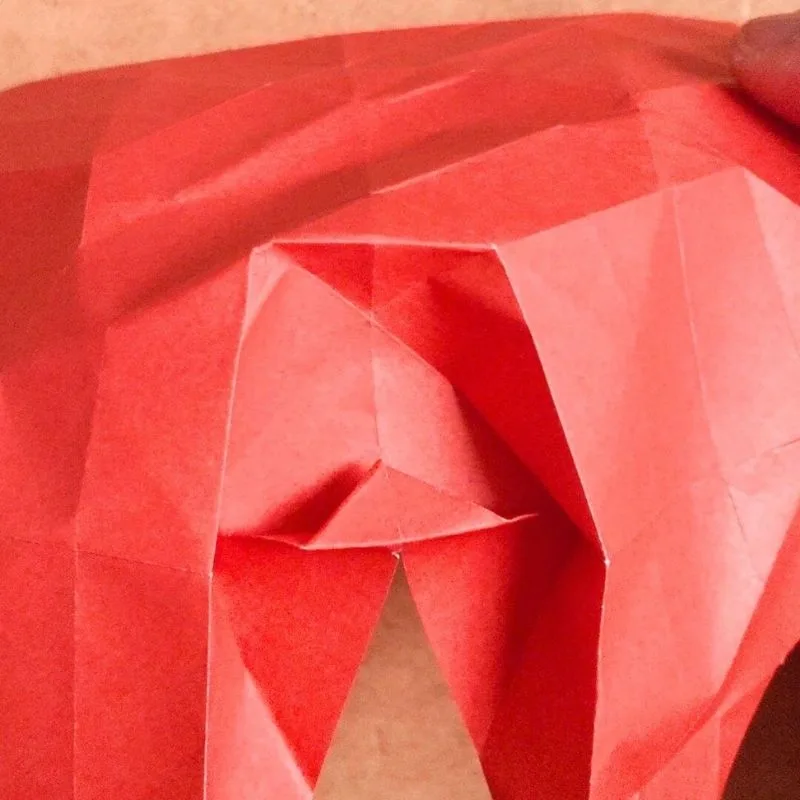
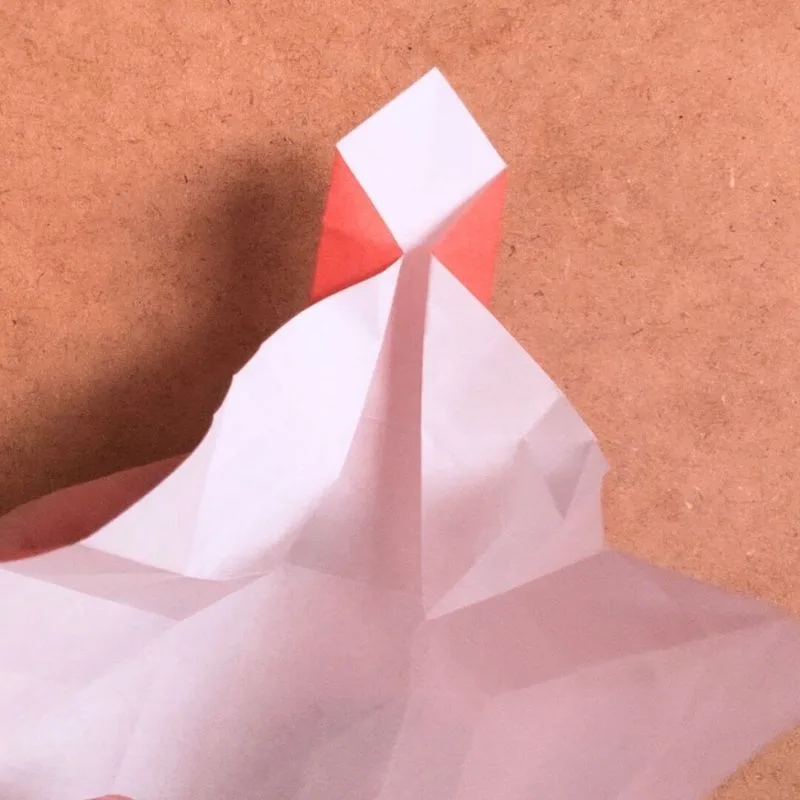
Fold the pointed corner three more times so that it takes on this shape.
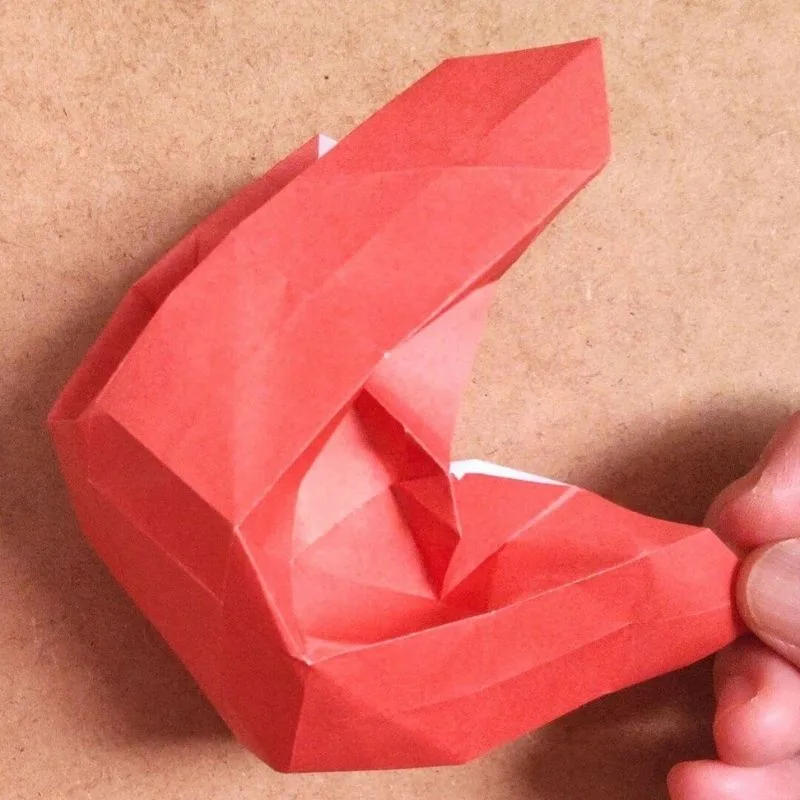
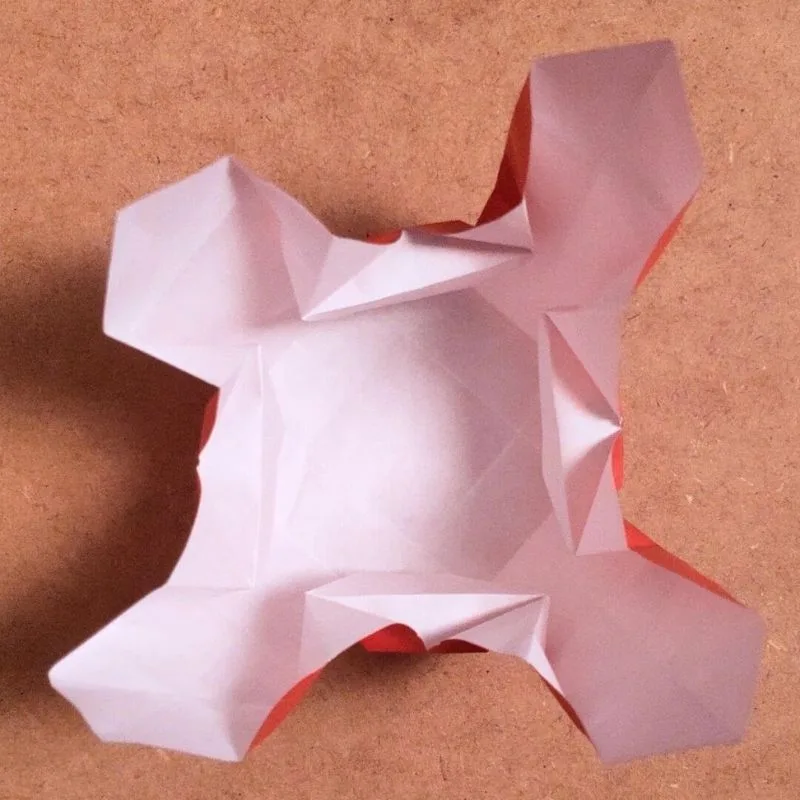
This is a view from above.
We’re almost there.
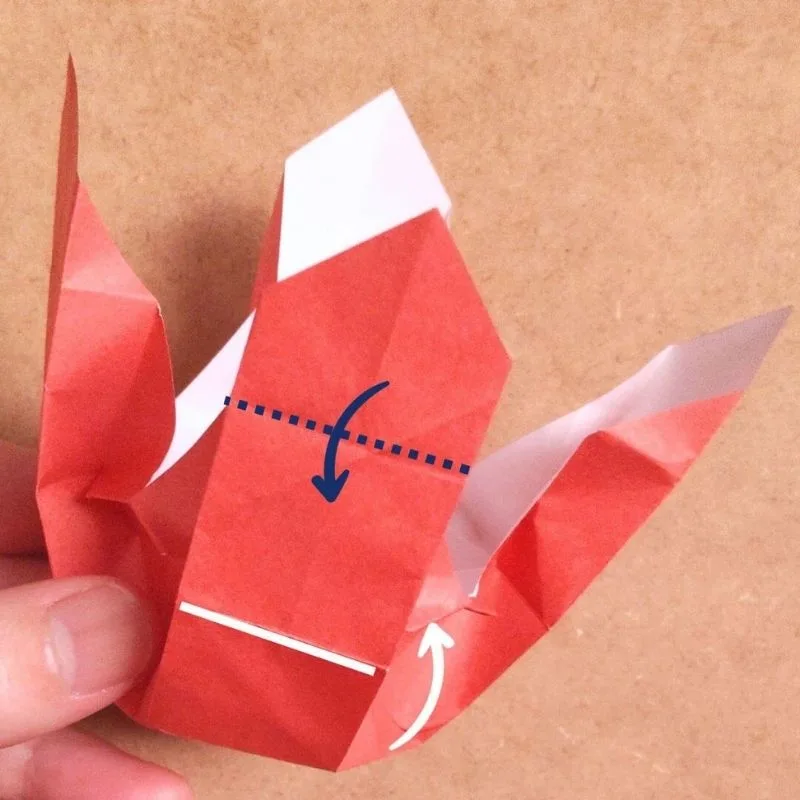
Fold along the crease, making a mountain fold and folding it toward the center, then make a valley fold at the tip and unfold it.
Continue folding the adjacent sections one after another.
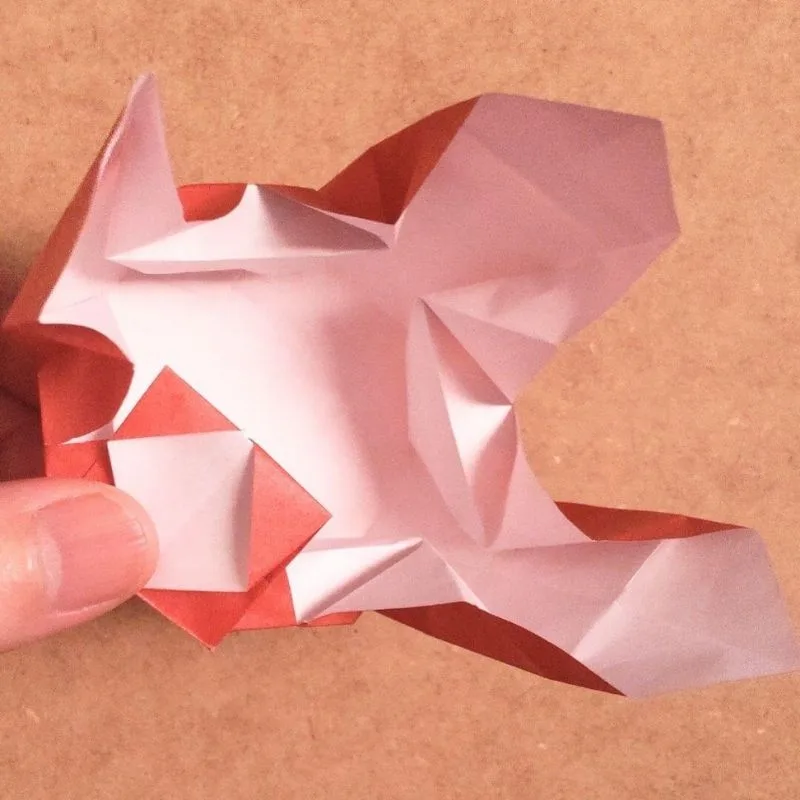
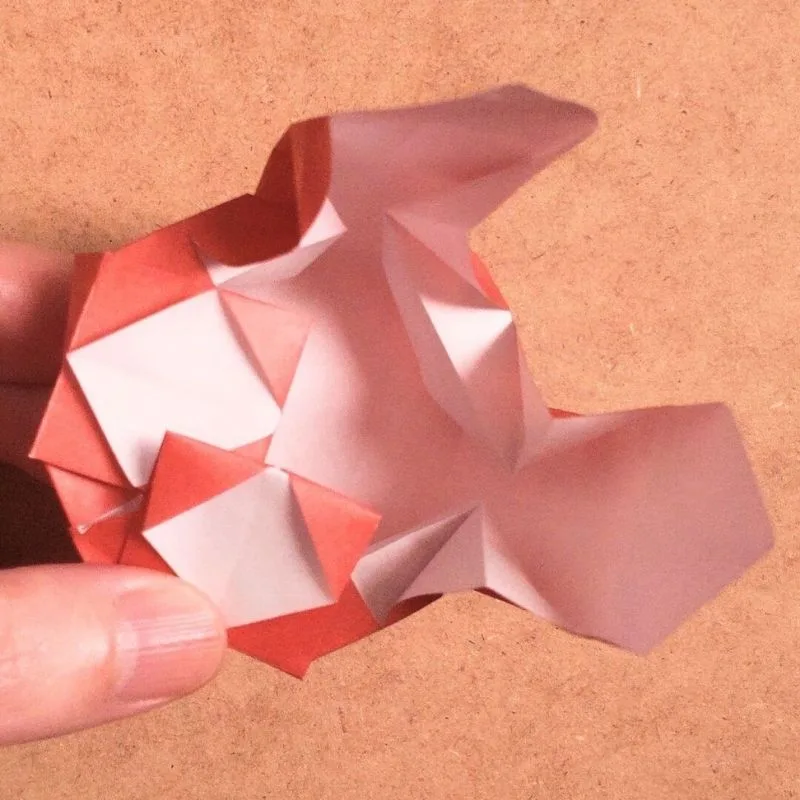
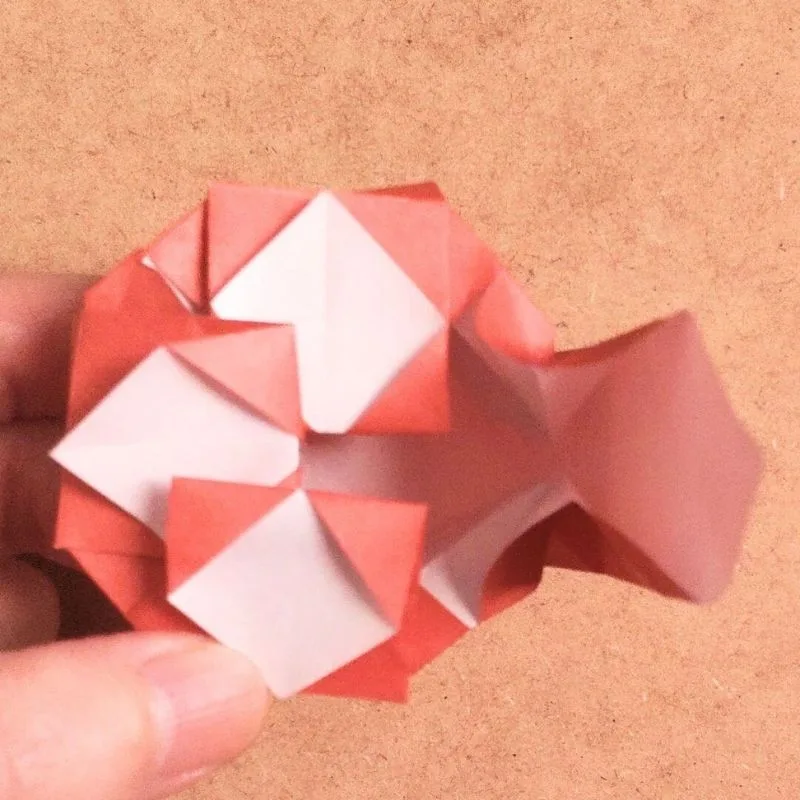
Fold the last one the same way.
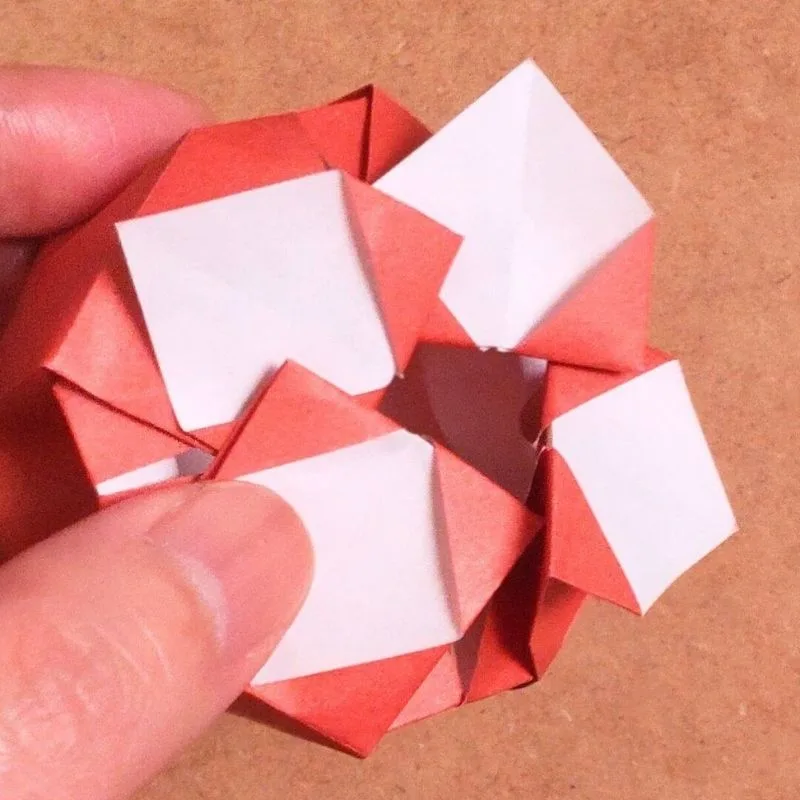
Then, slide one side into place next to the other and secure it.
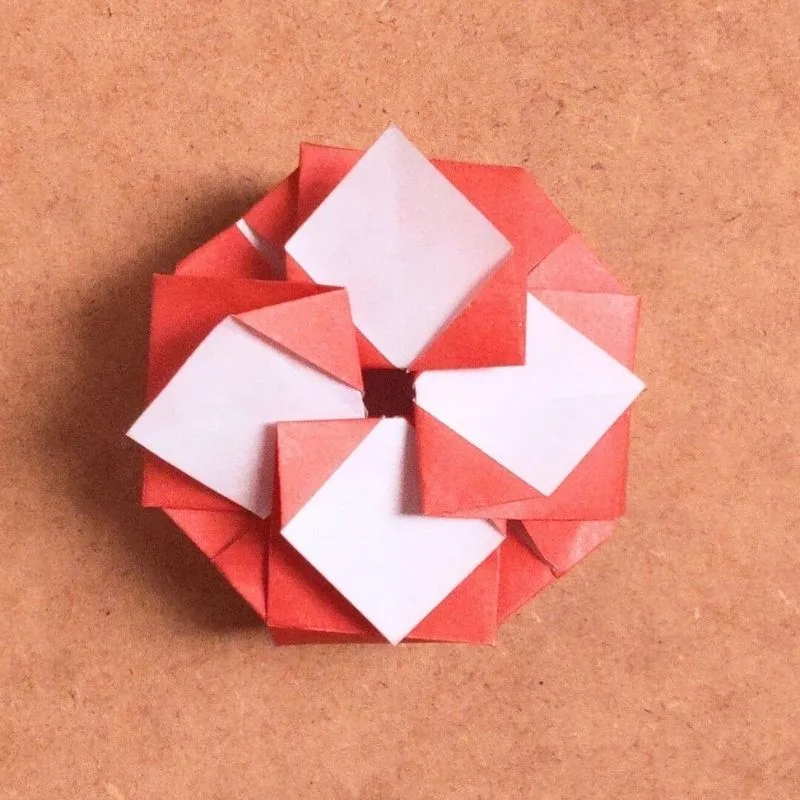
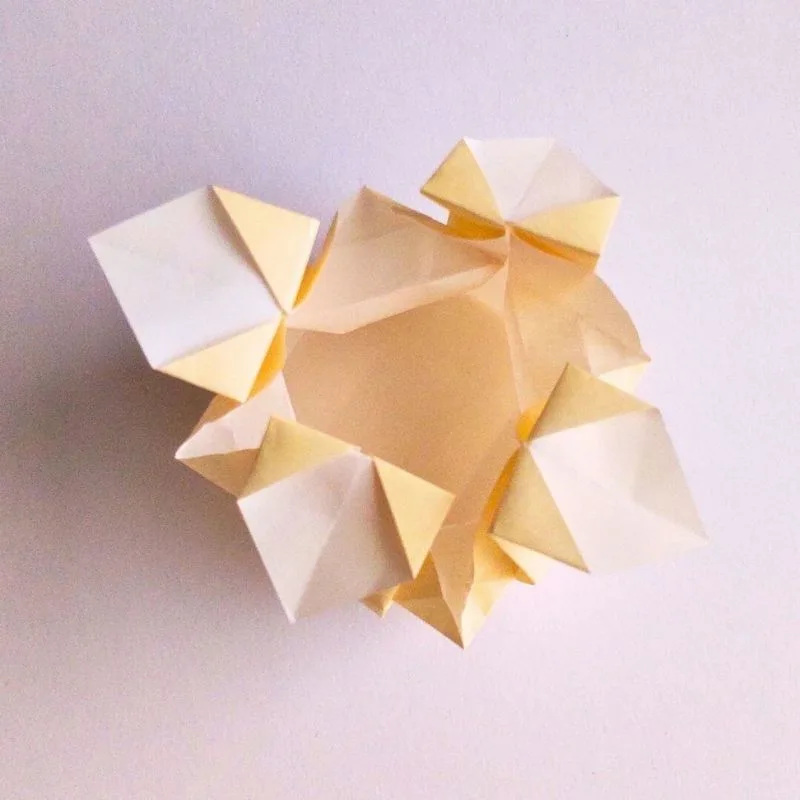
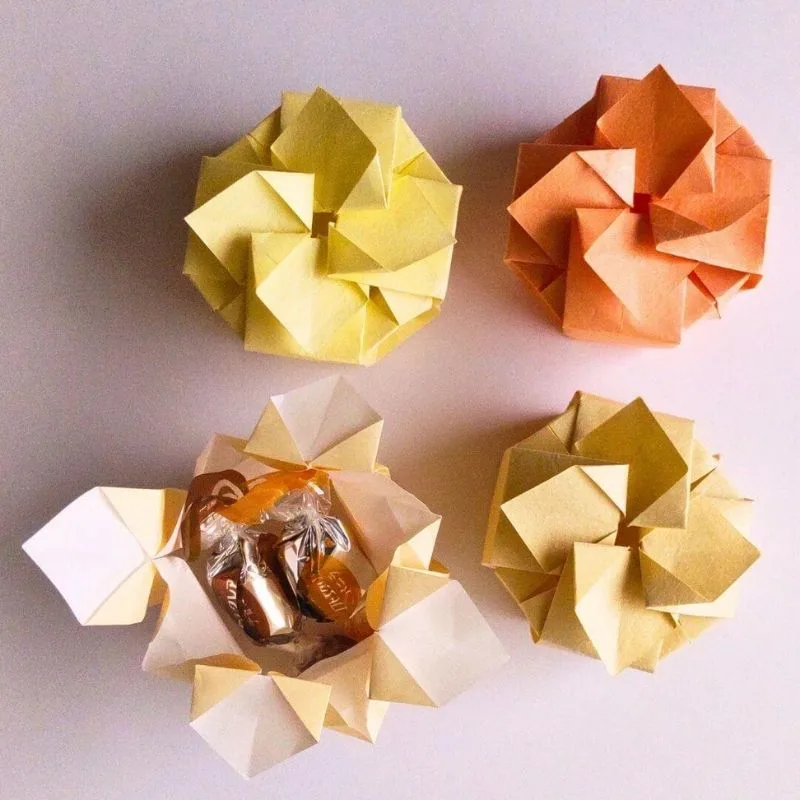
And there you have it—your flower box is complete.
How did it go?
Did it turn out well?
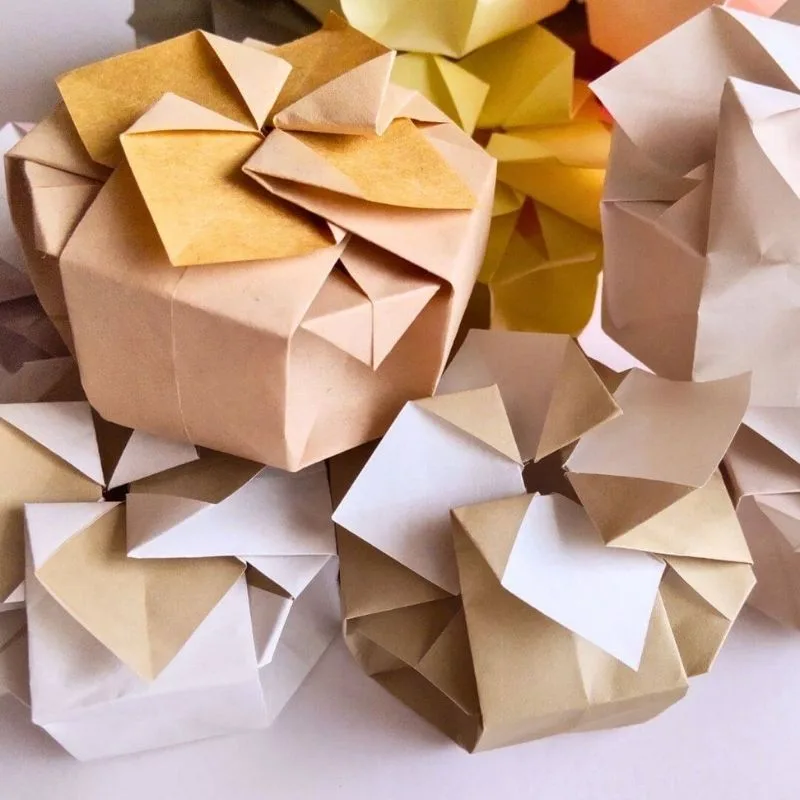
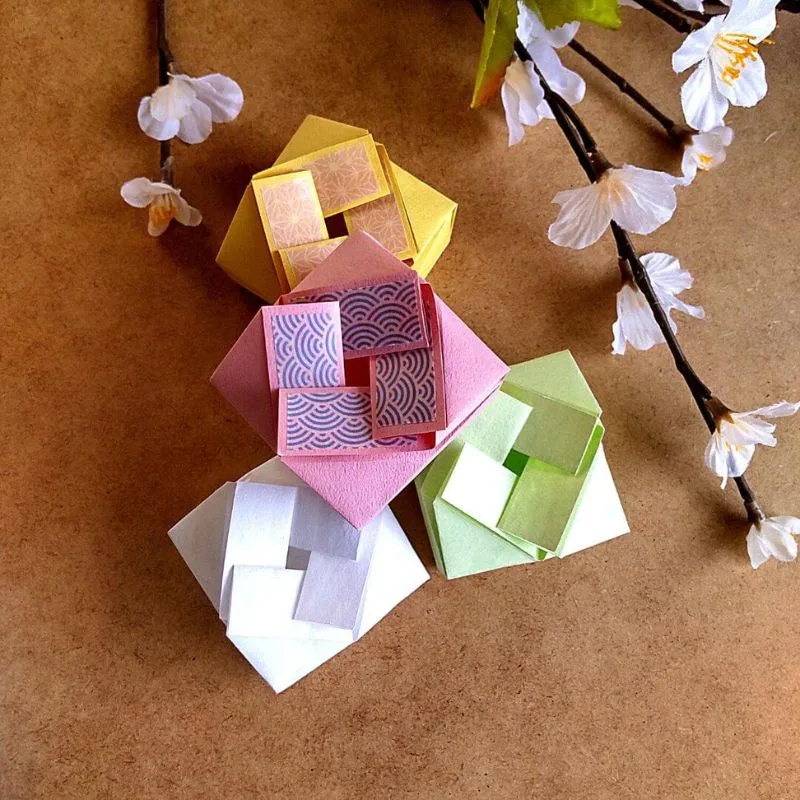
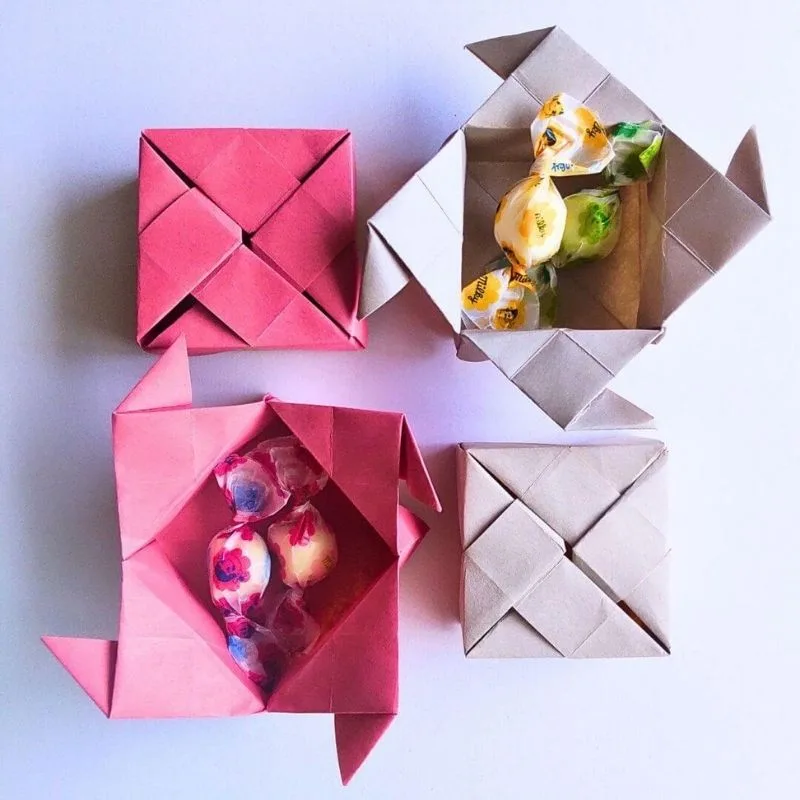
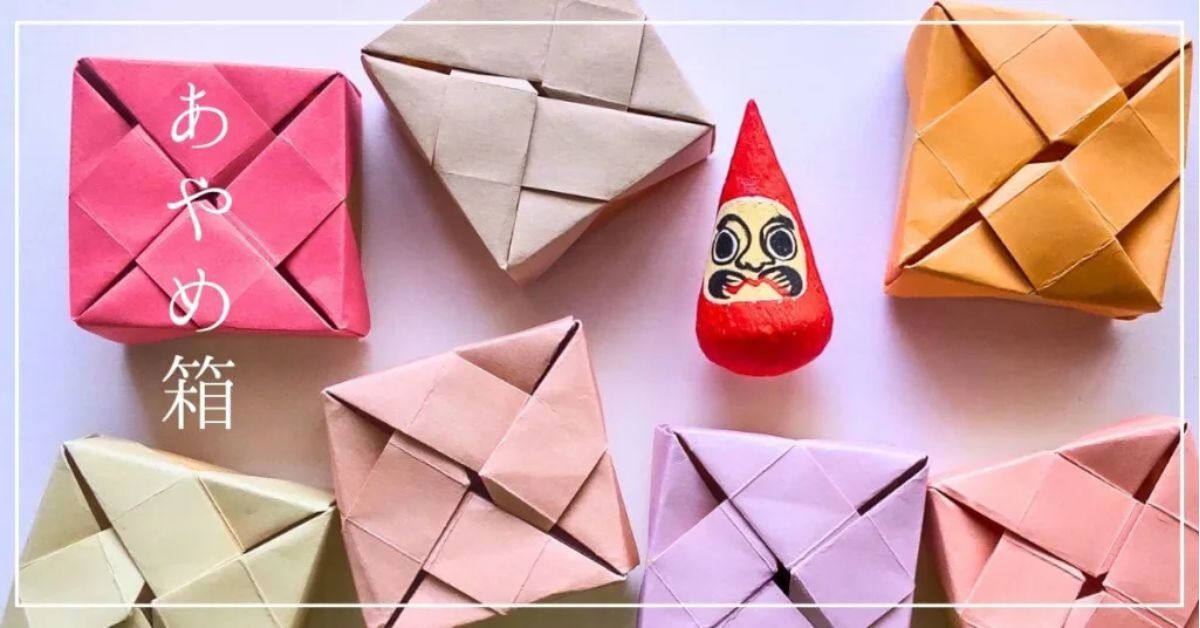
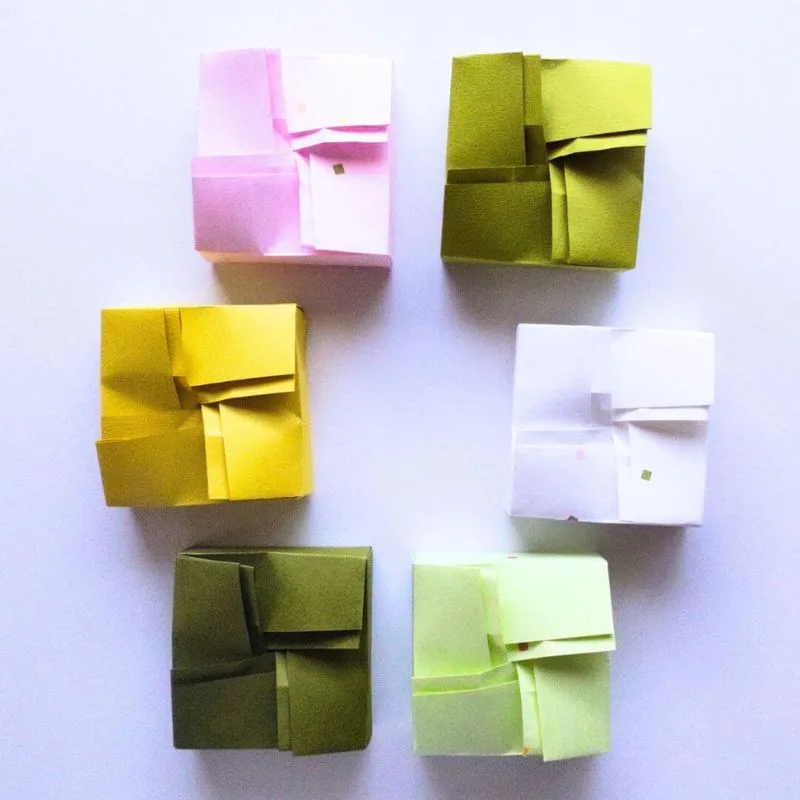
Other recommended boxes
Watch a video tutorial on how to fold it
On Pinterest, we show you how to fold it in a video.

In Conclusion
“I hope you enjoy the process of folding as much as the finished piece.
Don’t worry if it’s not perfect at first—every fold is a step toward your own unique creation.
Happy folding!