
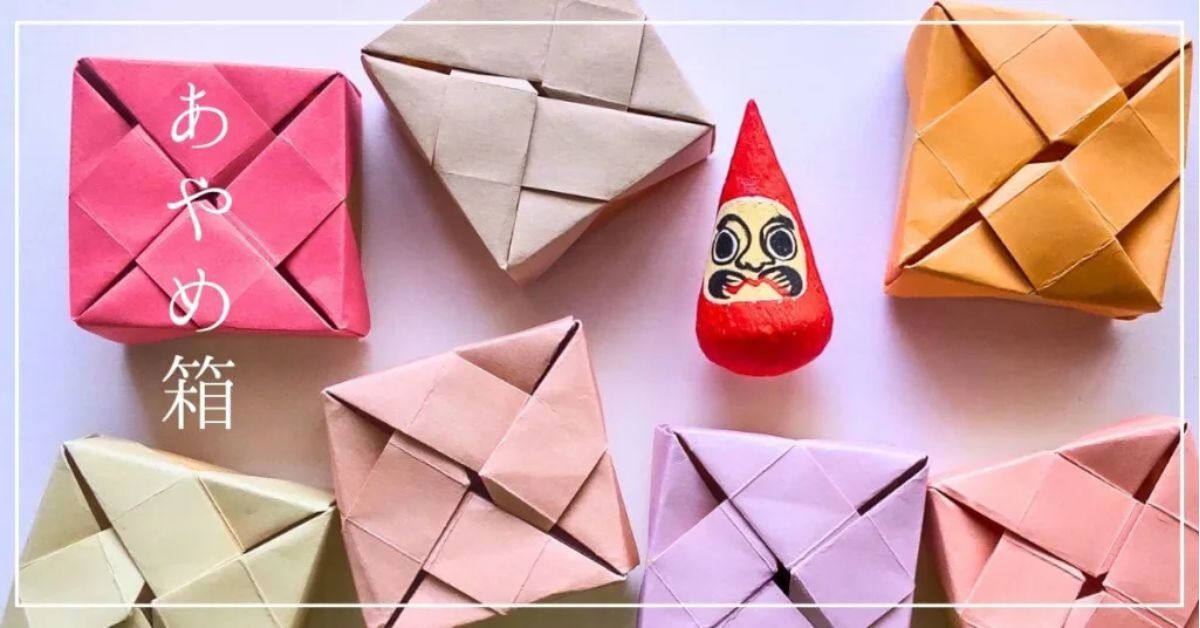
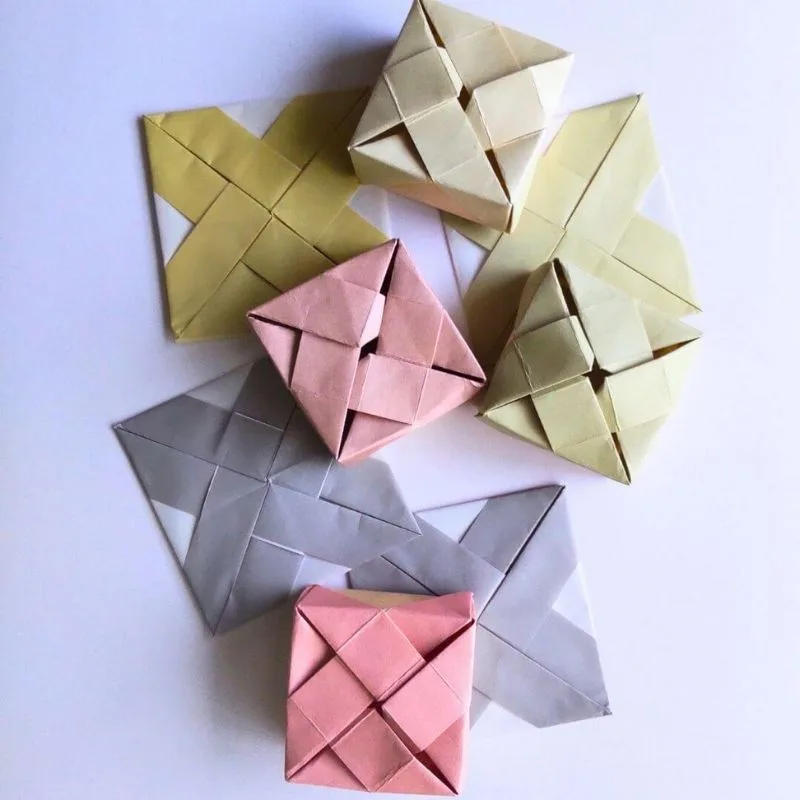
Here’s how to fold a lattice-patterned box.
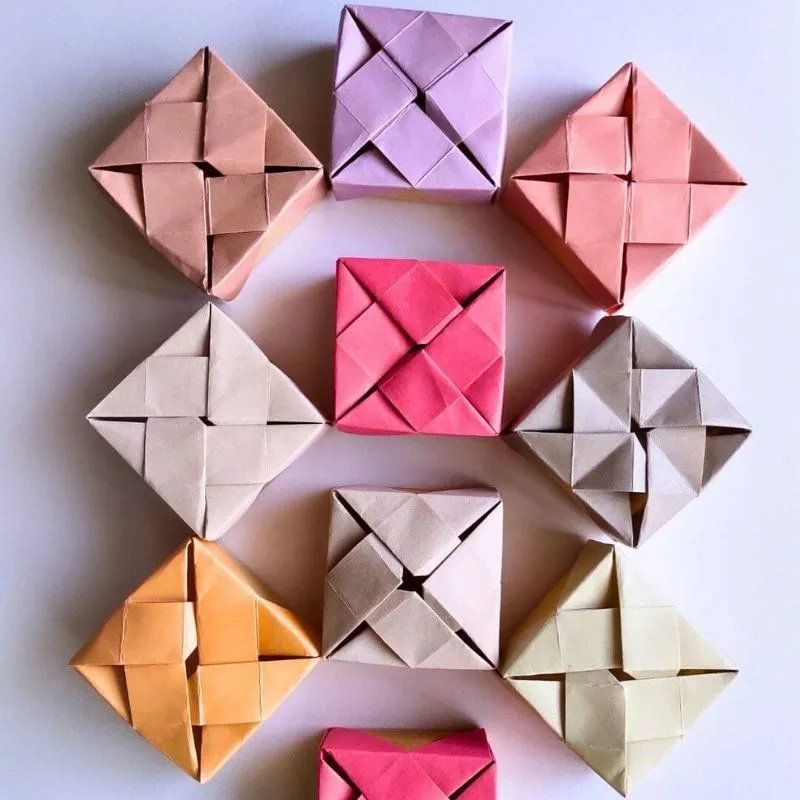
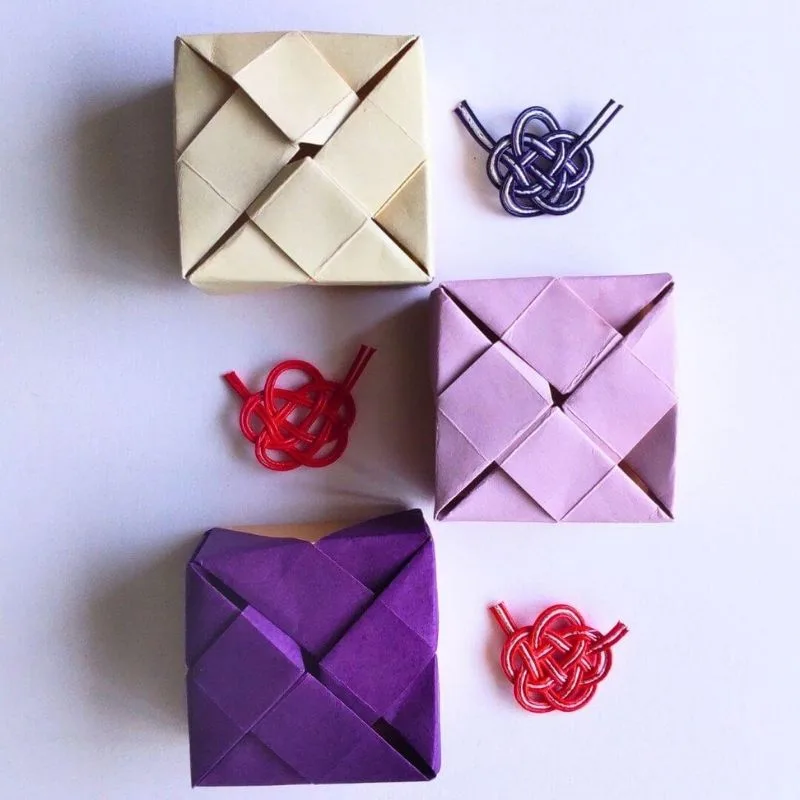
The intersecting folds create a lattice design.
You can also use the same pattern to make a pouch.
Folding the box is a bit more complicated than folding the pouch, but the joy of opening it is all the greater.
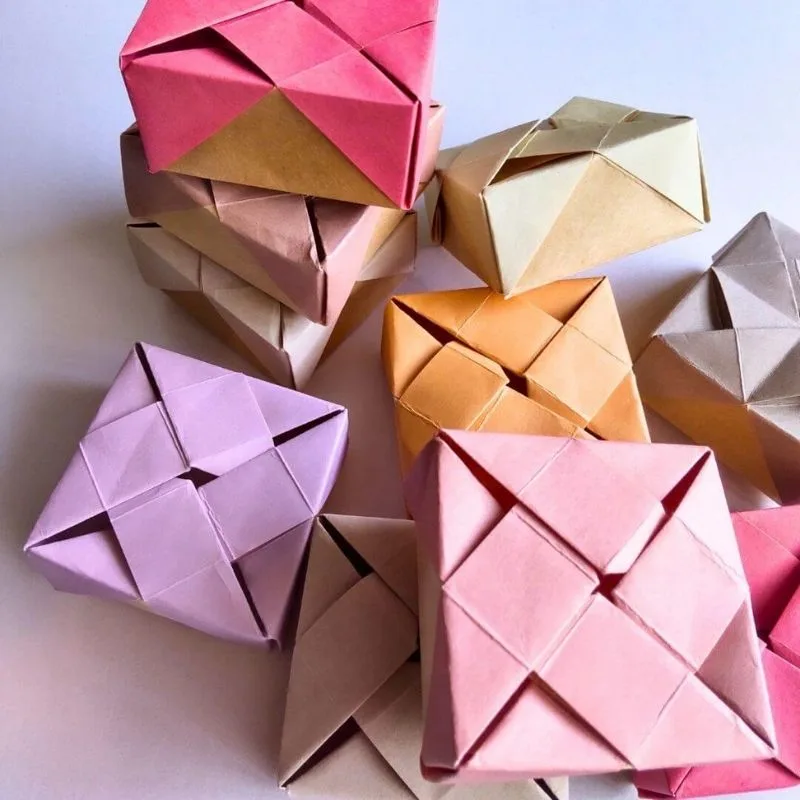
You’ll end up with a cute, palm-sized box.
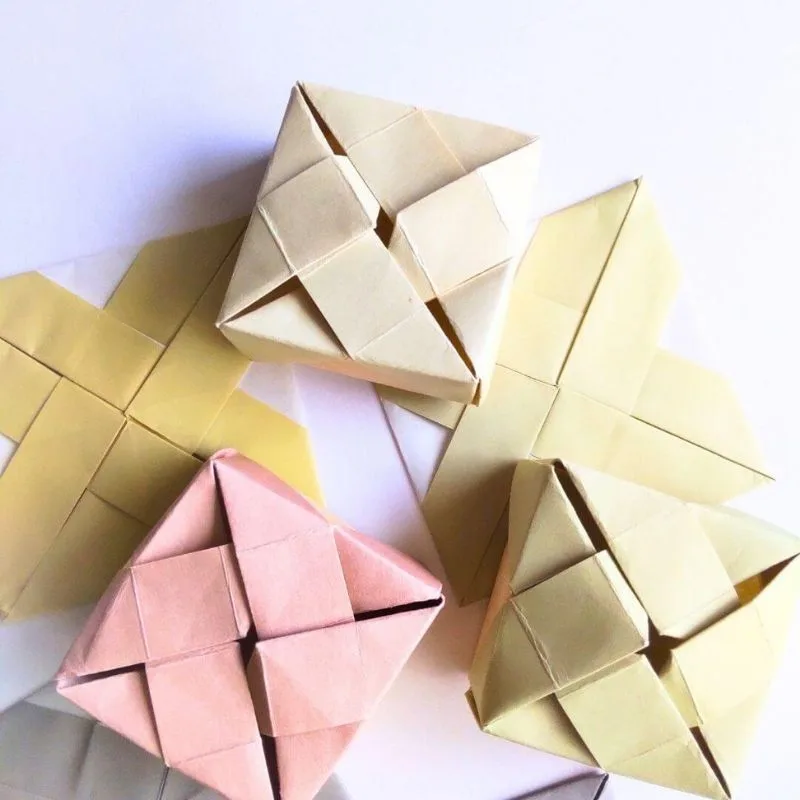
Folding Instructions
Let’s make a crease
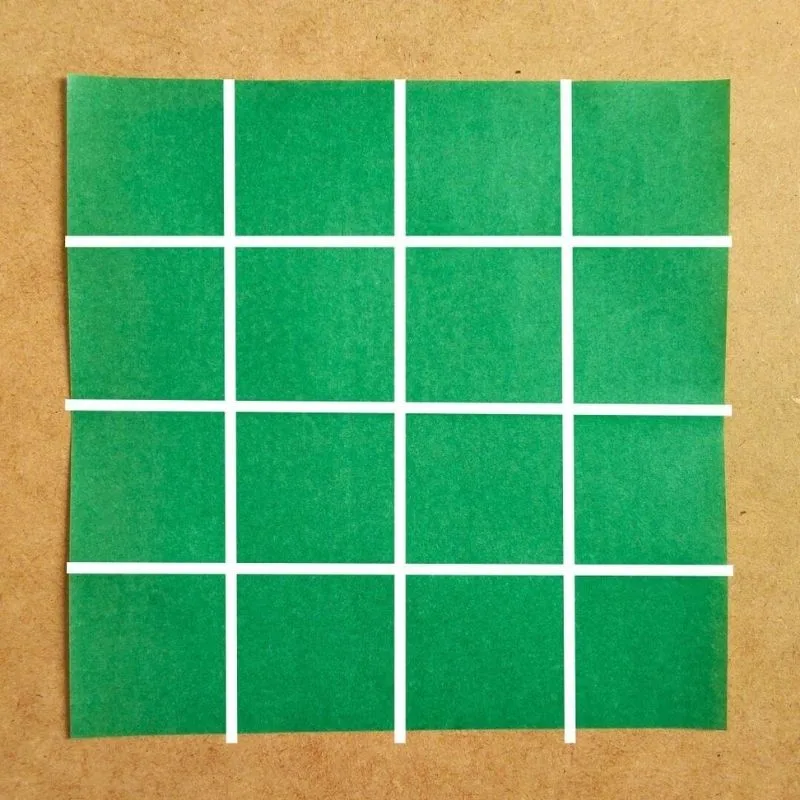
First, fold the paper so that it is divided into four equal parts both vertically and horizontally.
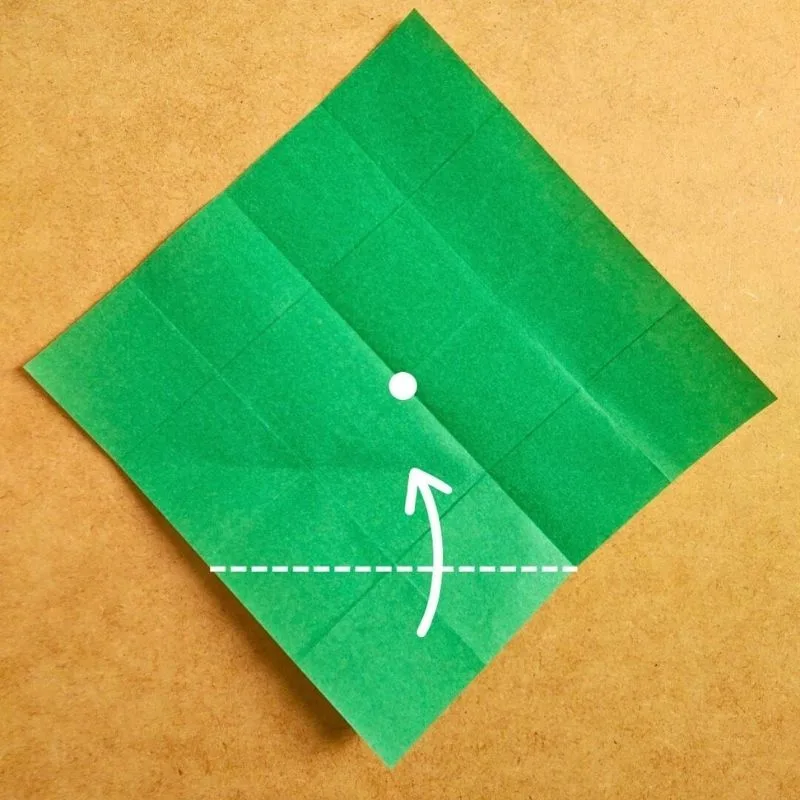
Next, fold it so that the corner is centered, then open it up.
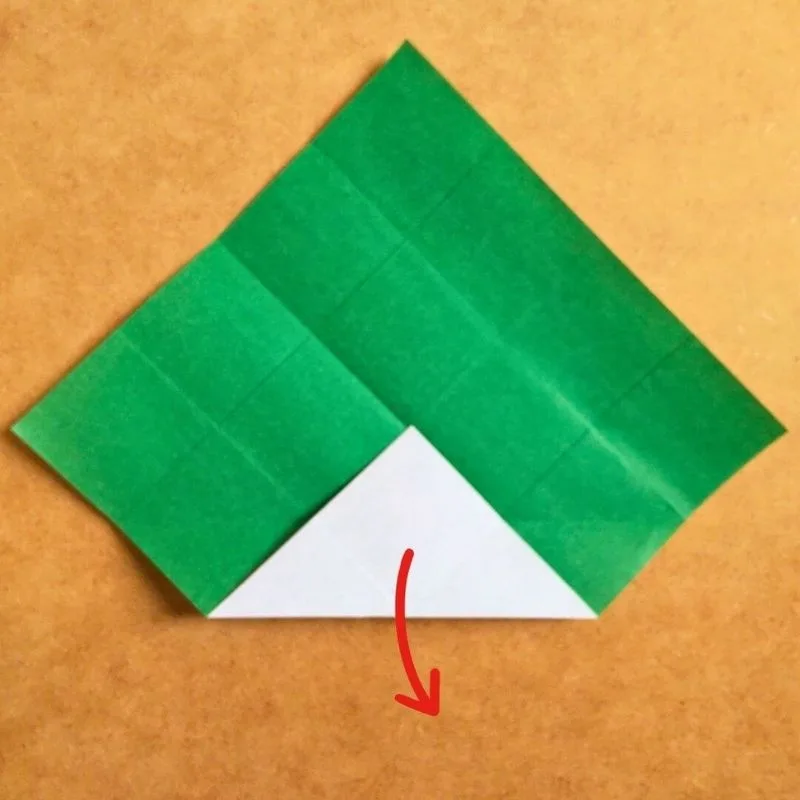
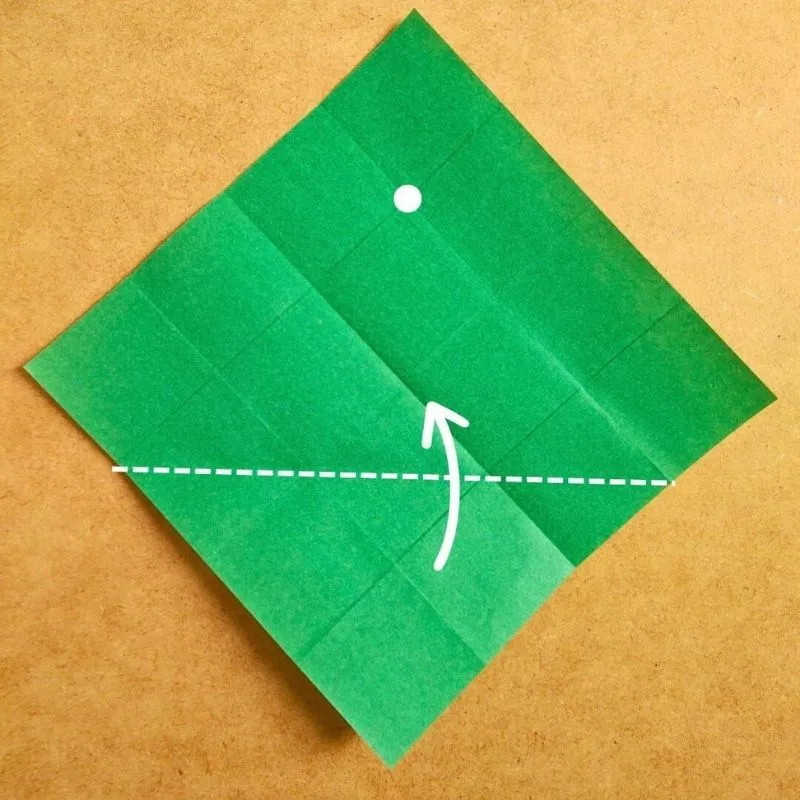
Next, fold along the top crease, then unfold.
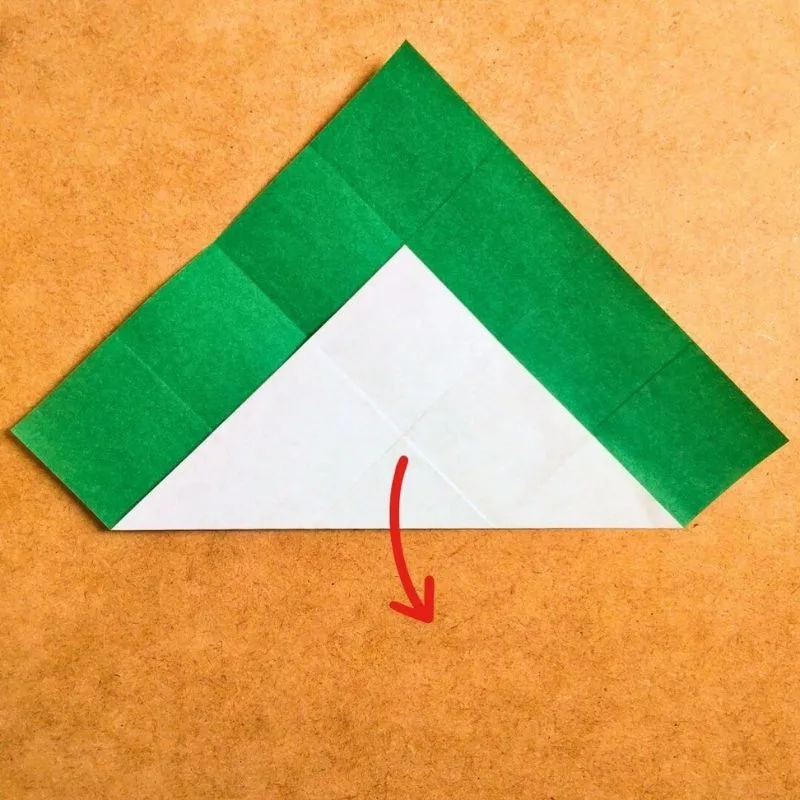
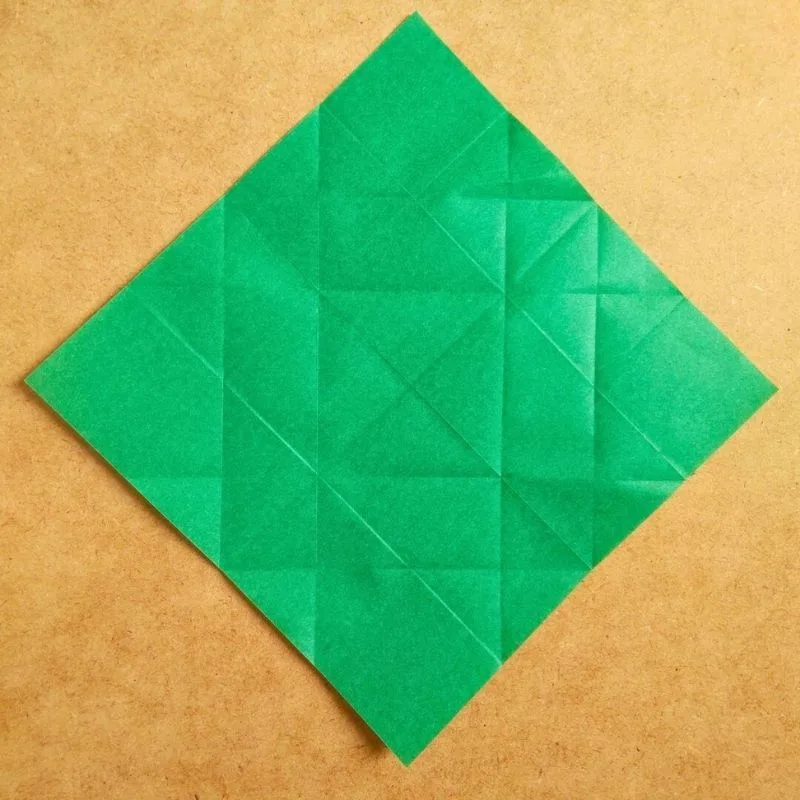
Next, crease the remaining corners in the same way.
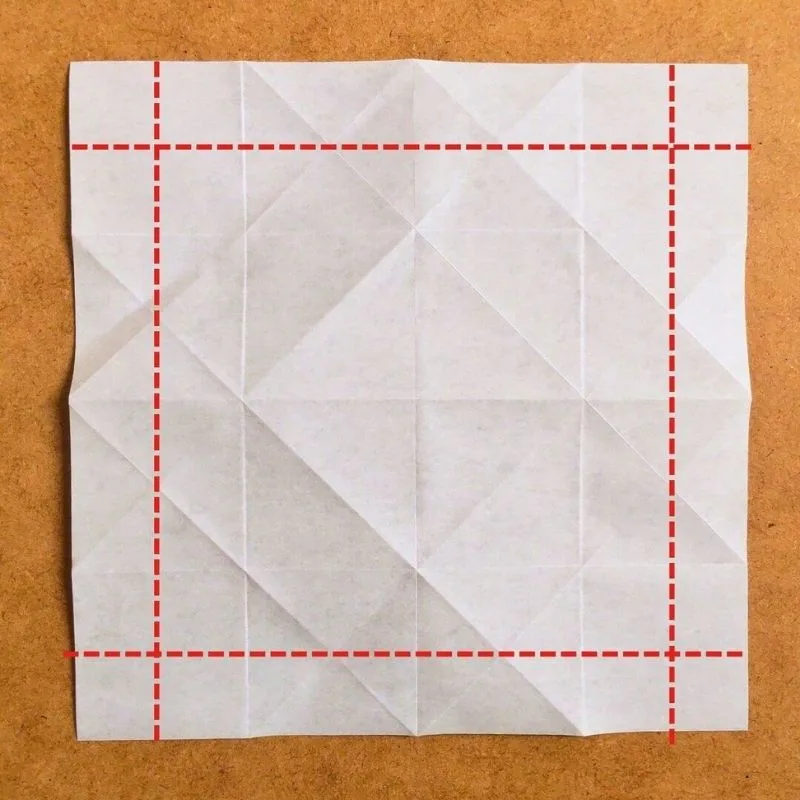
Now, using the creases that divide each end into four equal parts as guides, fold the paper into eight equal sections.
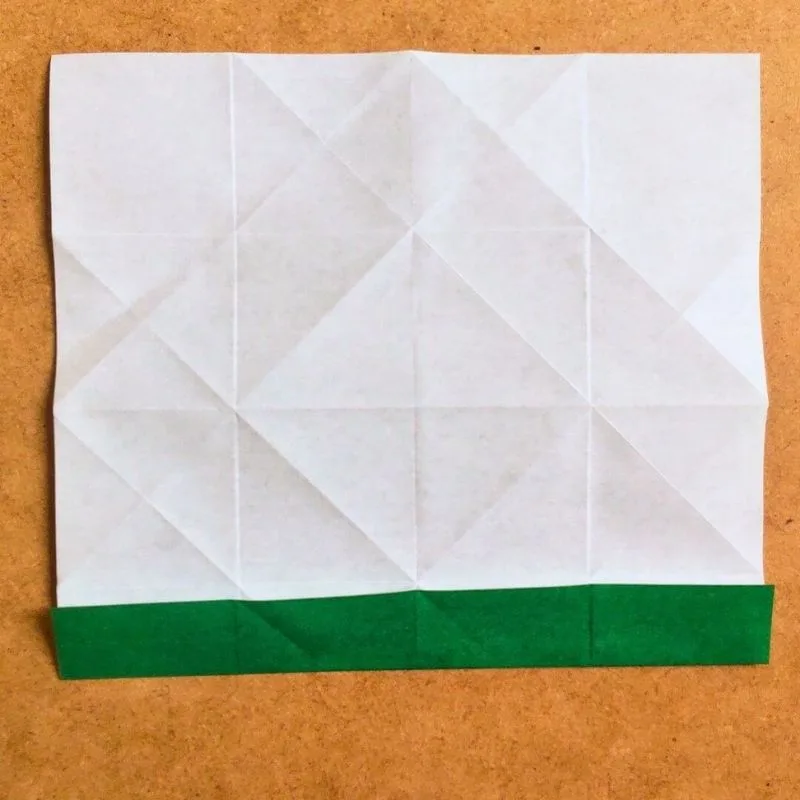
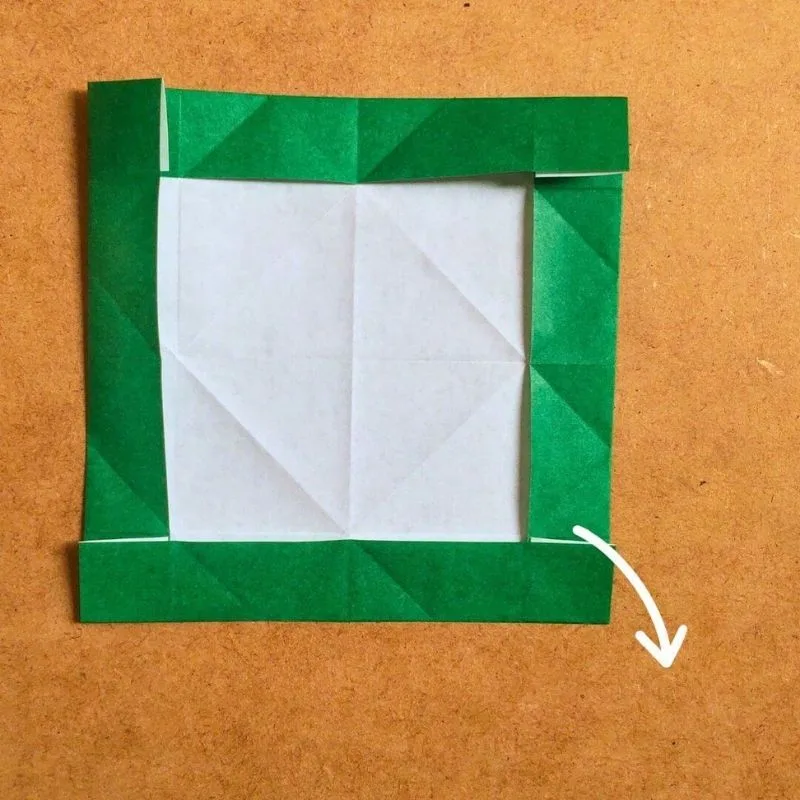
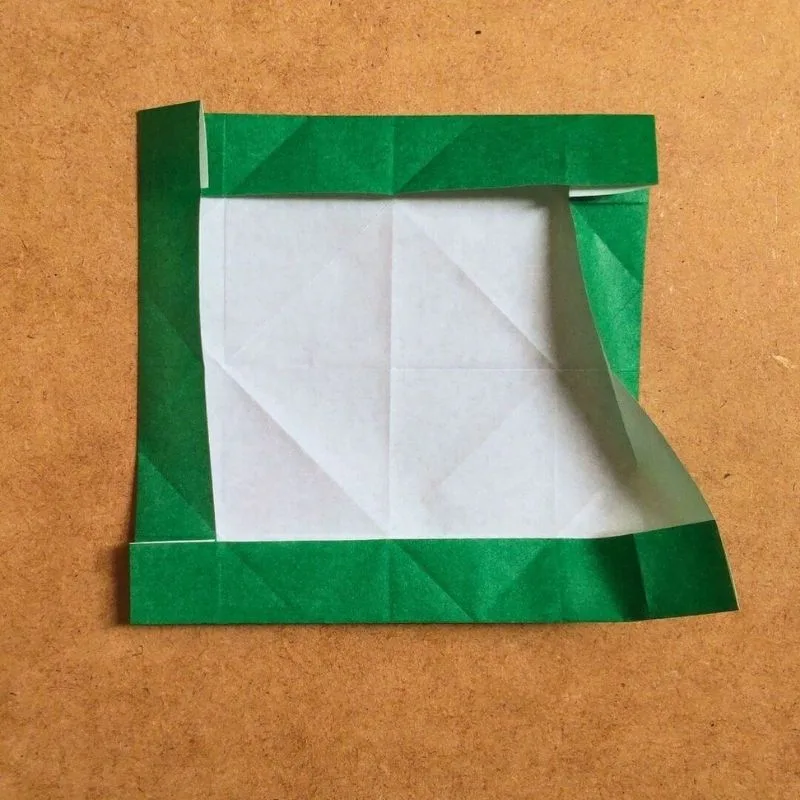
Fold it again so that each end is facing up.
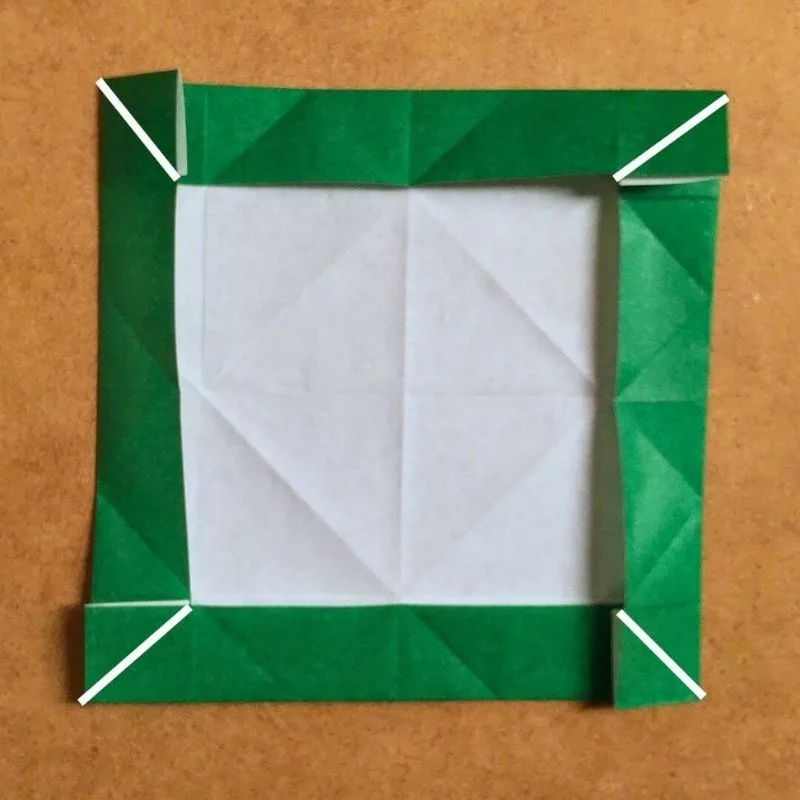
Next, fold a triangle into the corner.
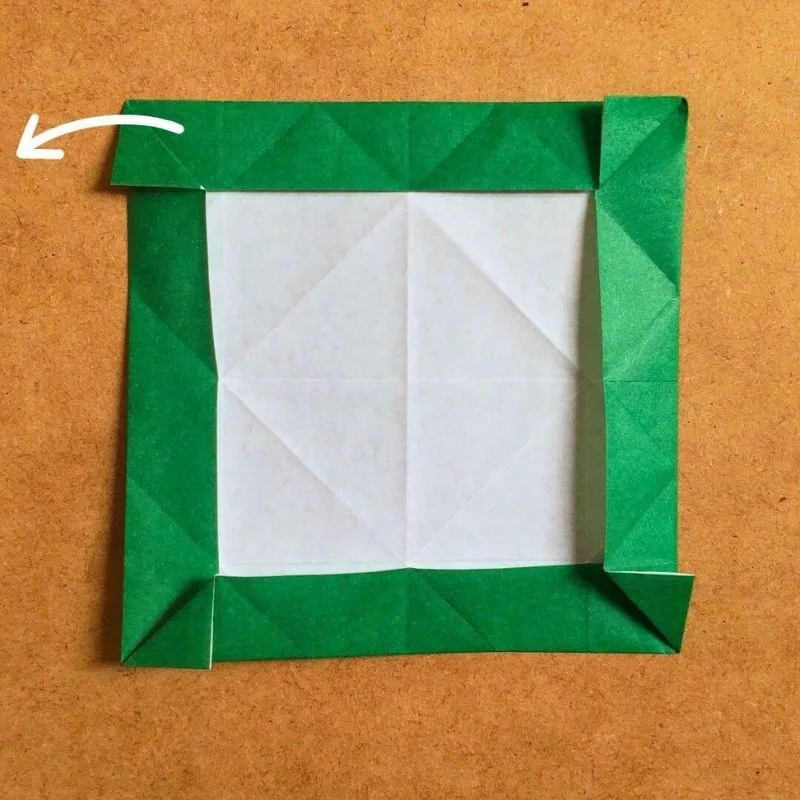
Next, open the corner where you made the crease to form a tab.
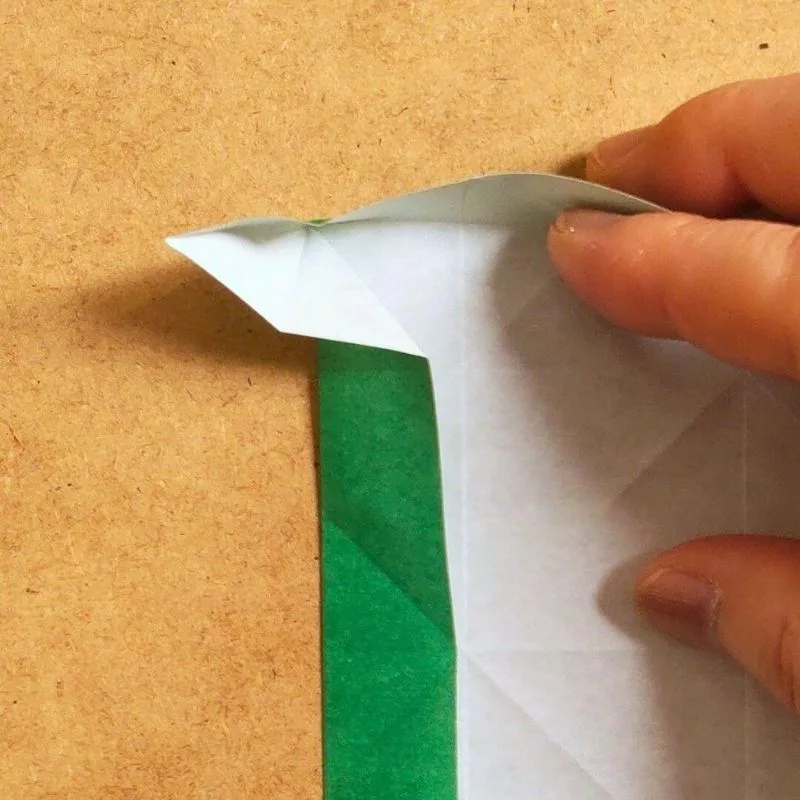
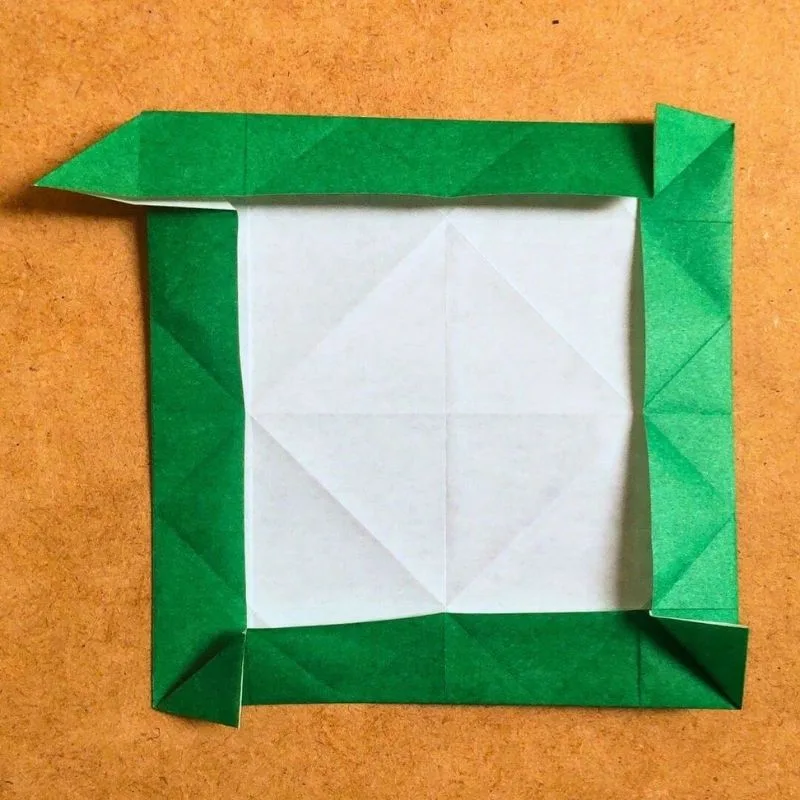
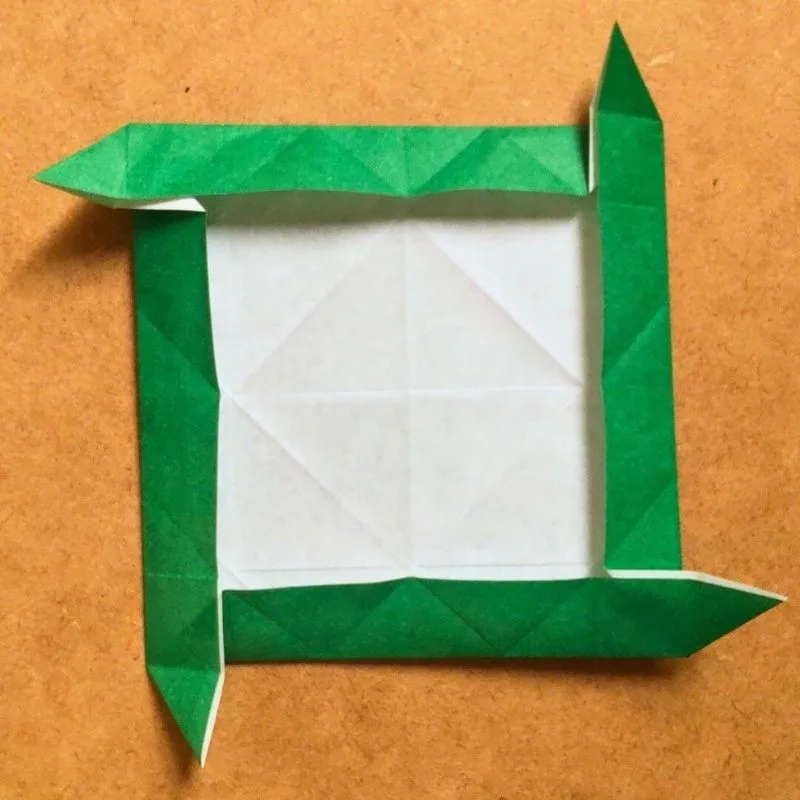
Once you’ve made a fold at each corner, open it up and flip it over.
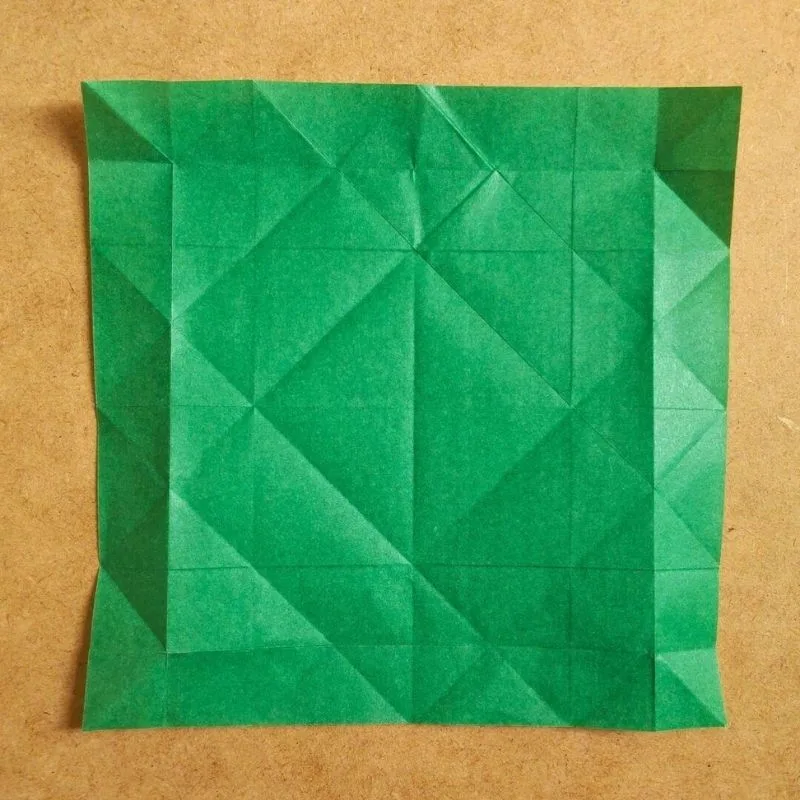
Let’s put it together and pack it in a box
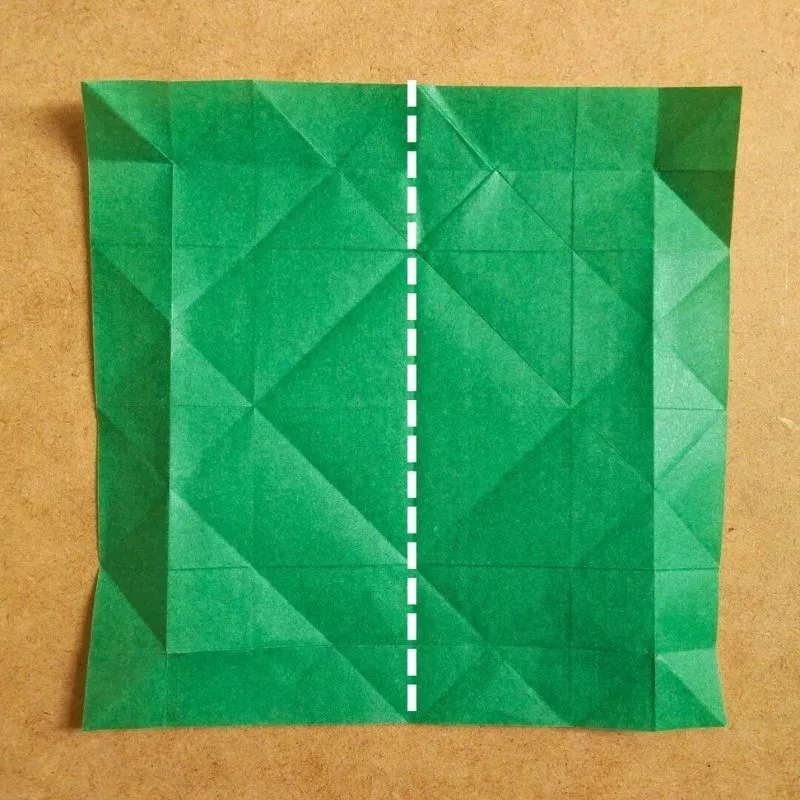
Now, let’s make a box.
First, fold it in half lengthwise.
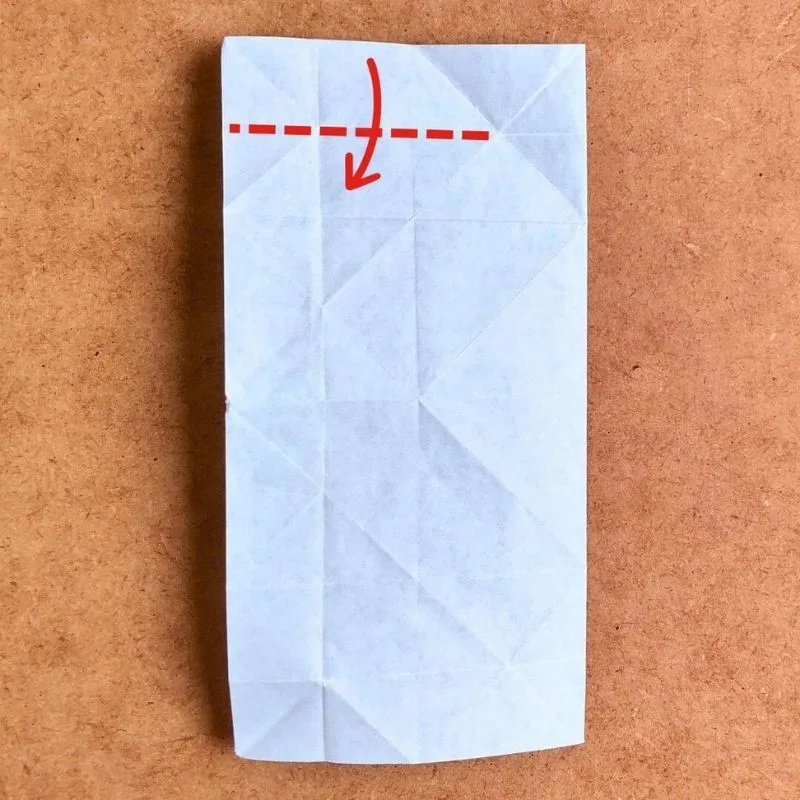
Open the top fold halfway.
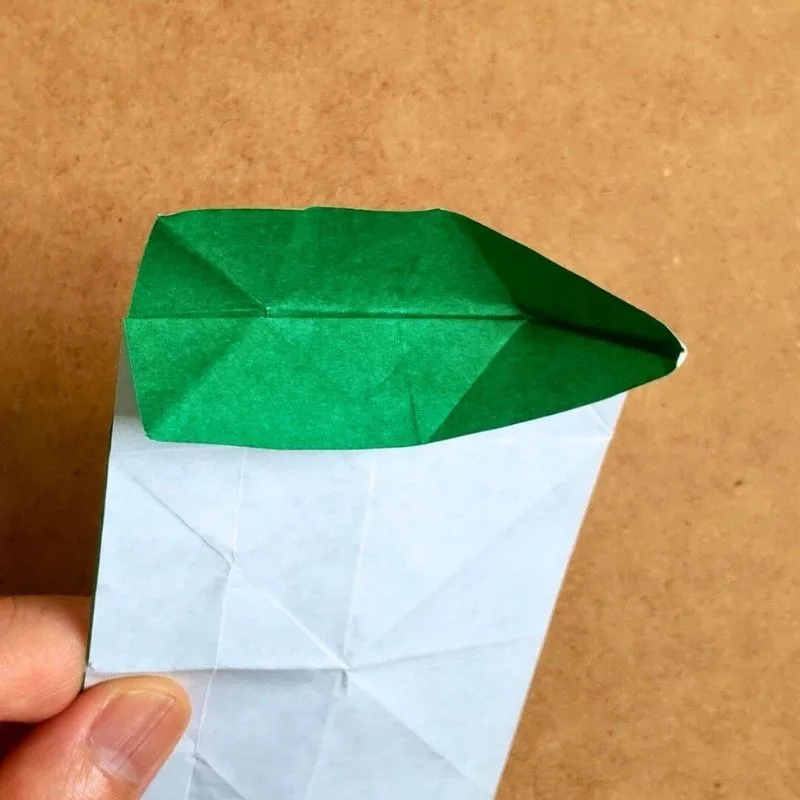
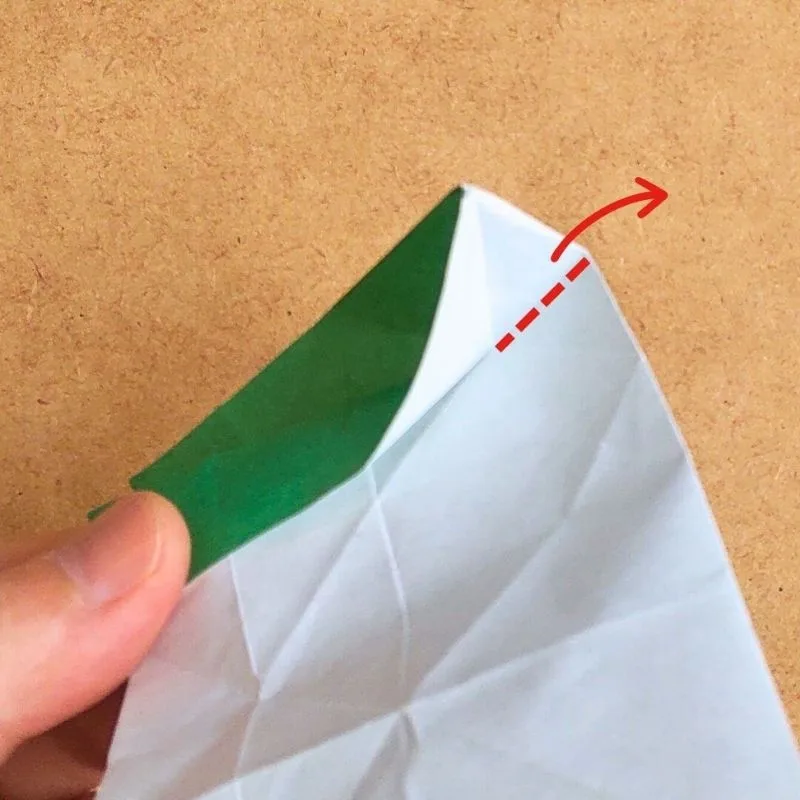
Next, fold the paper so that the two adjacent small triangles meet.
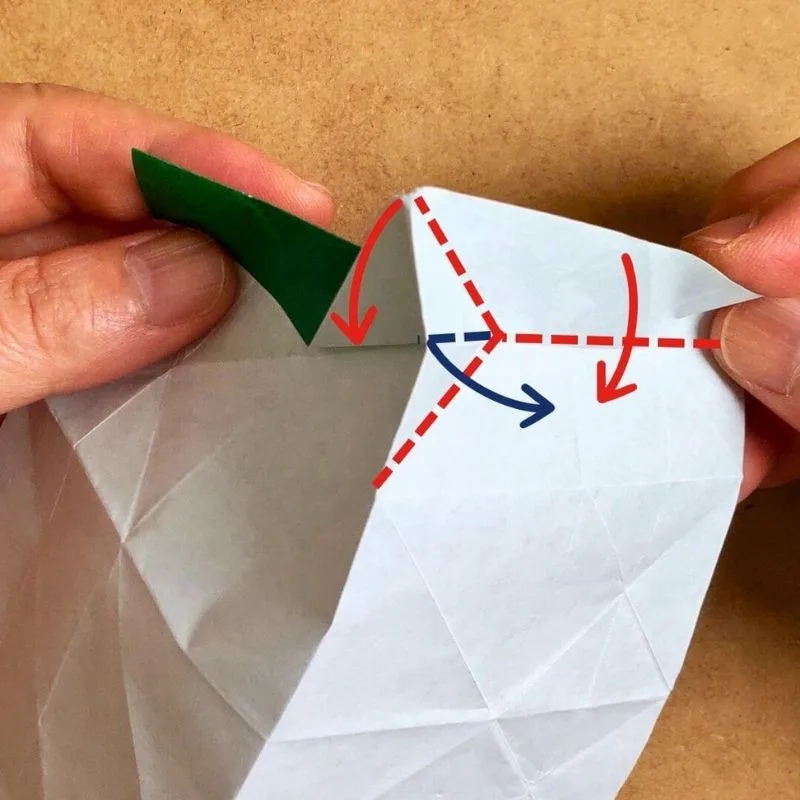
The blue line is a mountain fold.
And the red line is a valley fold.
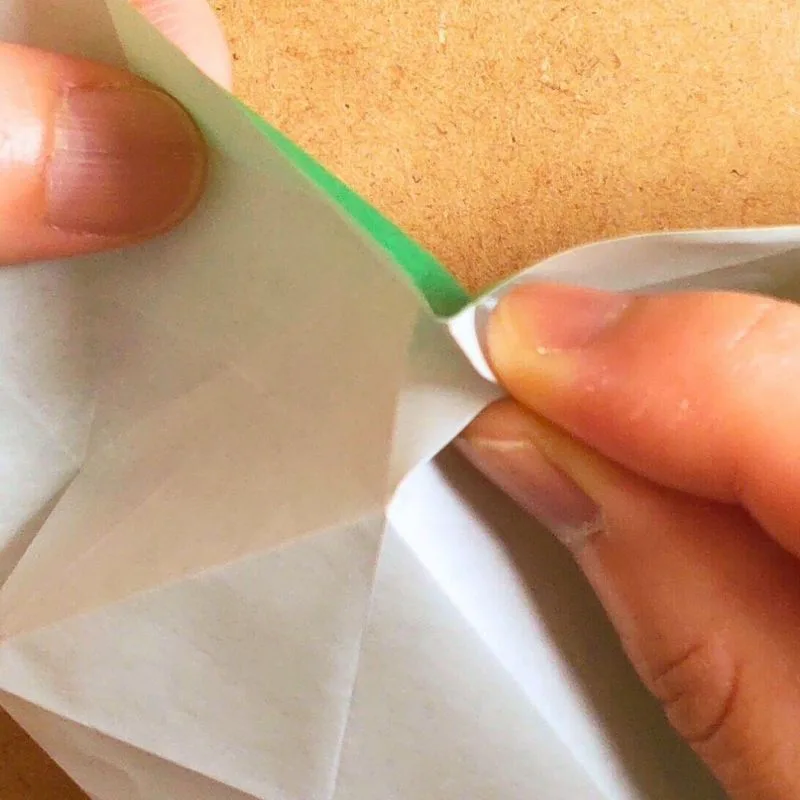
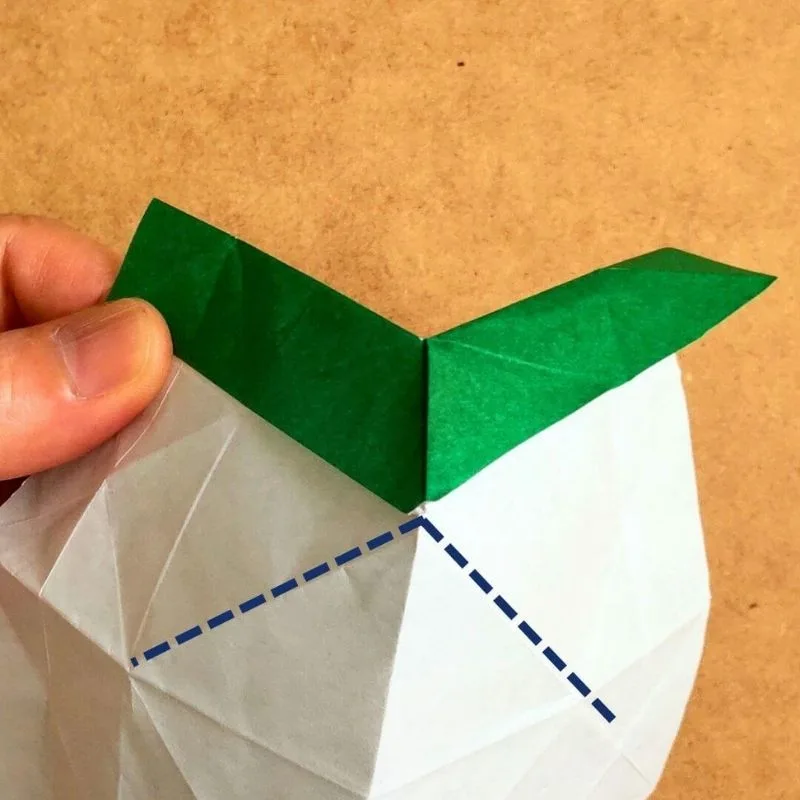
This is what it will look like.
Fold along the blue line to create the bottom of the box.
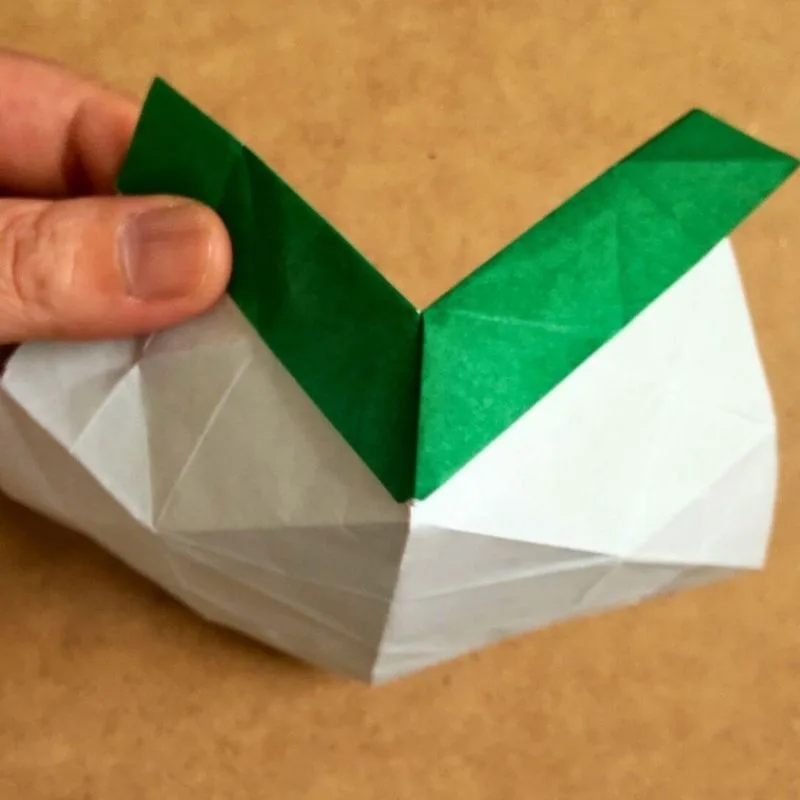
This is the second corner.
It’s basically the same as the first corner.
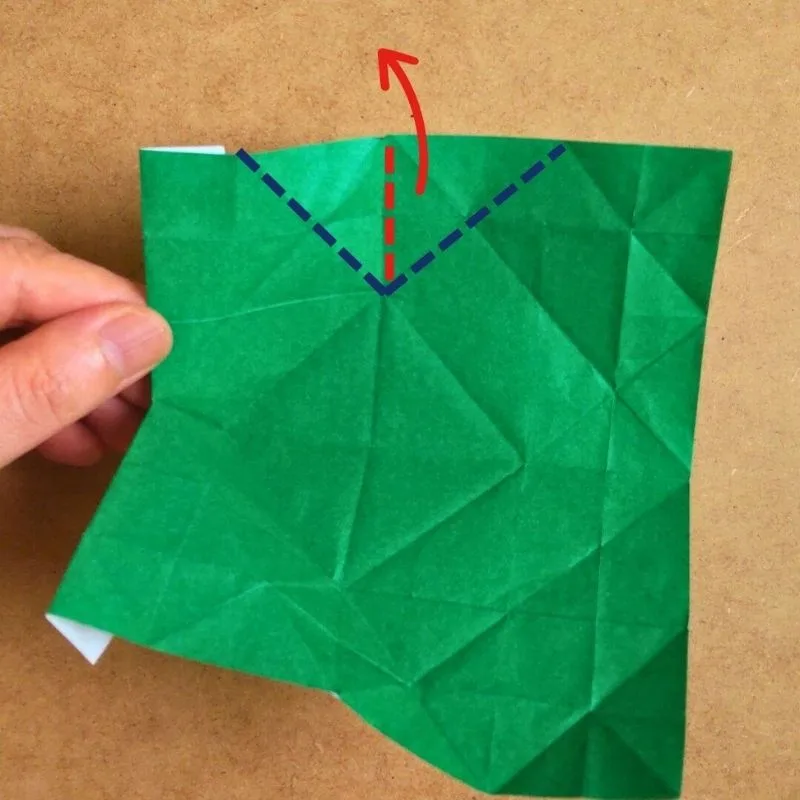
Draw a red line, fold along it, and align the adjacent triangles.
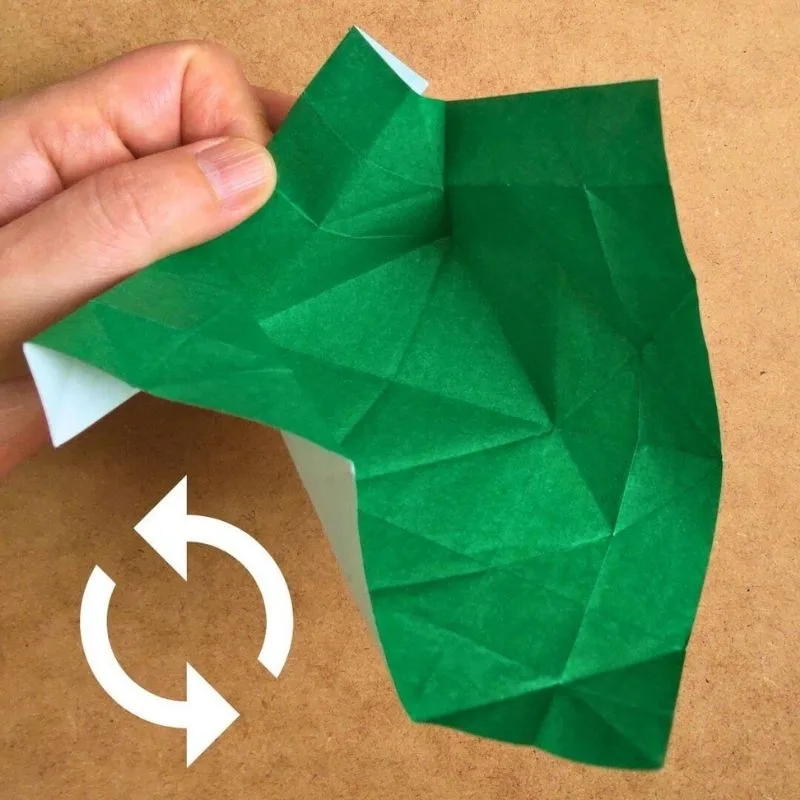
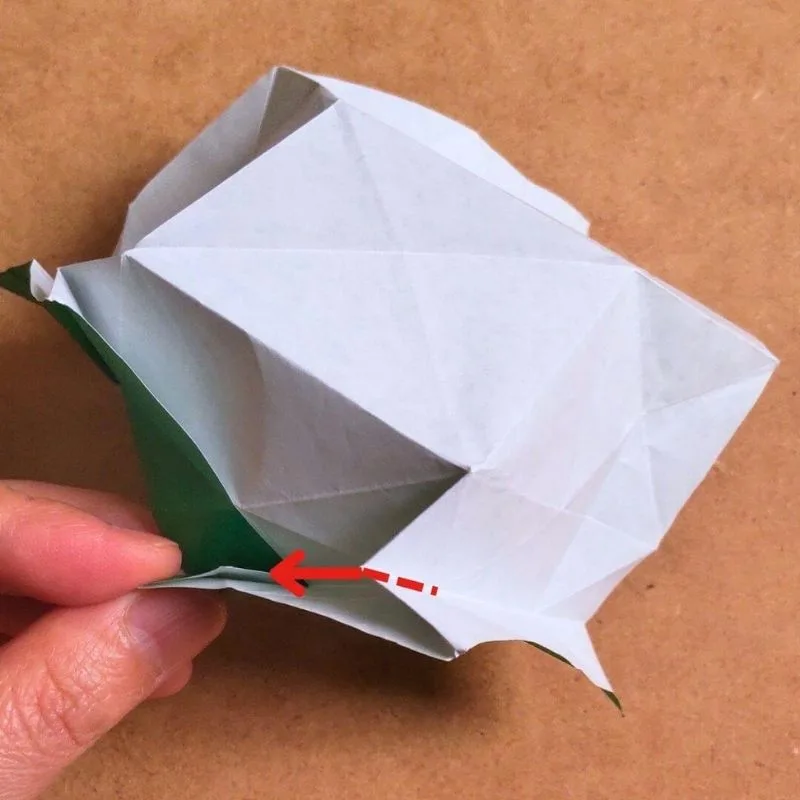
Here’s what it looks like when turned inside out.
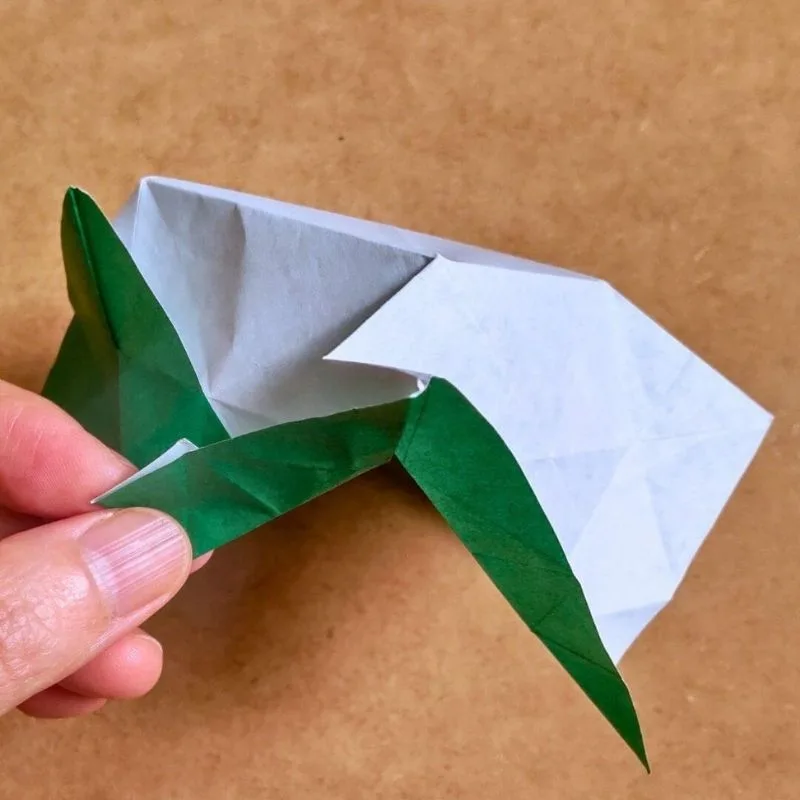
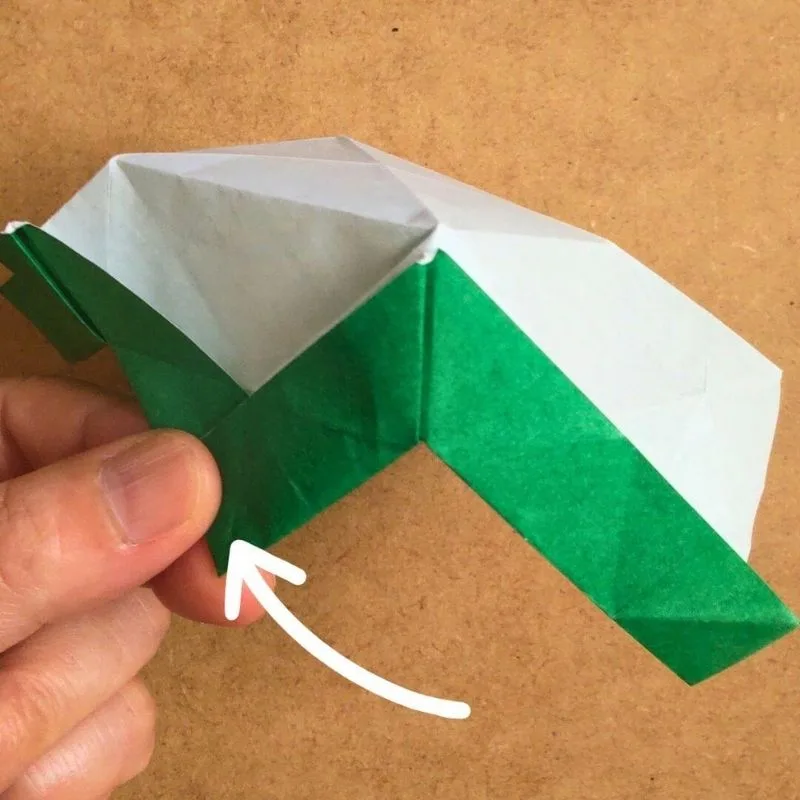
Once the second corner is formed, open the corner indicated by the arrow to reveal the claw.
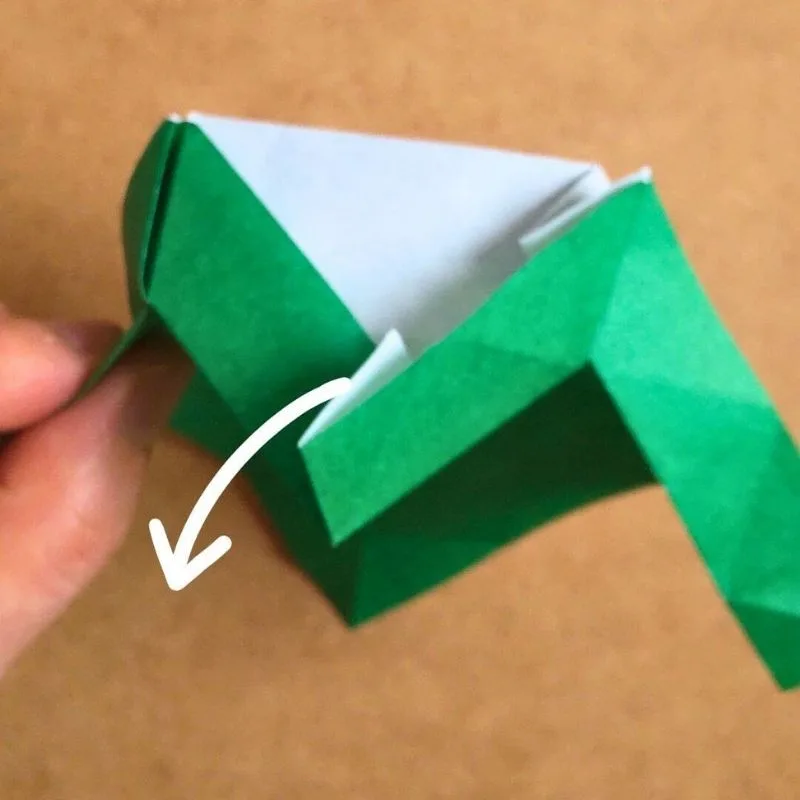
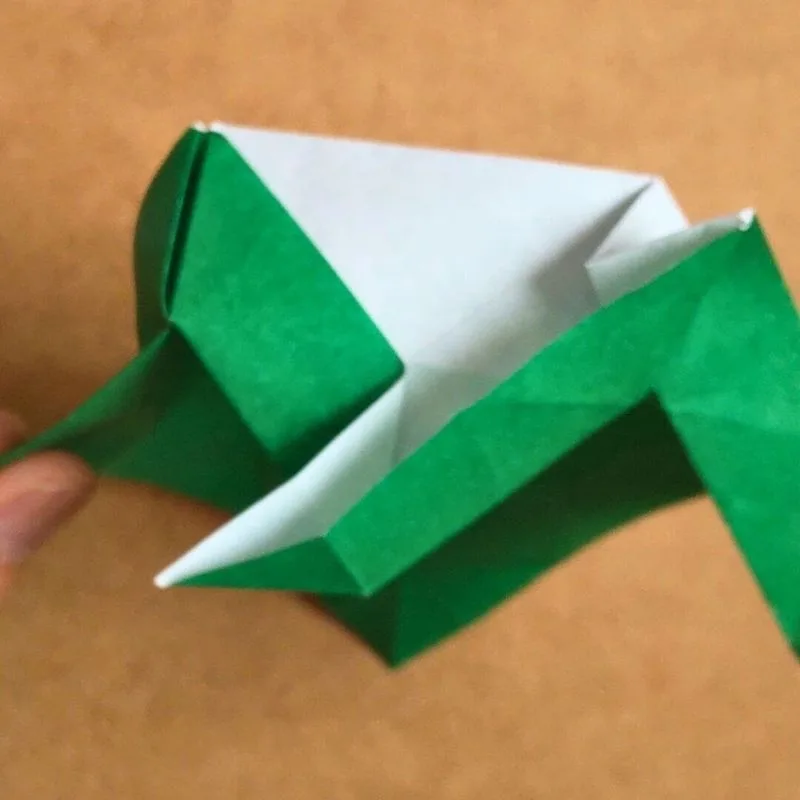
Do the same with the remaining corners.
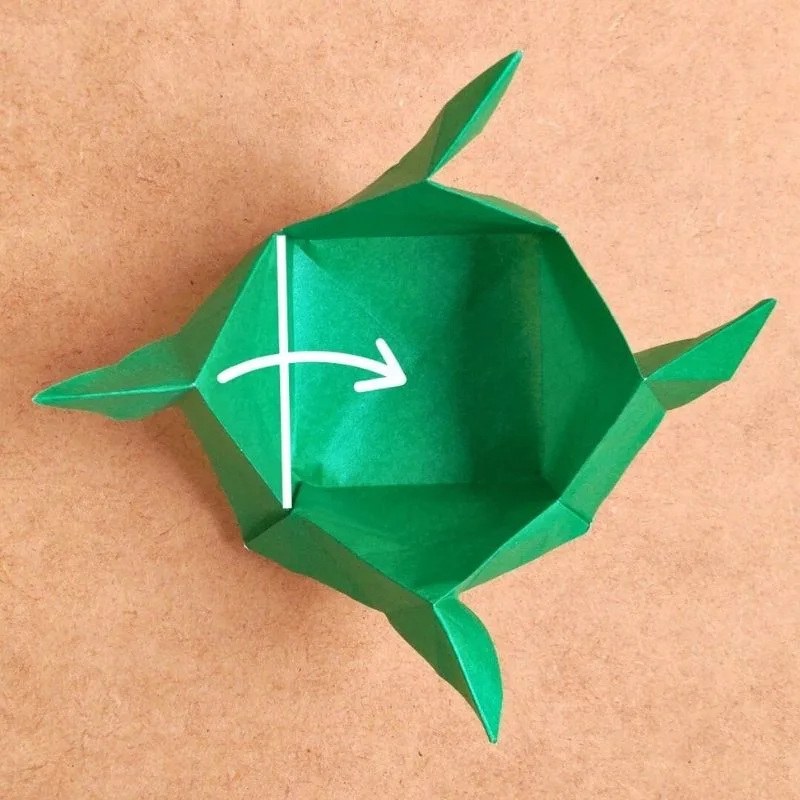
You now have four corners.
Next, fold them one by one in order to close the lid.
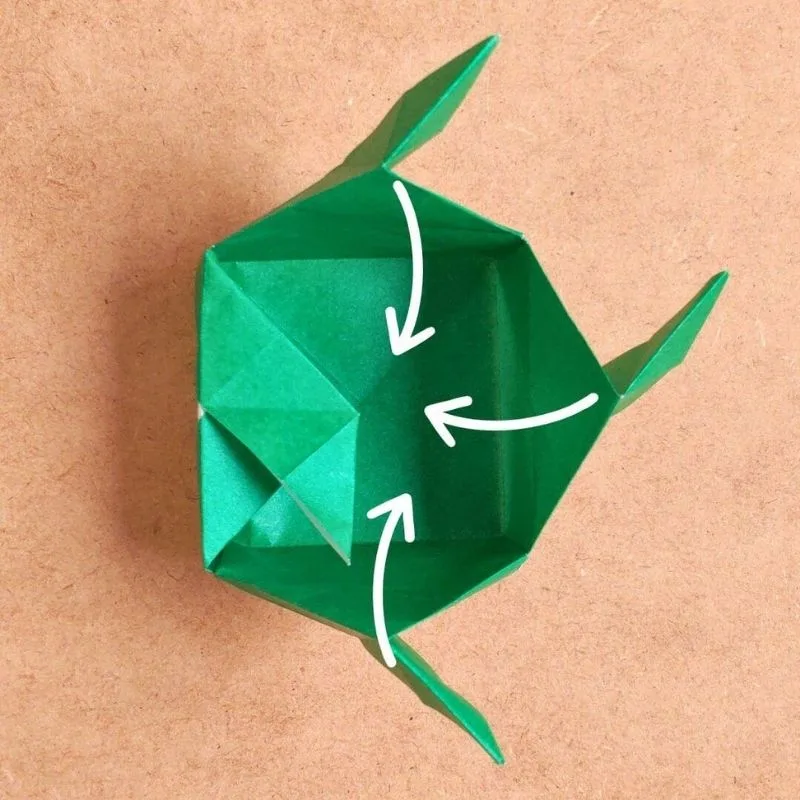
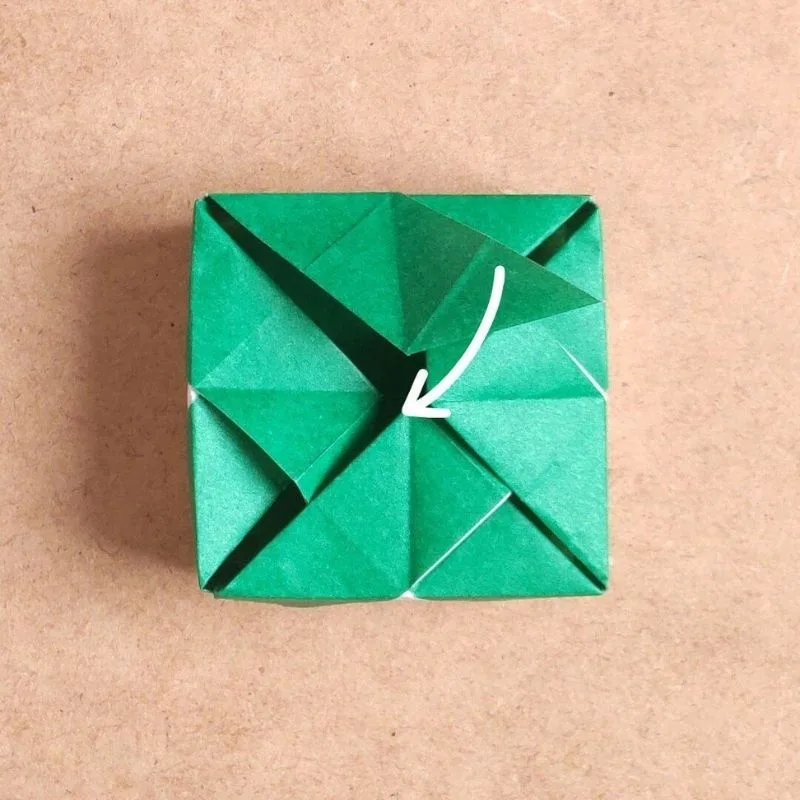
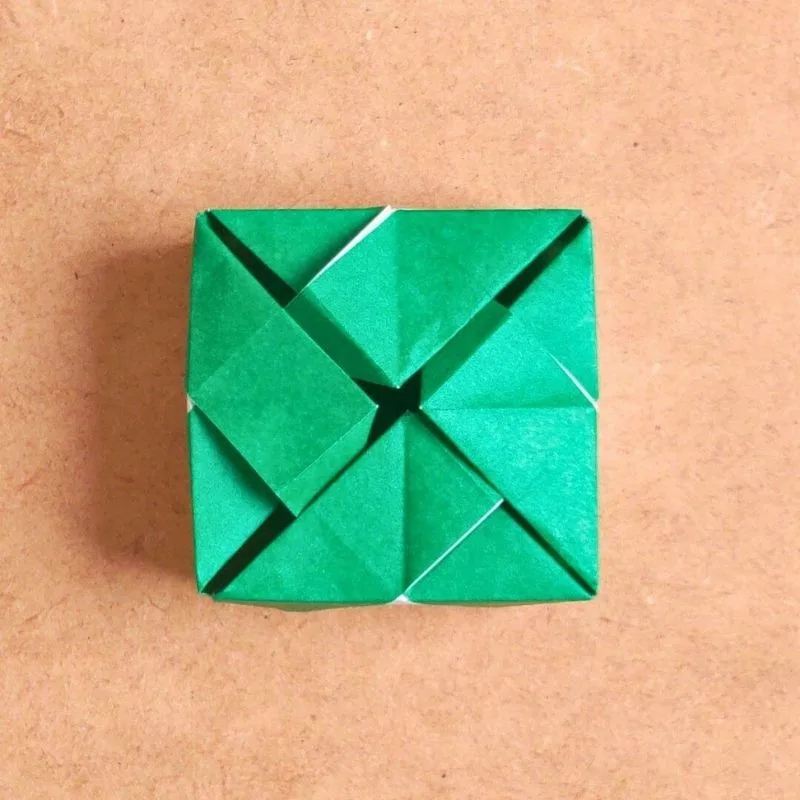
Finally, insert the claw inside.
And that’s it!
Watch a video tutorial on how to fold it
On Pinterest, we show you how to fold it in a video.

In Conclusion
Wishing you a mindful and creative day through the art of origami.