
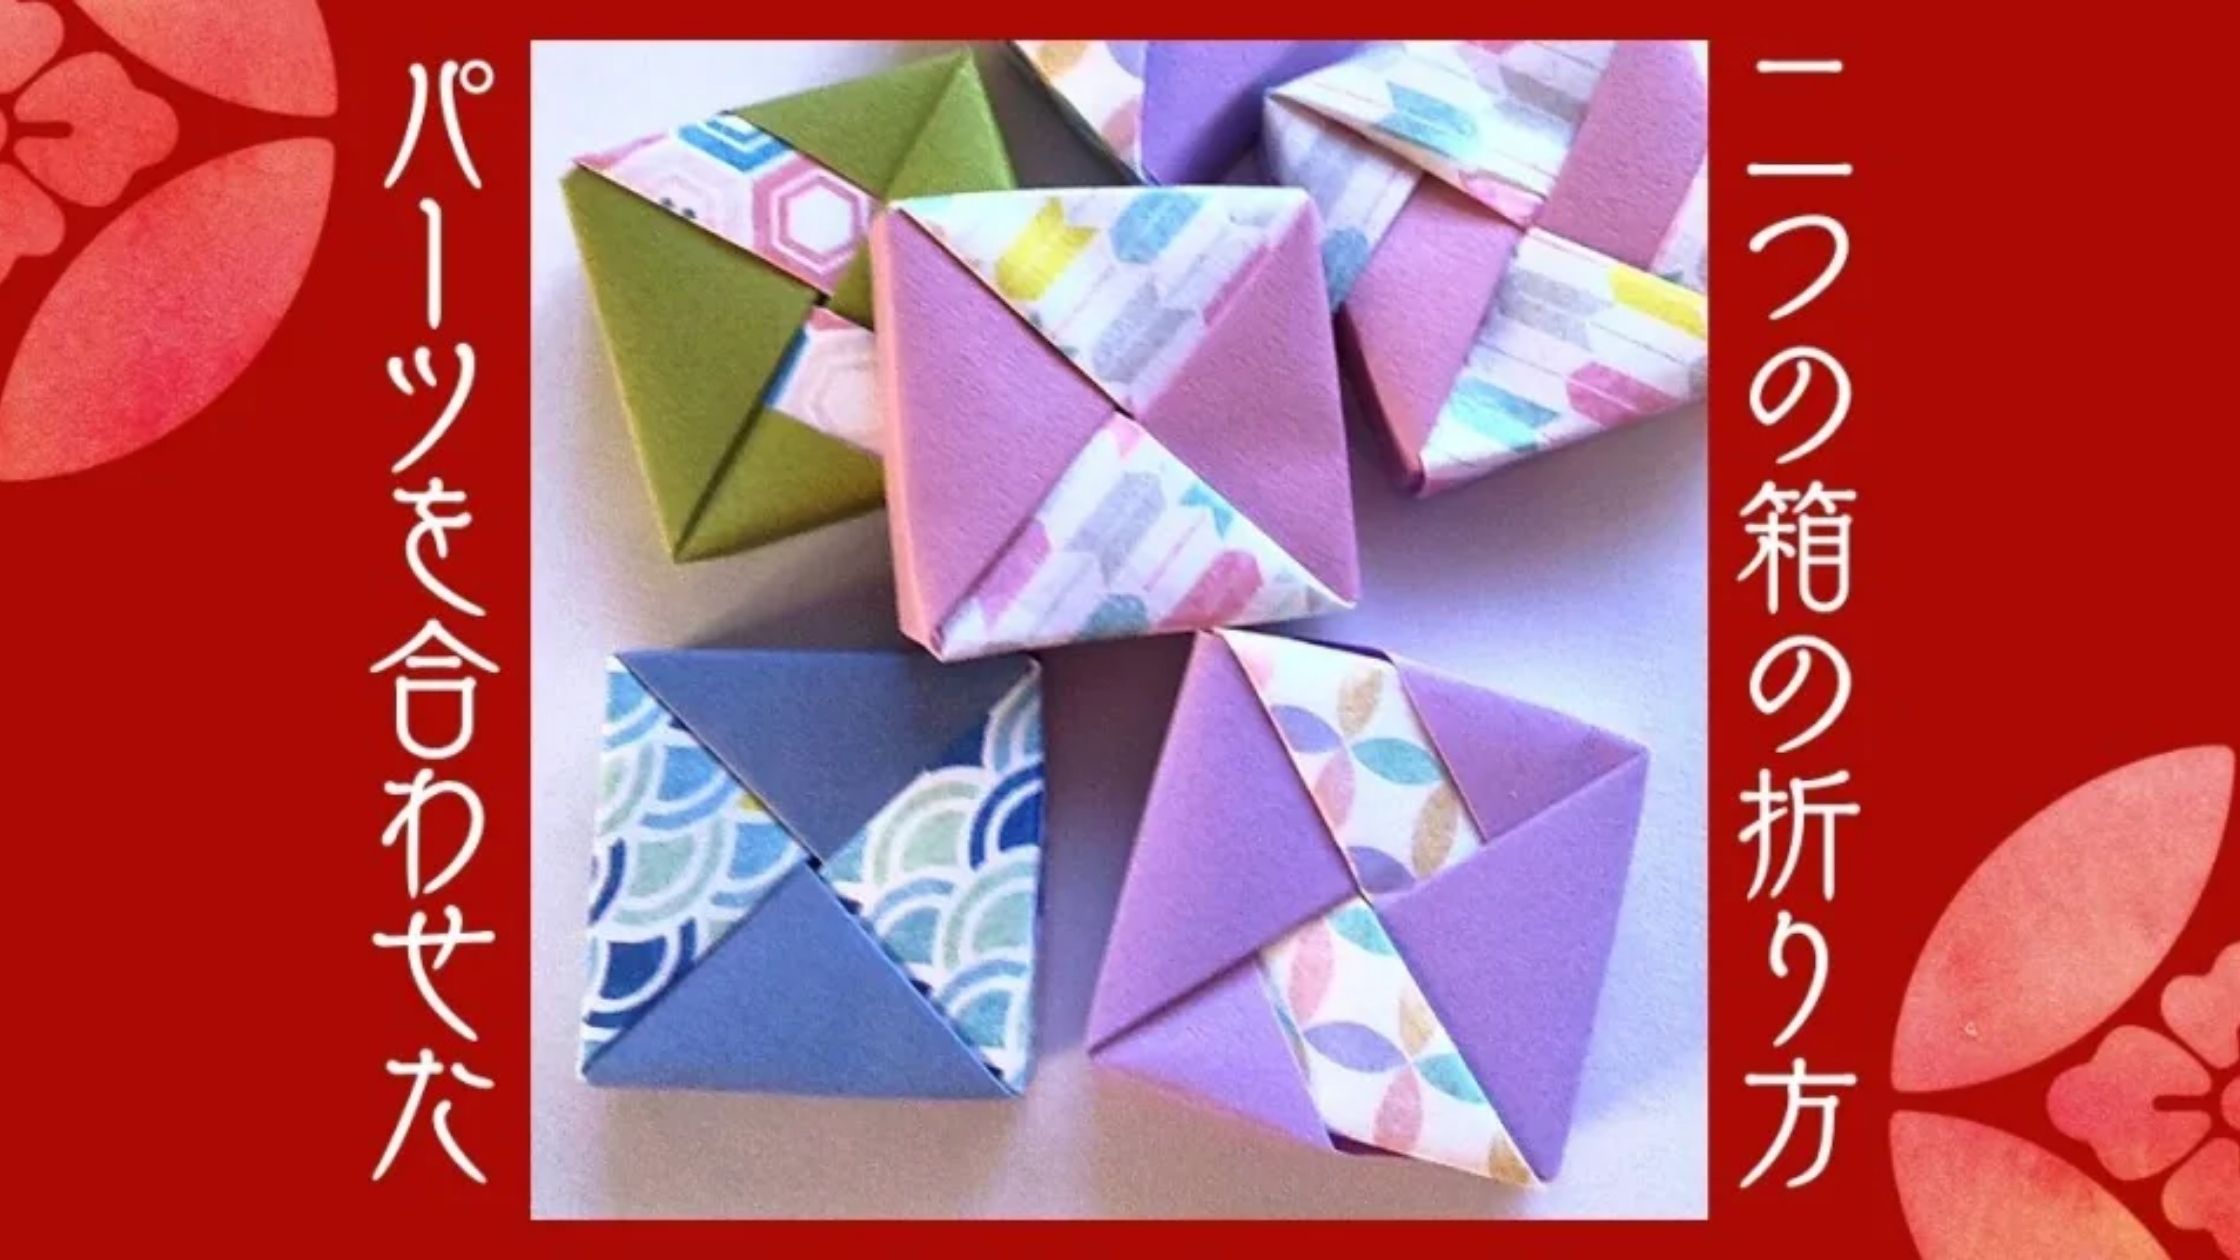
Here’s how to make a box by connecting four pieces.
Folding the pieces is easy.
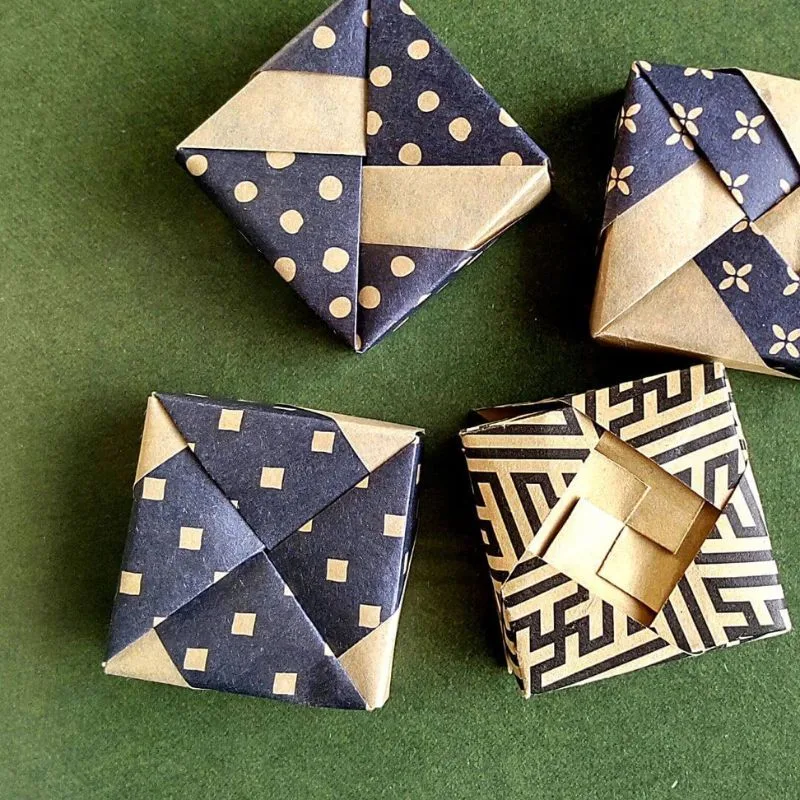
The interesting thing about this origami is that the pattern changes depending on how you connect the pieces.
So I tried making two different kinds of boxes.
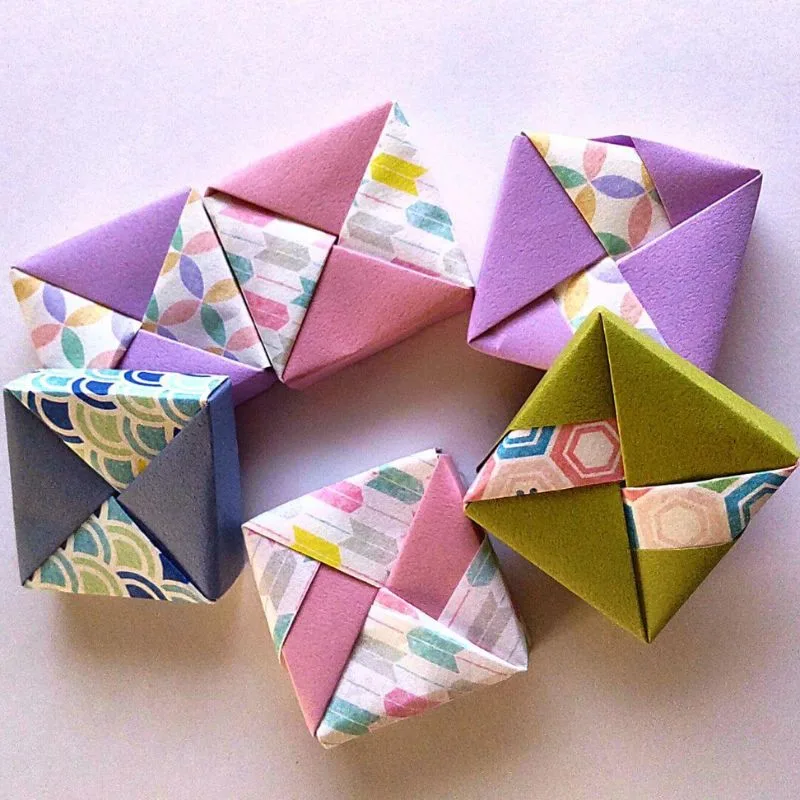
The key is how you combine them.
That’s what changes the pattern.
Folding Instructions
Here, we are using four 7.5 cm × 7.5 cm sheets of origami paper.
First, make the box lid, and then make the box bottom.
Make parts
Gather four sheets of origami paper.
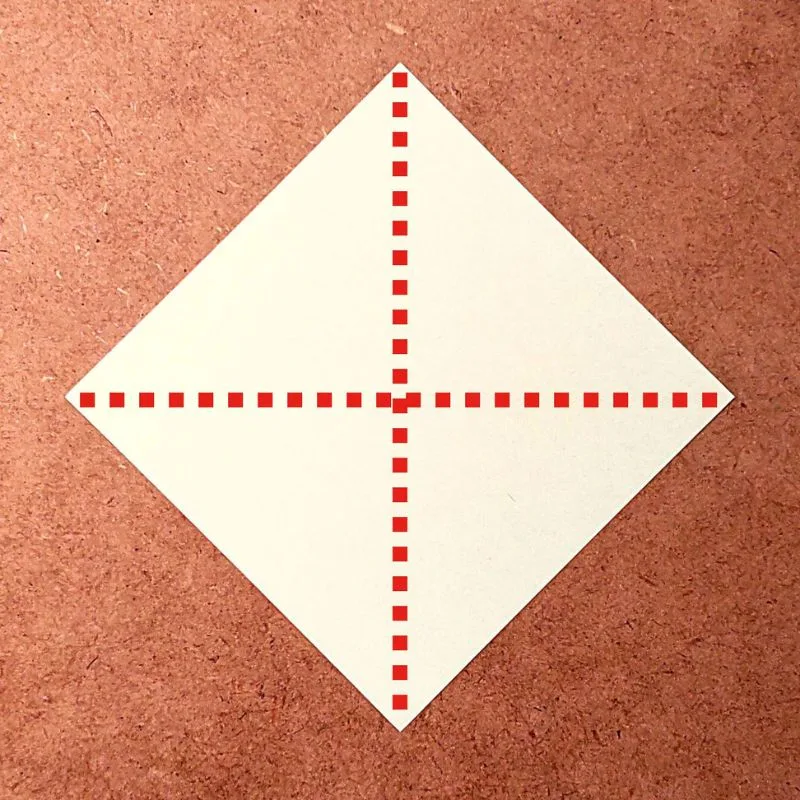
First, fold it into a triangle twice.
Then, fold the left and top corners toward the center.
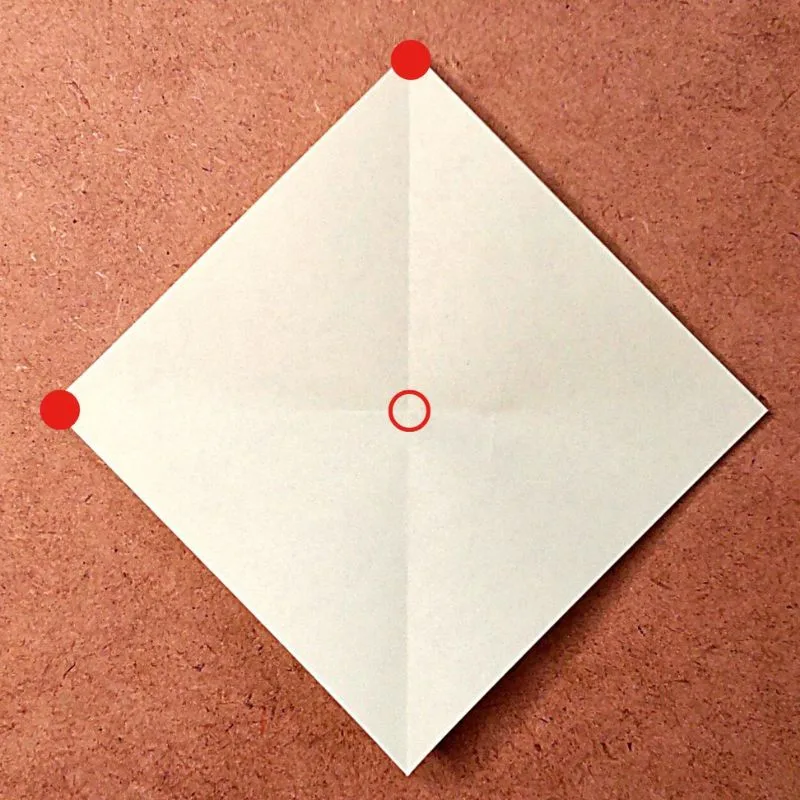
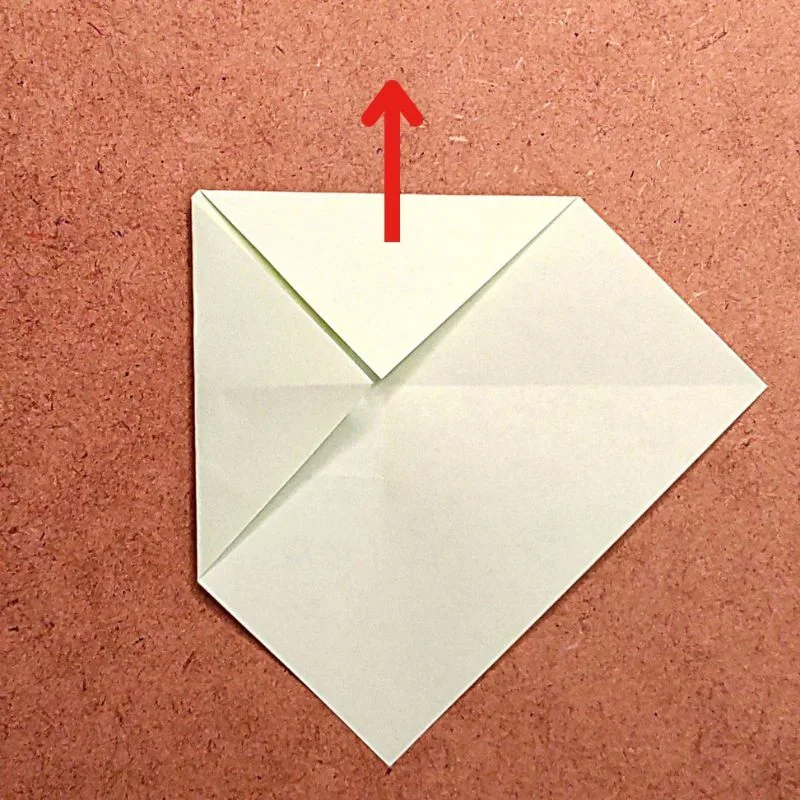
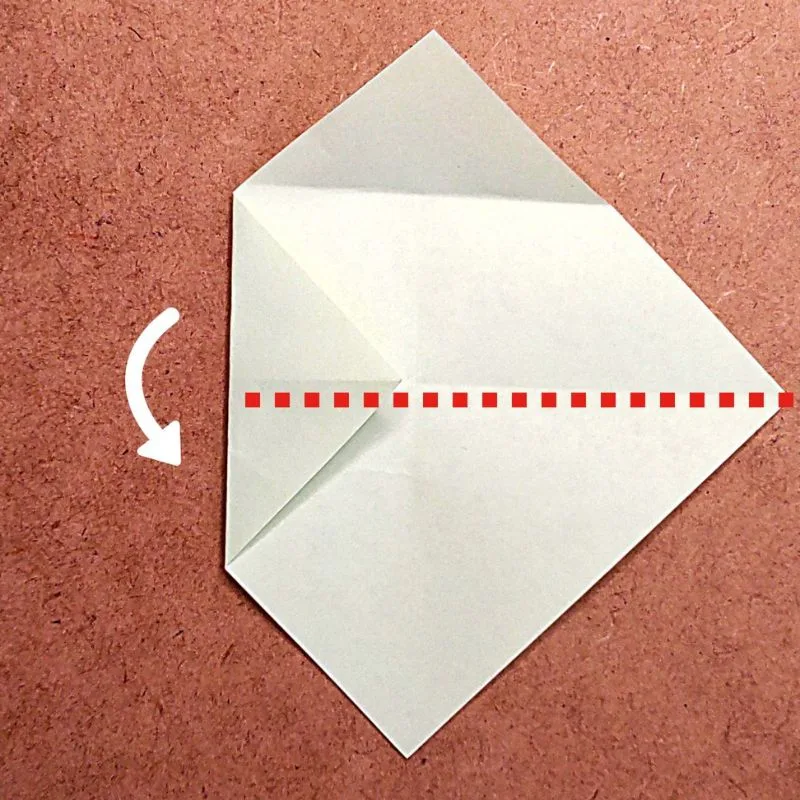
Fold the top corner back, then fold it in half.
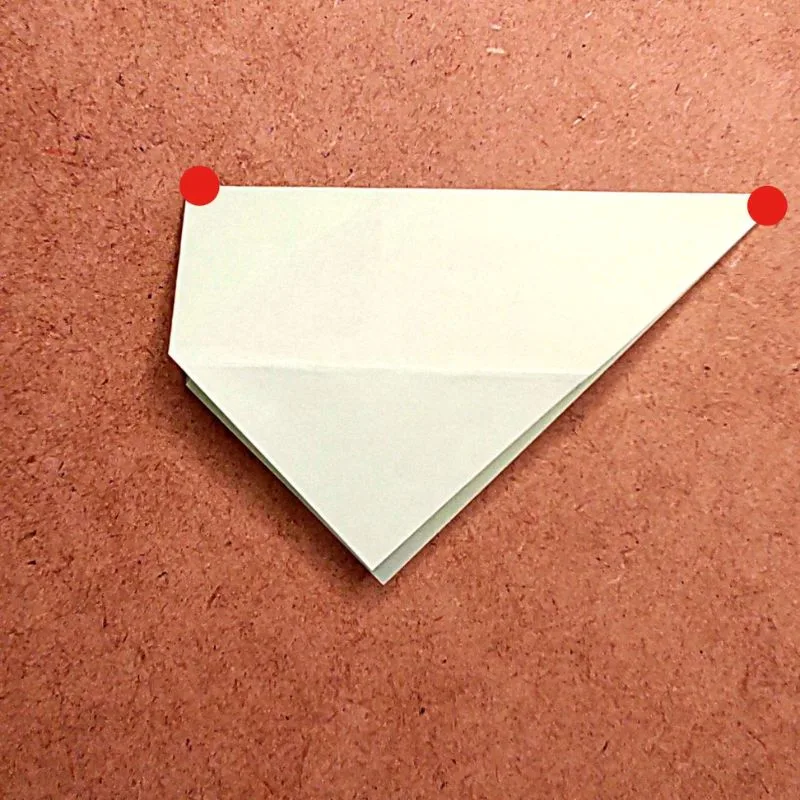
Align the corners marked with red circles.
Once you’ve creased it, unfold it.
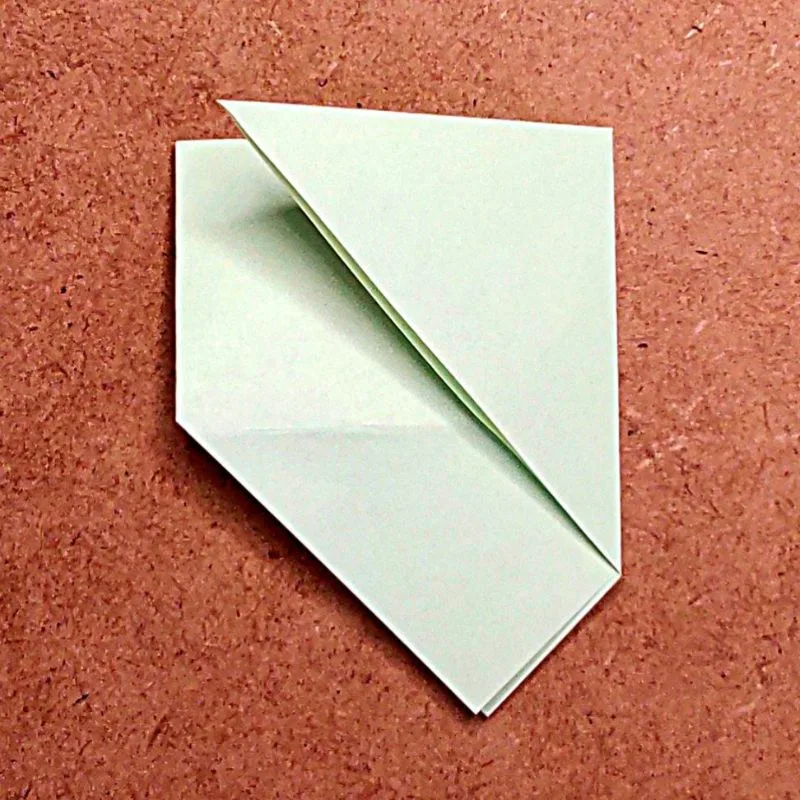
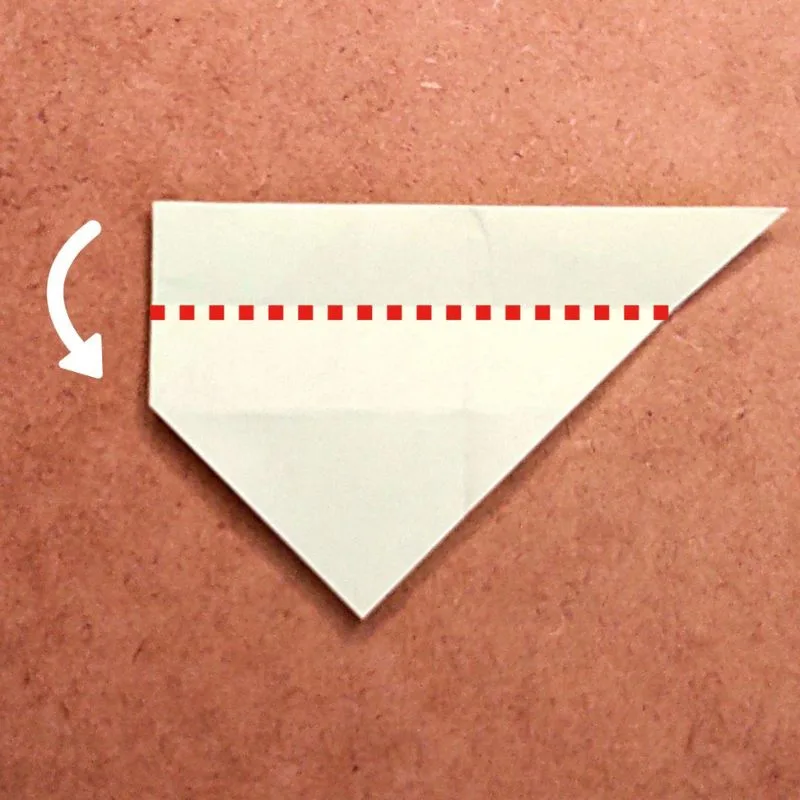
Fold along the triangular crease.
Then, unfold it.
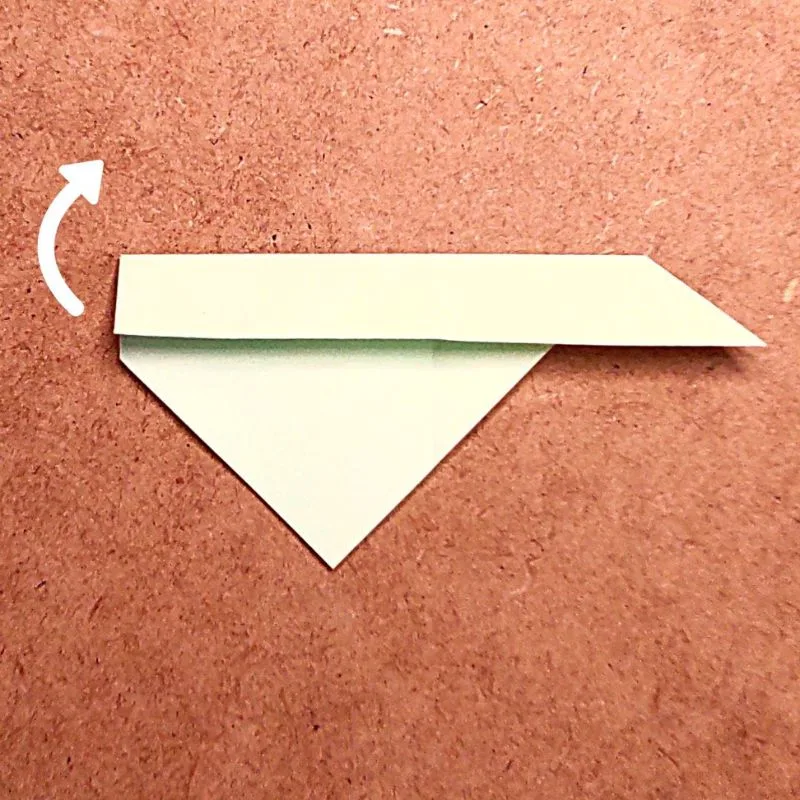
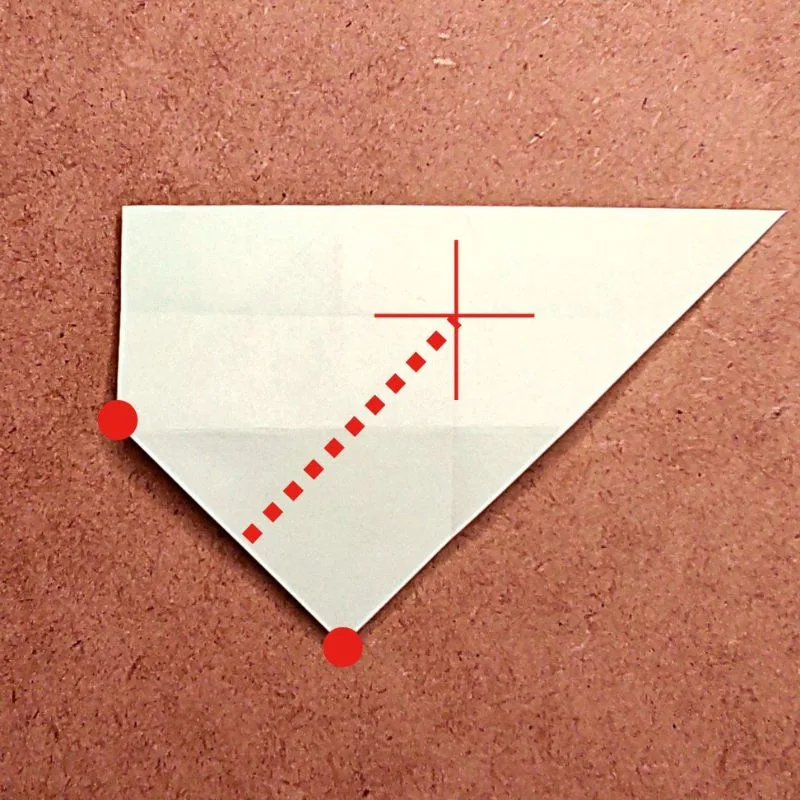
Align the corners of the red circle,
and fold until the creases cross.
Hold the section you just folded in place, and lift the top part up.
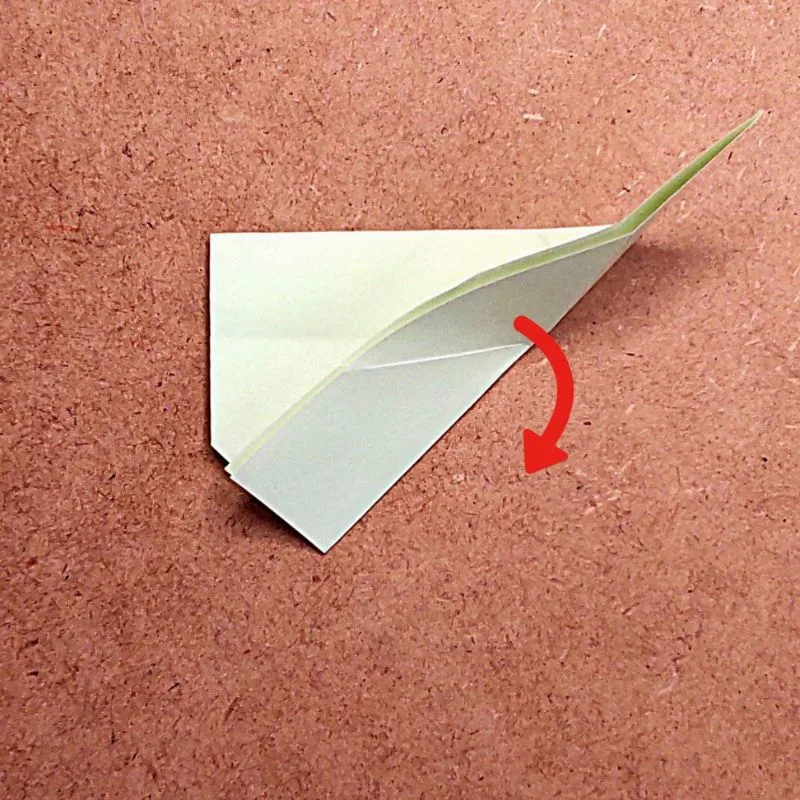
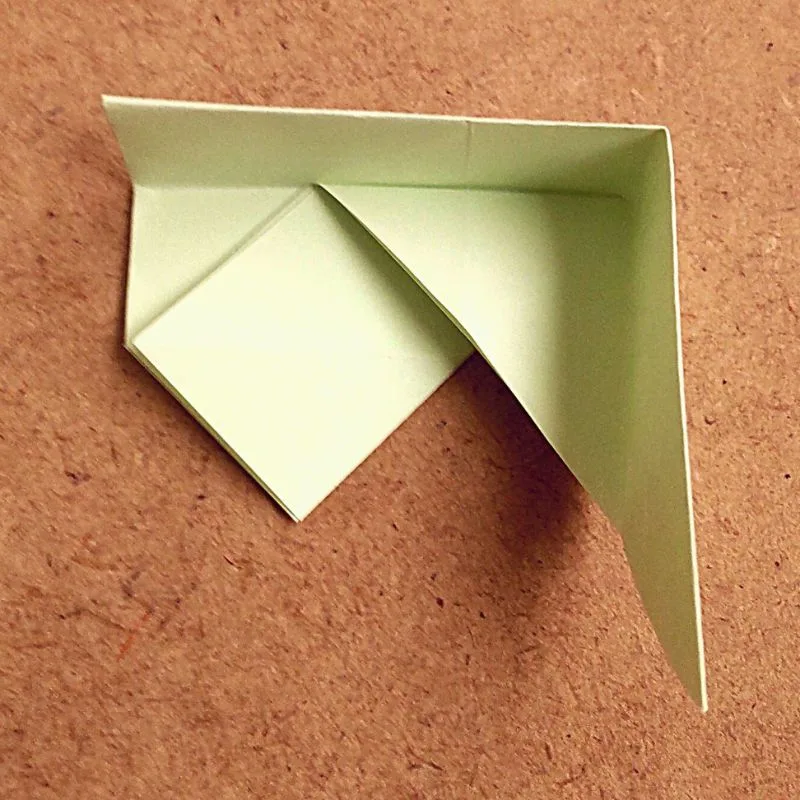
Shape it into the right form, and the piece is complete.
Now that I’ve made one, I’ll fold three more.
Assemble the parts
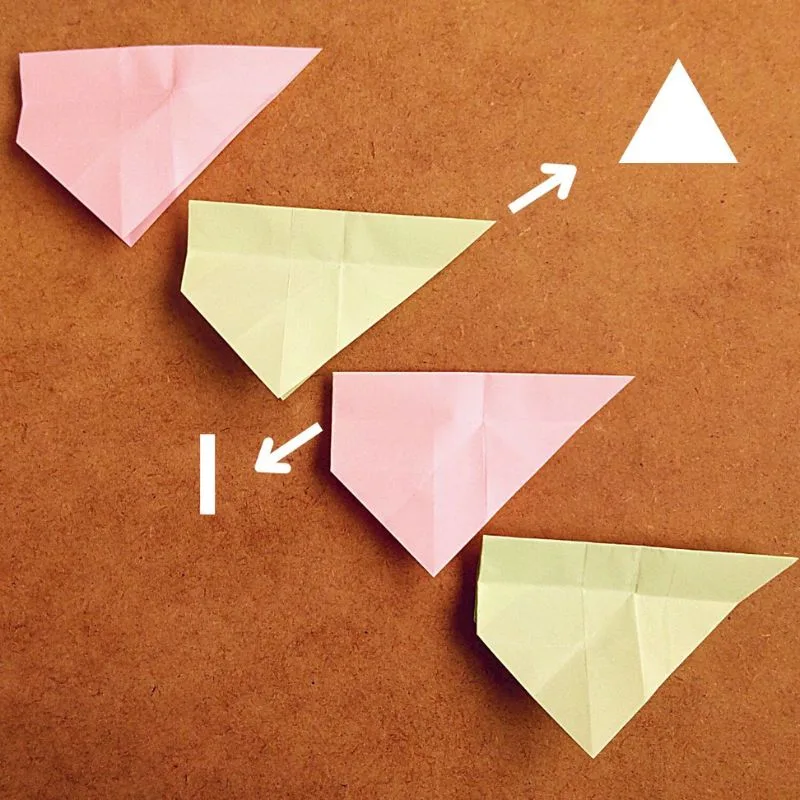
Now, let’s put them together.
What we’re focusing on here are
the straight corners and the pointed corners.
The key is deciding
which corner to place on the inside.
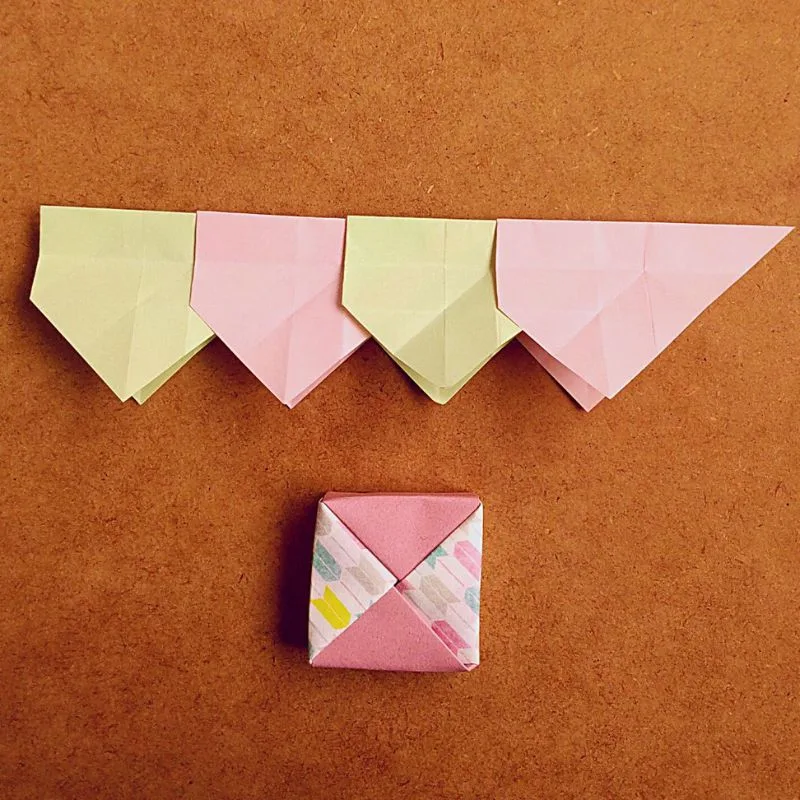
I thought it might be easier to understand if I spread the pieces out,
so I laid them out and connected them.
I fit the pointed corners together one by one.
This creates a pattern formed by interlocking triangles.
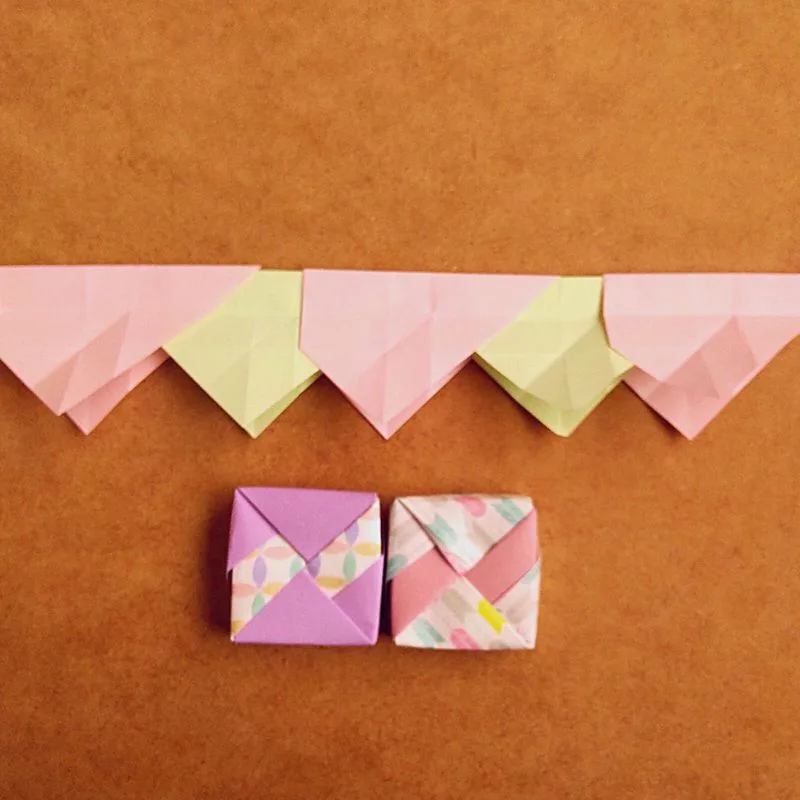
Here, the lines are shown in yellow.
The yellow parts are paired with pink ones,
and include both straight and pointed corners.
In addition to these two, there are many other possible combinations.
This is a fun origami project to experiment with.
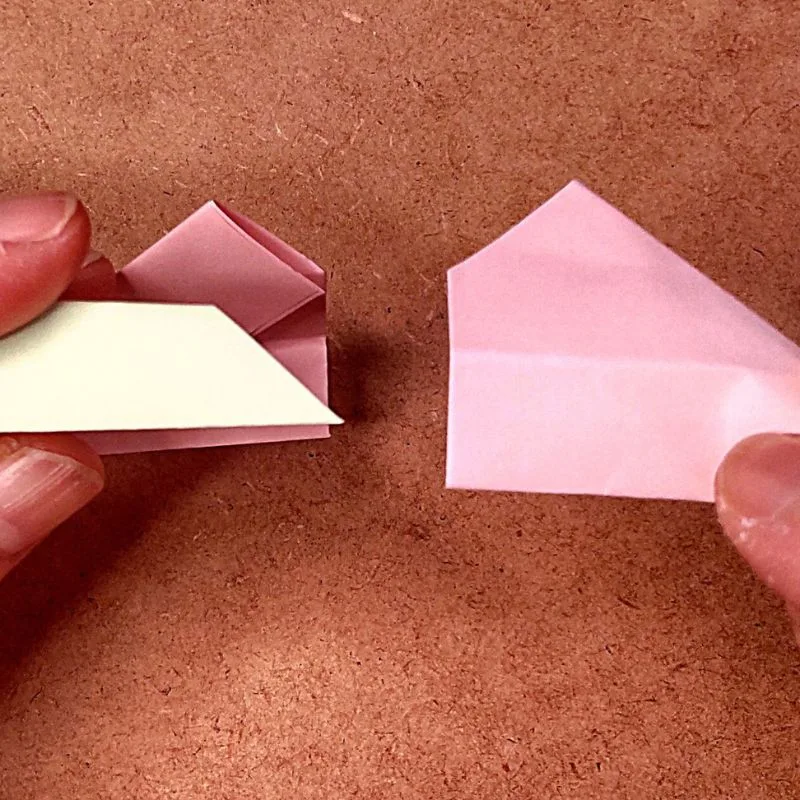
Normally, the parts are assembled
while still folded.
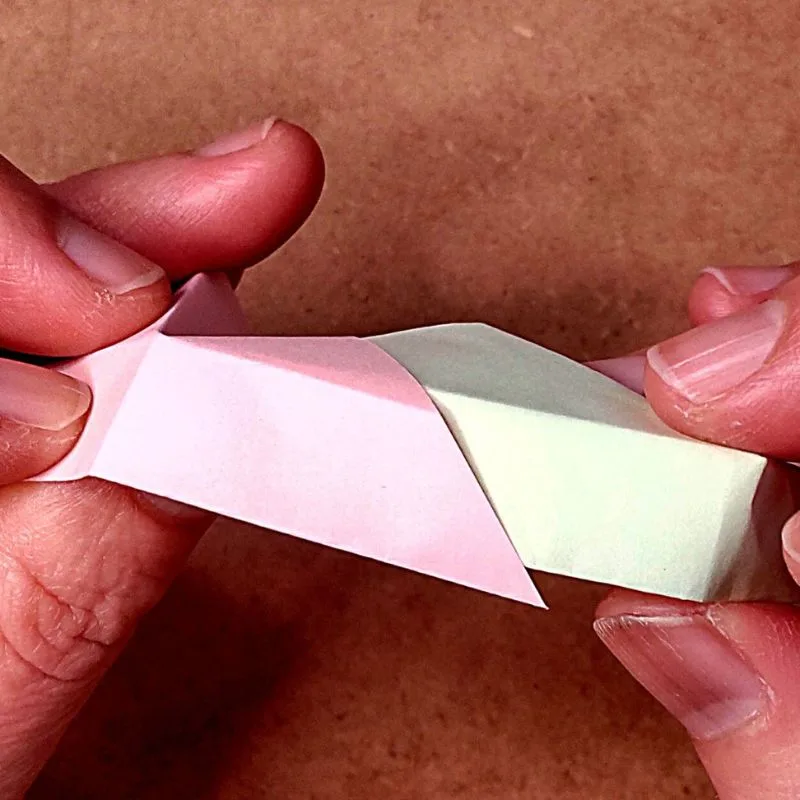
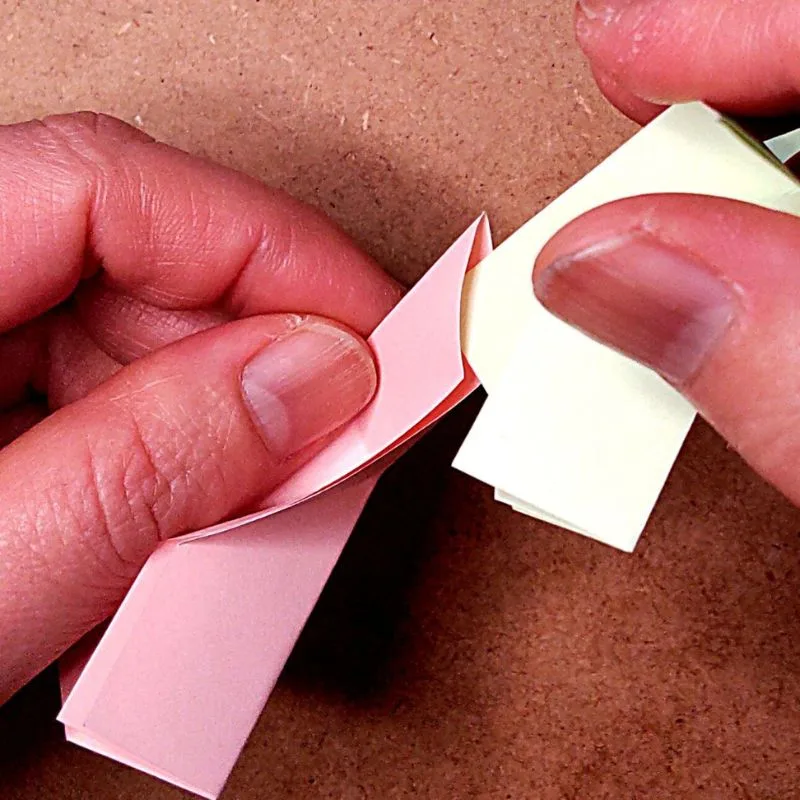
Then, check the front and back,
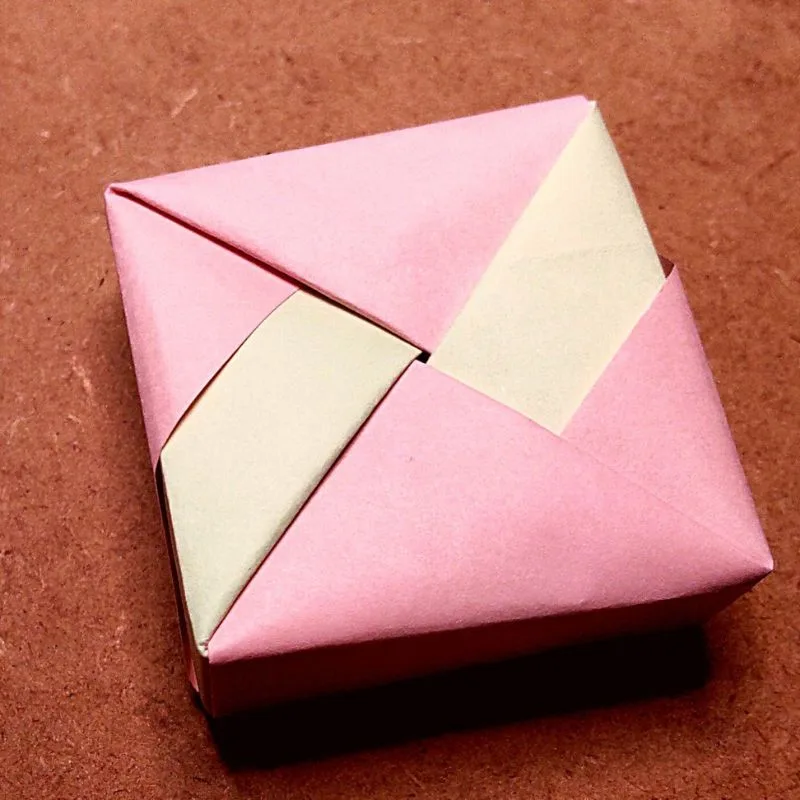
combine the four pieces, and you’re done.
Make the bottom of the box
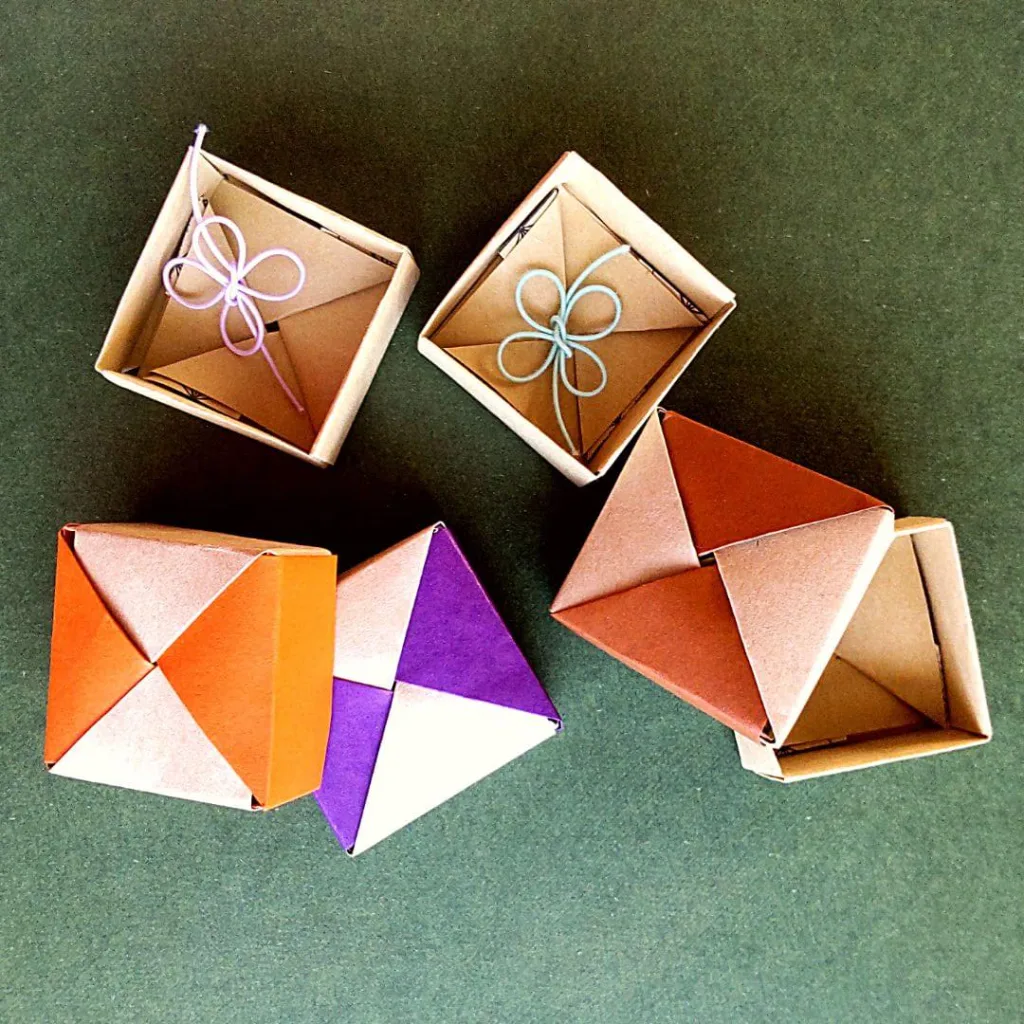
You could make a box using a slightly larger piece of origami paper in the same way as the lid, but this adjustable-size box is easier to make.
Both of these boxes will feature a butterfly pattern.

Watch a video tutorial on how to fold it
On Pinterest, we show you how to fold it in a video.


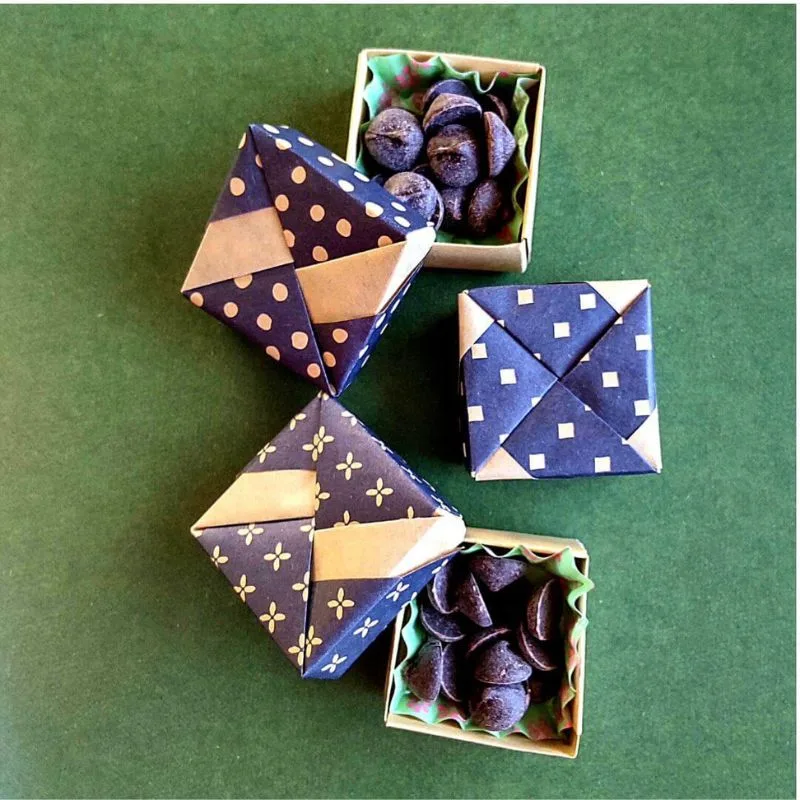
What shall I put in this box?
In Conclusion
I hope you enjoy the process of folding as much as the finished piece.
Don’t worry if it’s not perfect at first—every fold is a step toward your own unique creation.
Happy folding!