
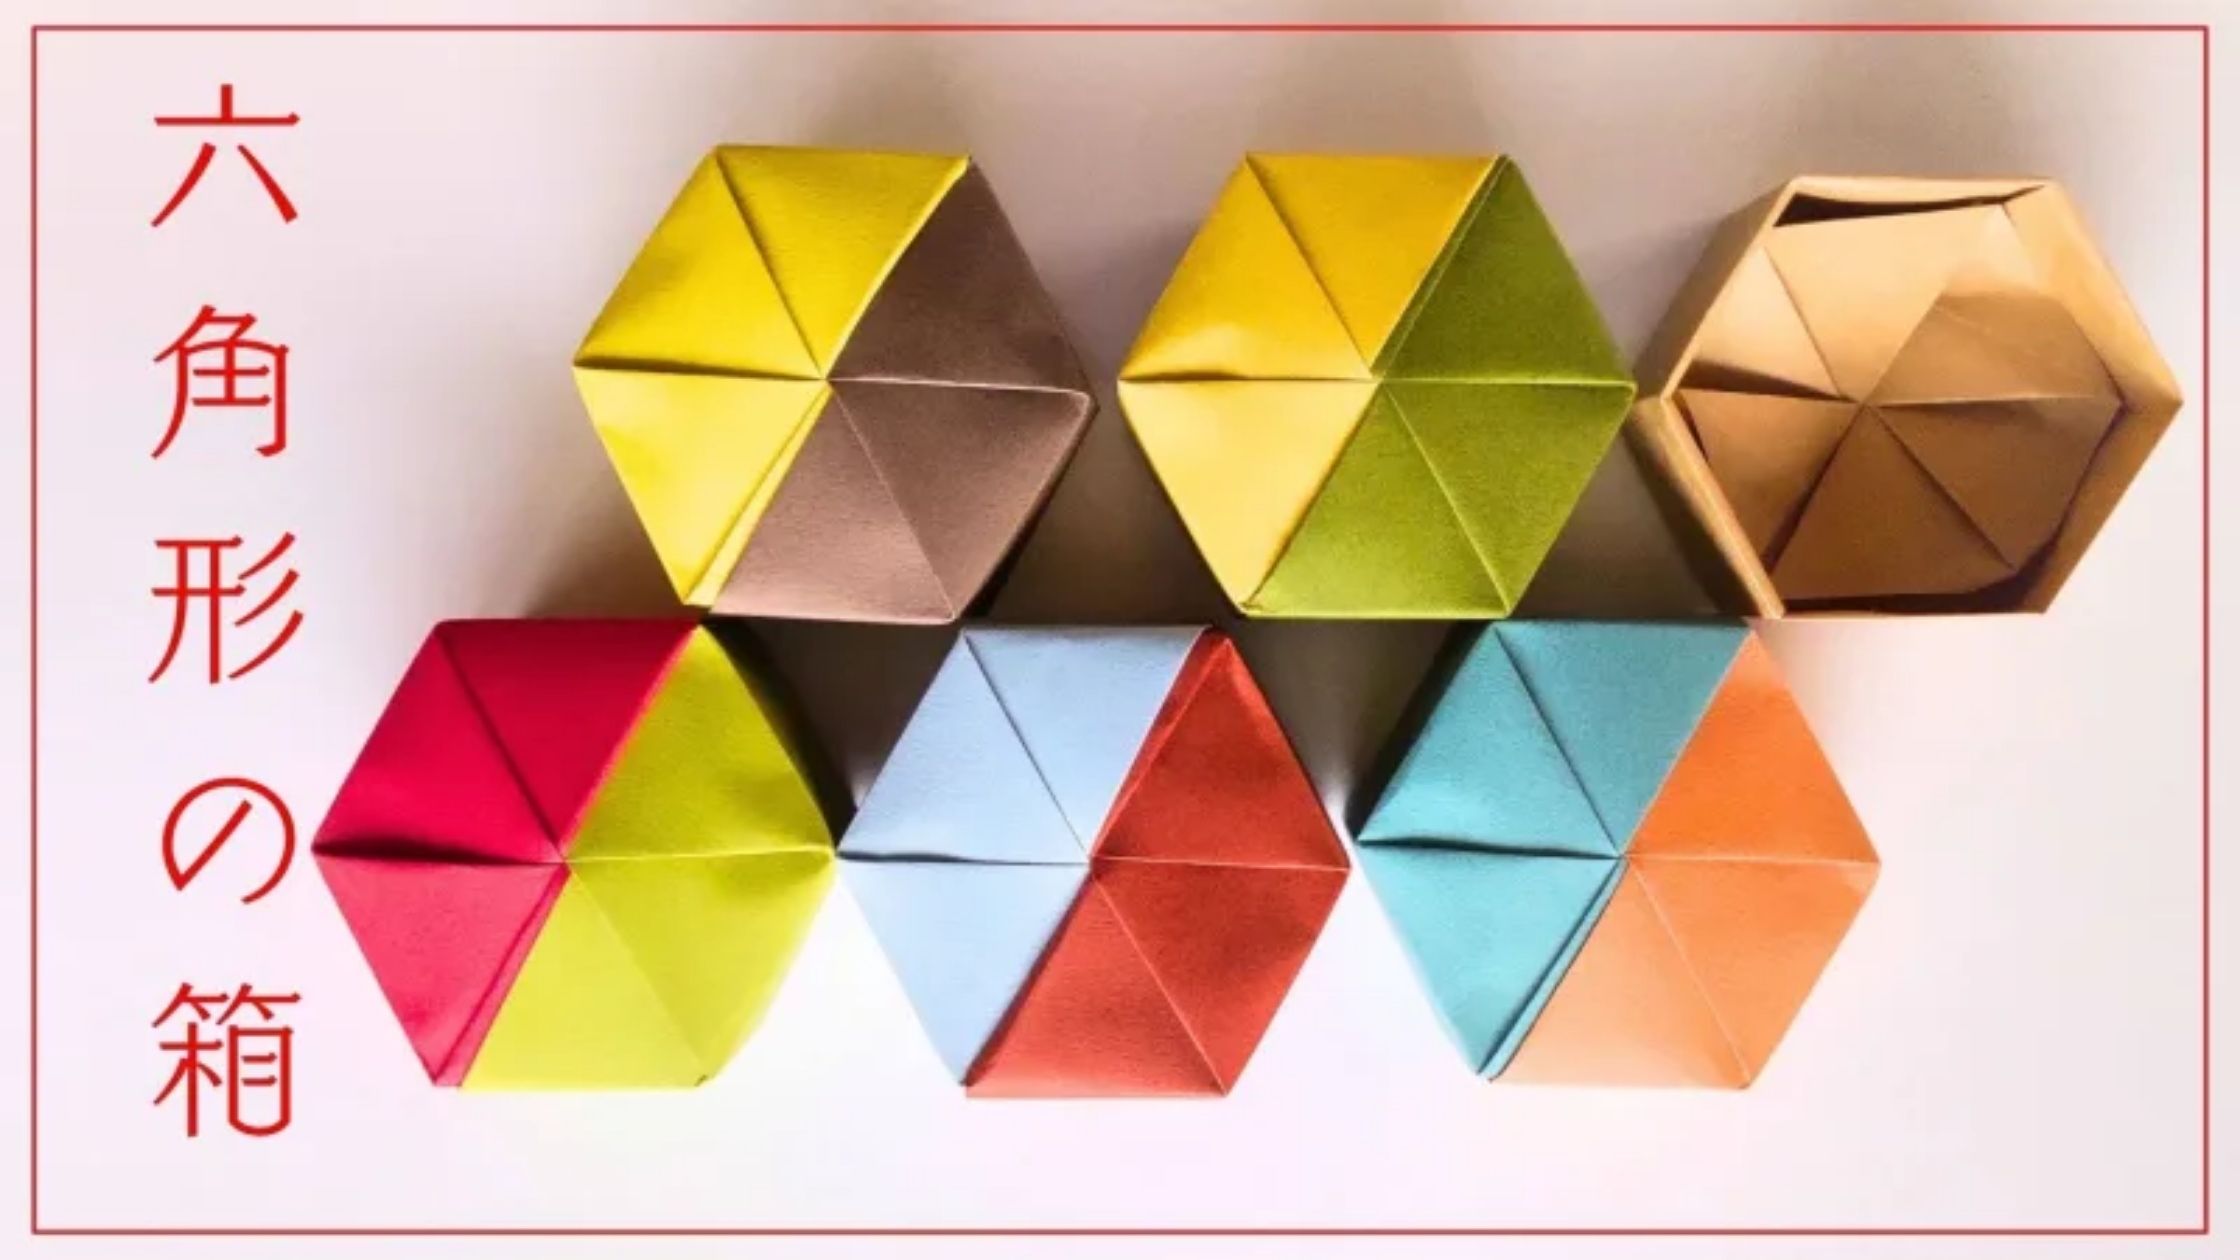
Here is a tutorial on how to make a hexagonal box using origami.
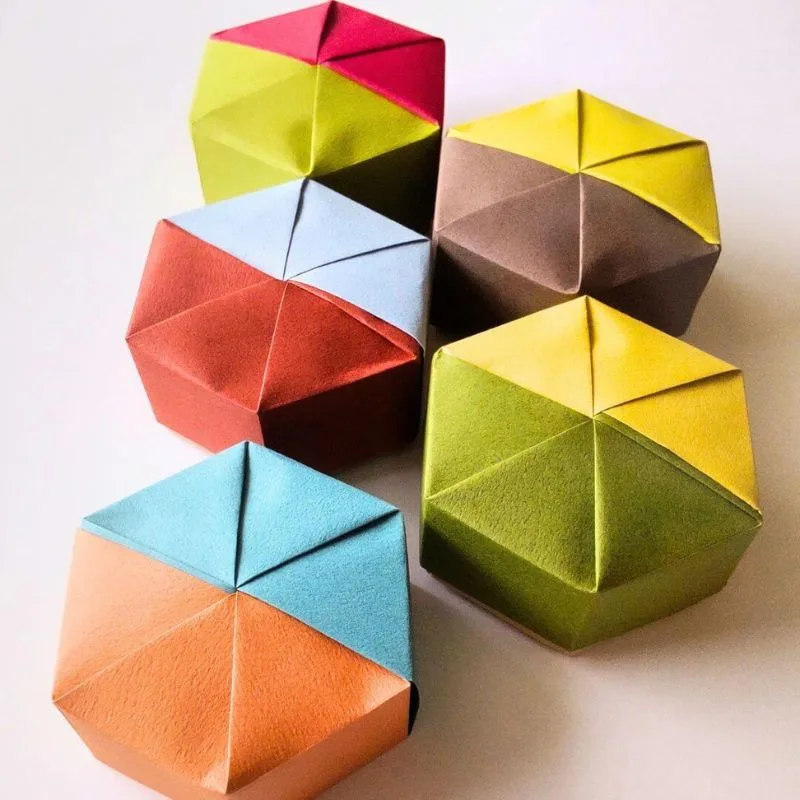
Hexagons, which resemble a turtle’s shell, are considered to bring good luck.
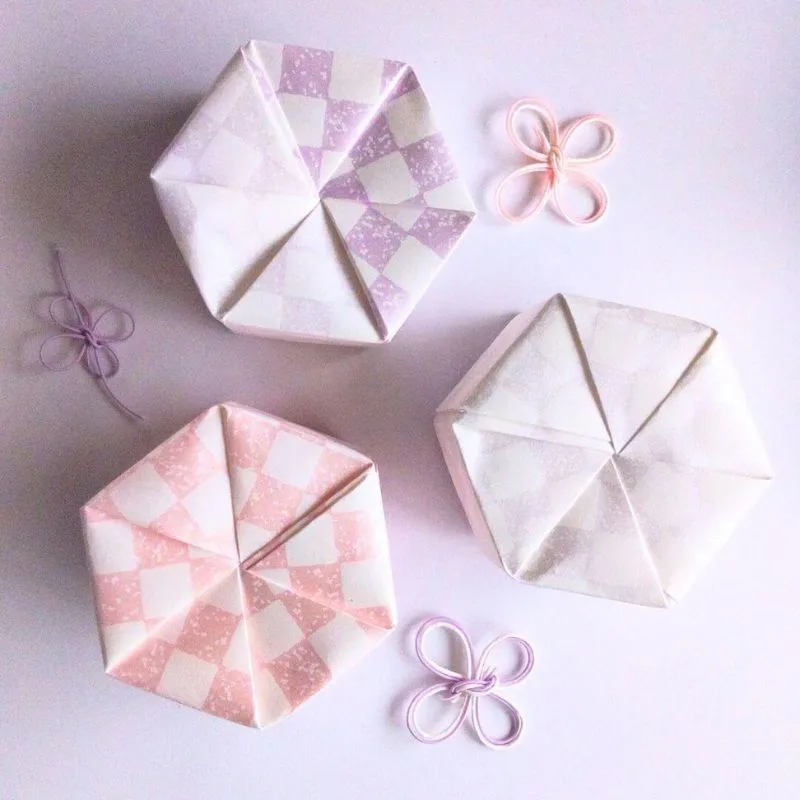
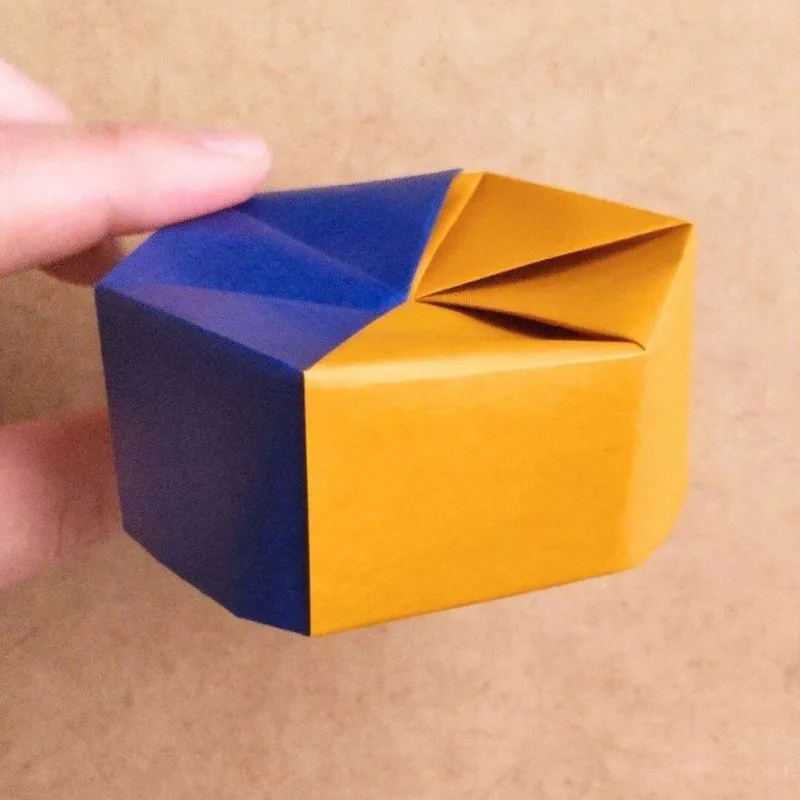
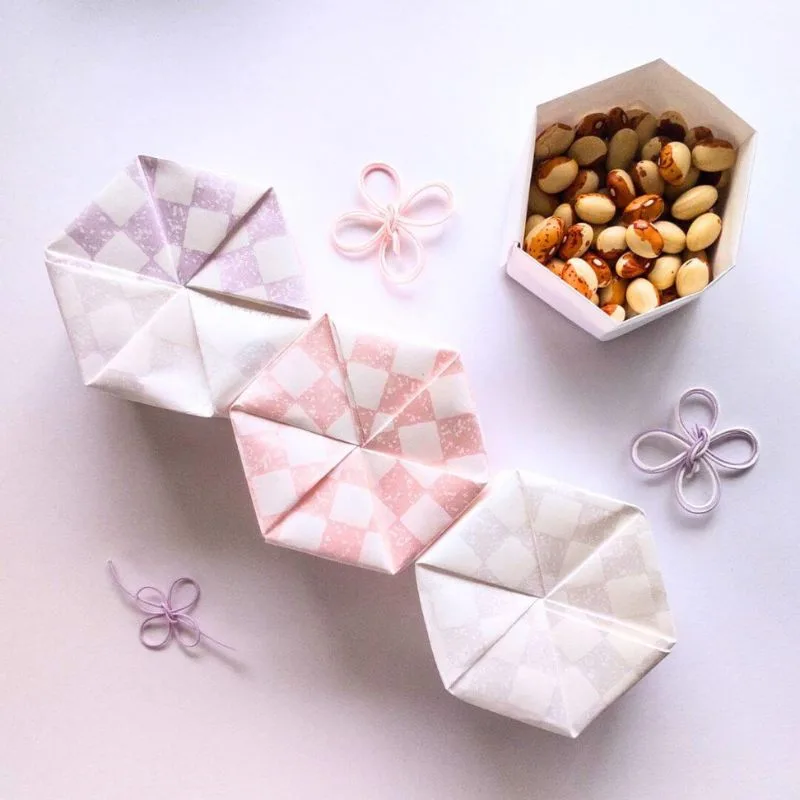
It’s a cute, palm-sized box.
Folding Instructions
You’ll need two 15-centimeter sheets of origami paper.
If you want to join the top and bottom, prepare four sheets.
First, crease the paper and assemble the pieces.
There are quite a few steps involved, but you’ll end up with a lovely box.
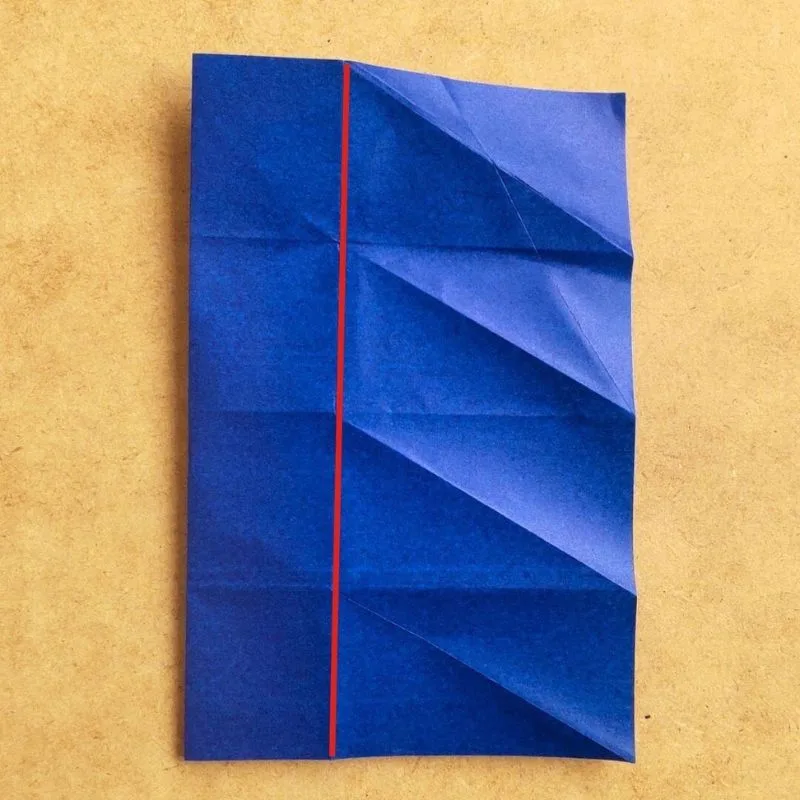
Let’s make a crease
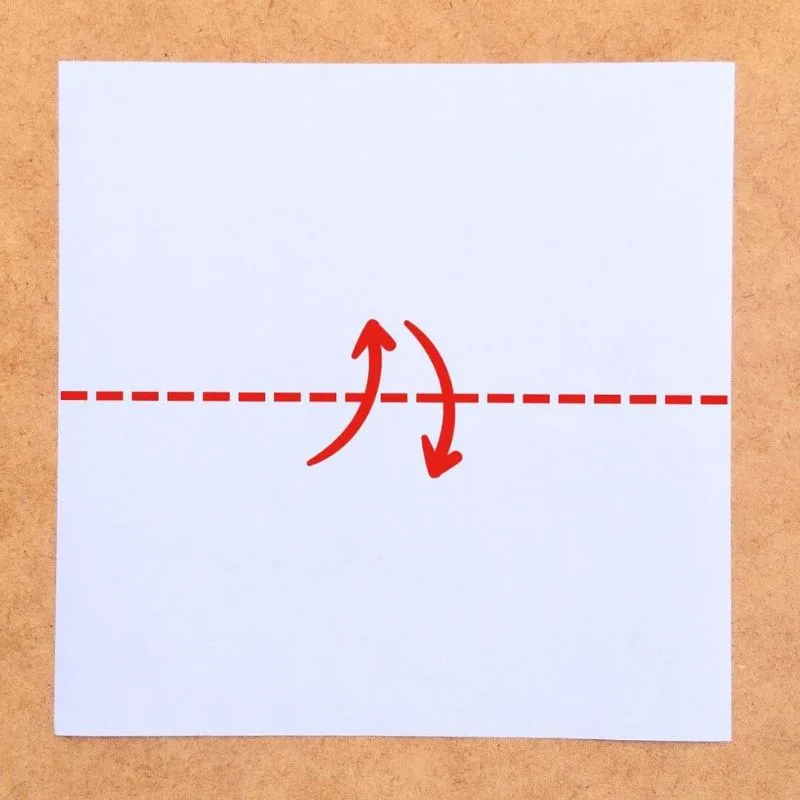
そFirst, fold it in half to create a crease.
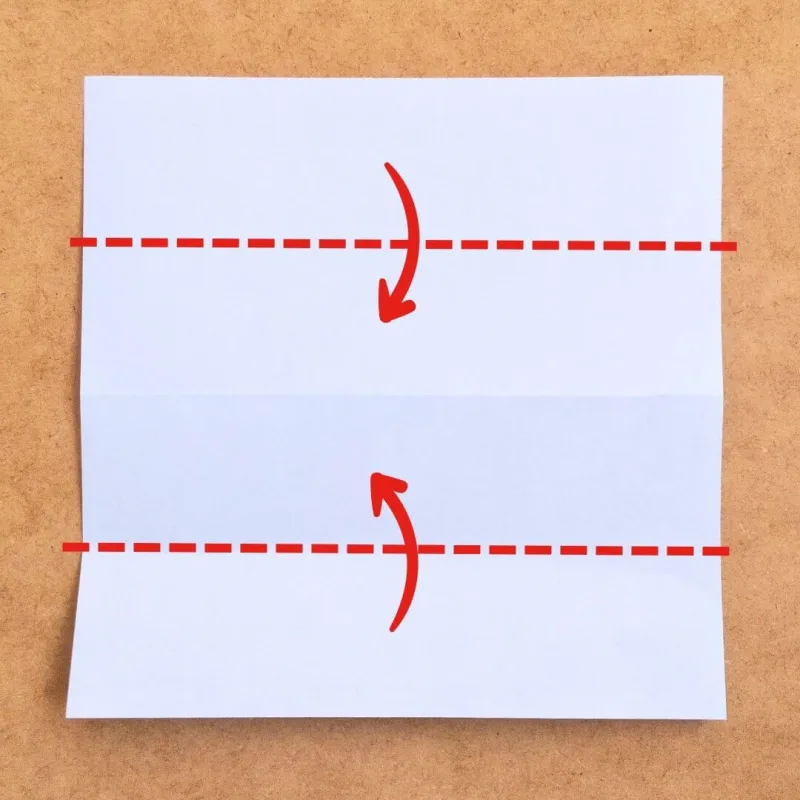
Then, align the top and bottom edges and fold it to create four equal sections.
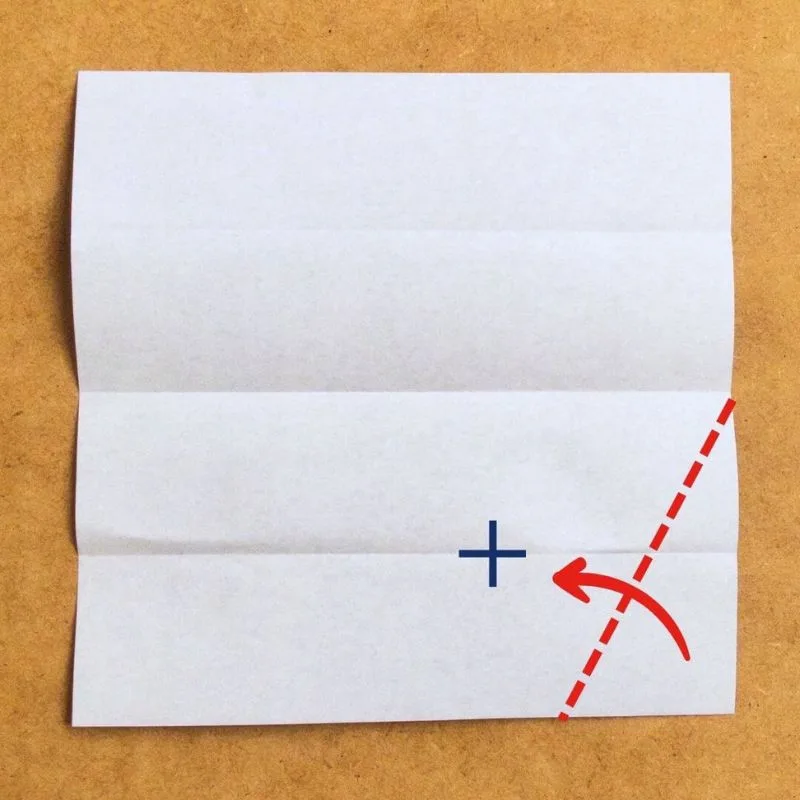
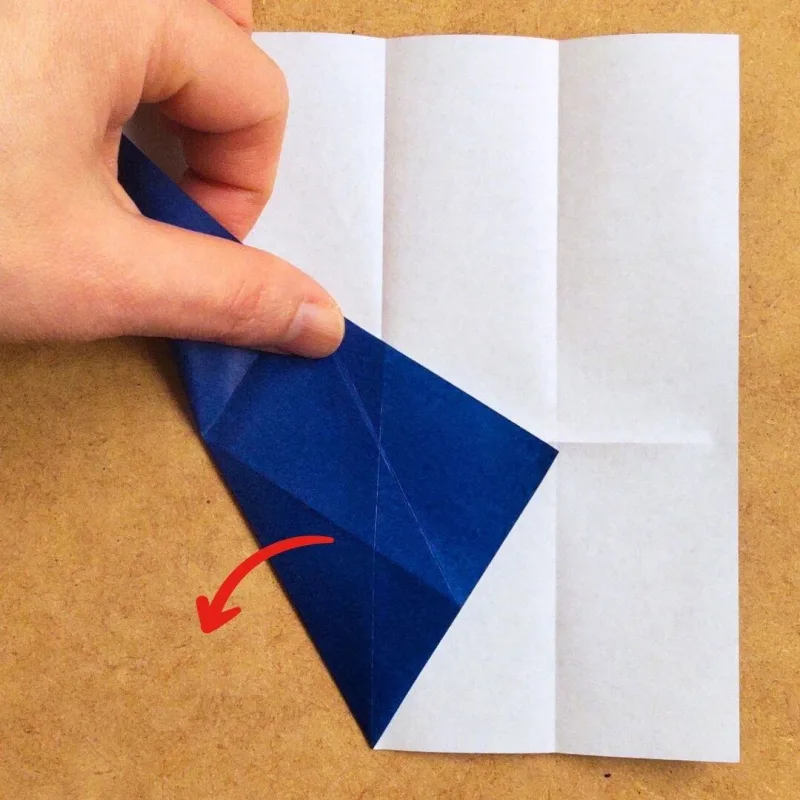
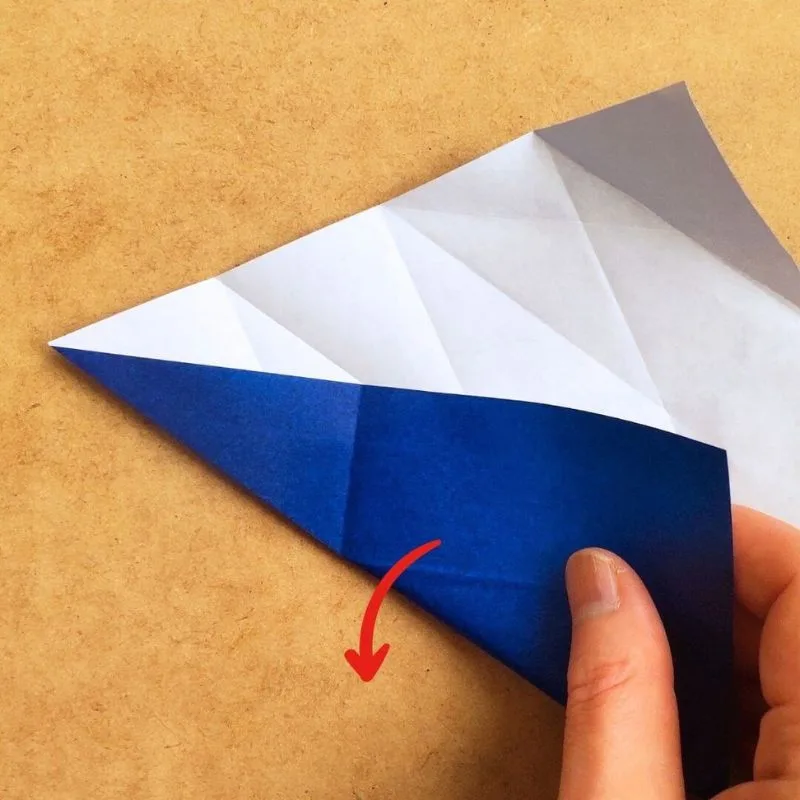
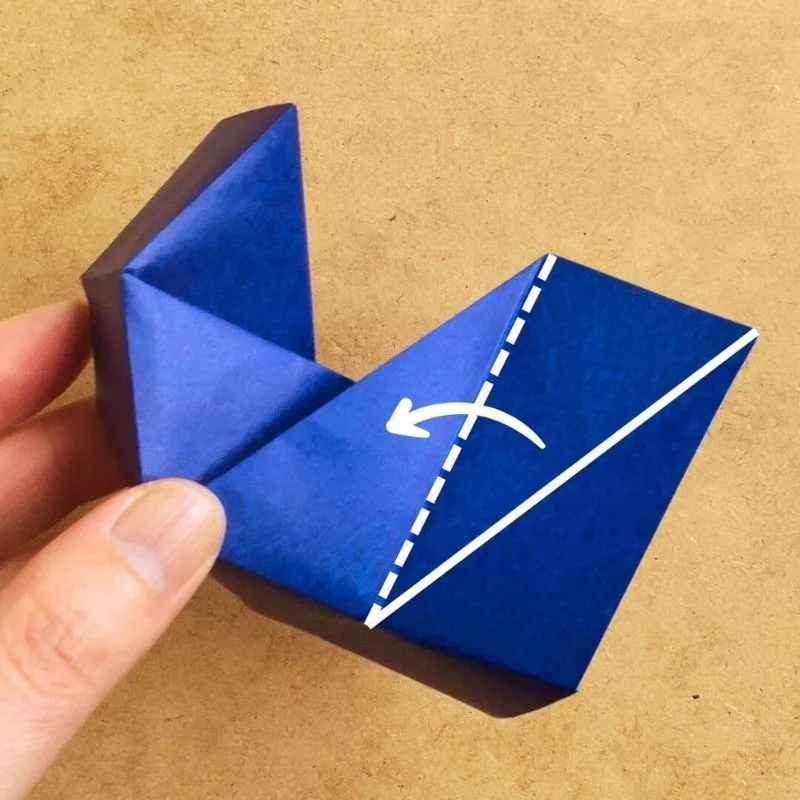
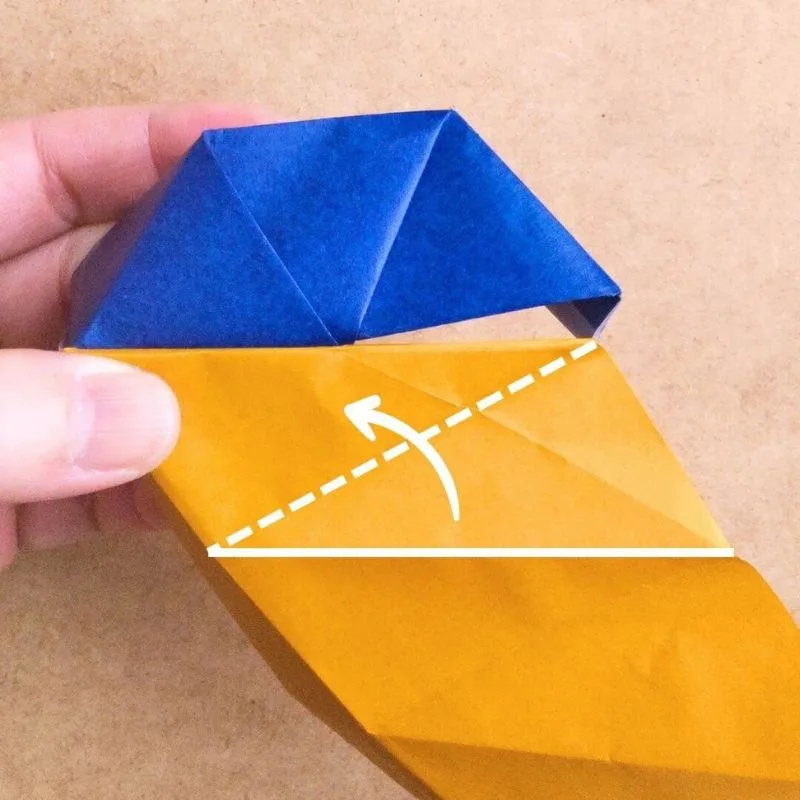
Now, fold along the line that divides the bottom-right corner into four equal parts.
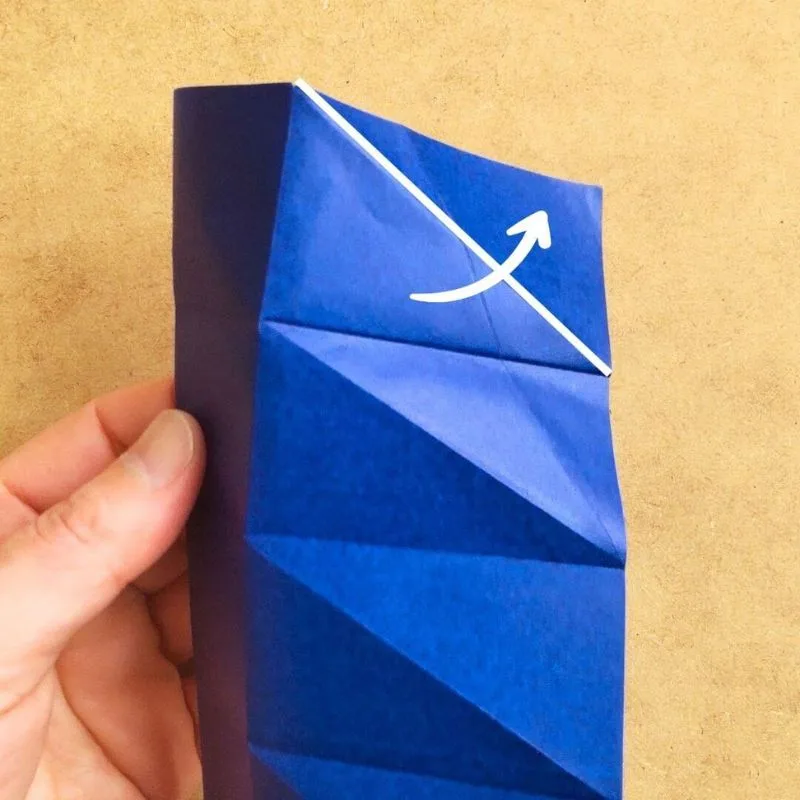
Turn the paper over so that the folded triangle is on the right side.
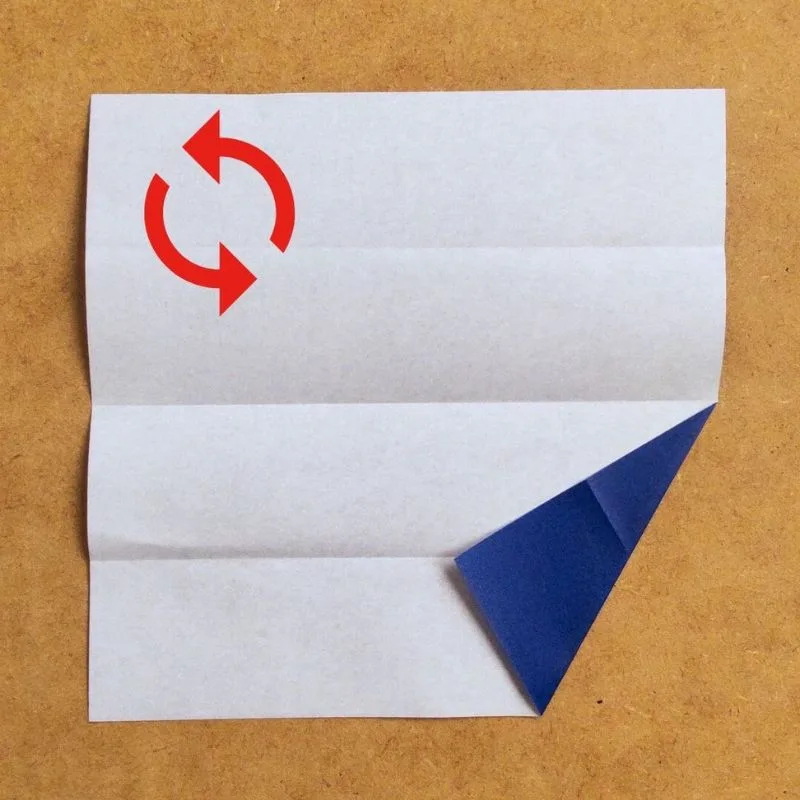
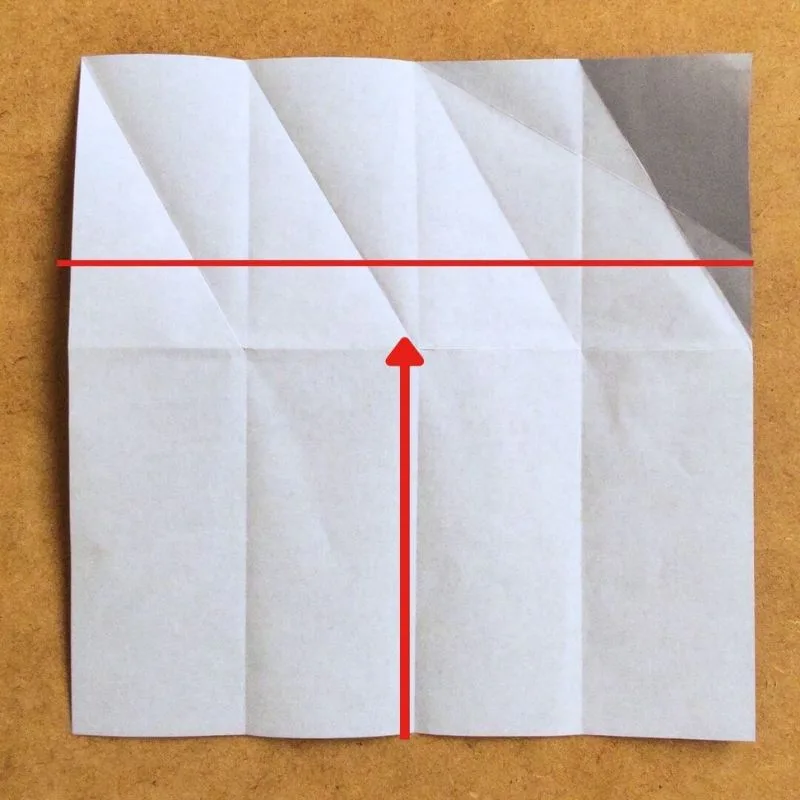
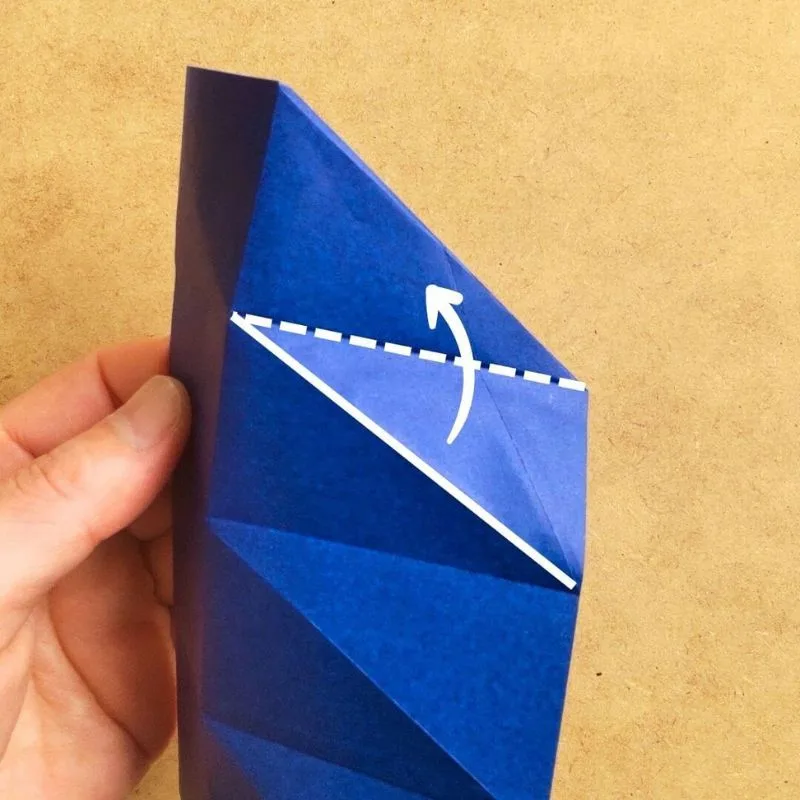
Fold along the corner of the triangle.
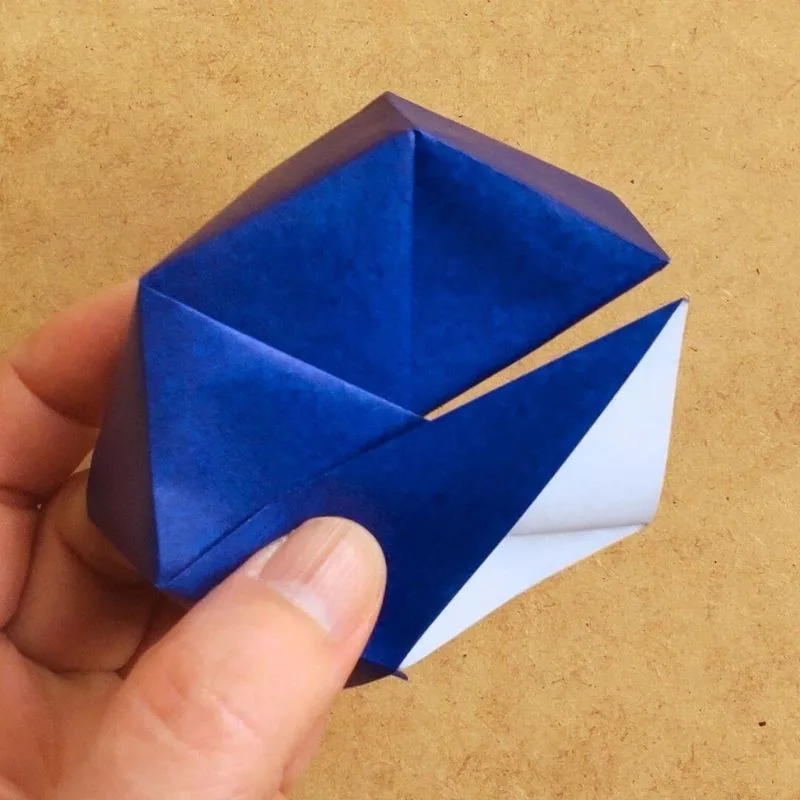
This fold will form the boundary between the top and side of the lid.
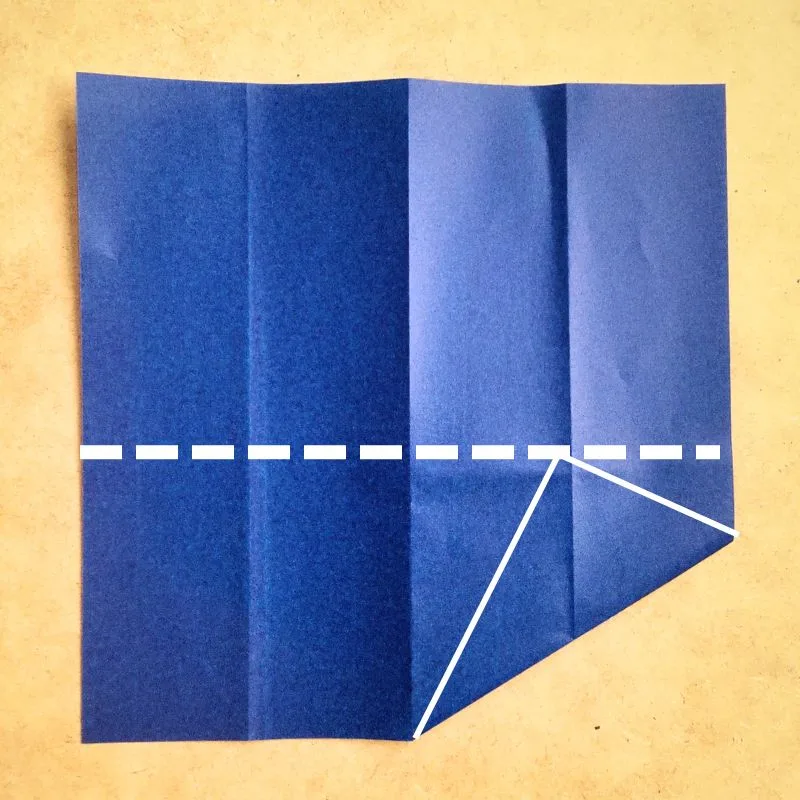
Once you’ve made the creases, flip it over and open it up.
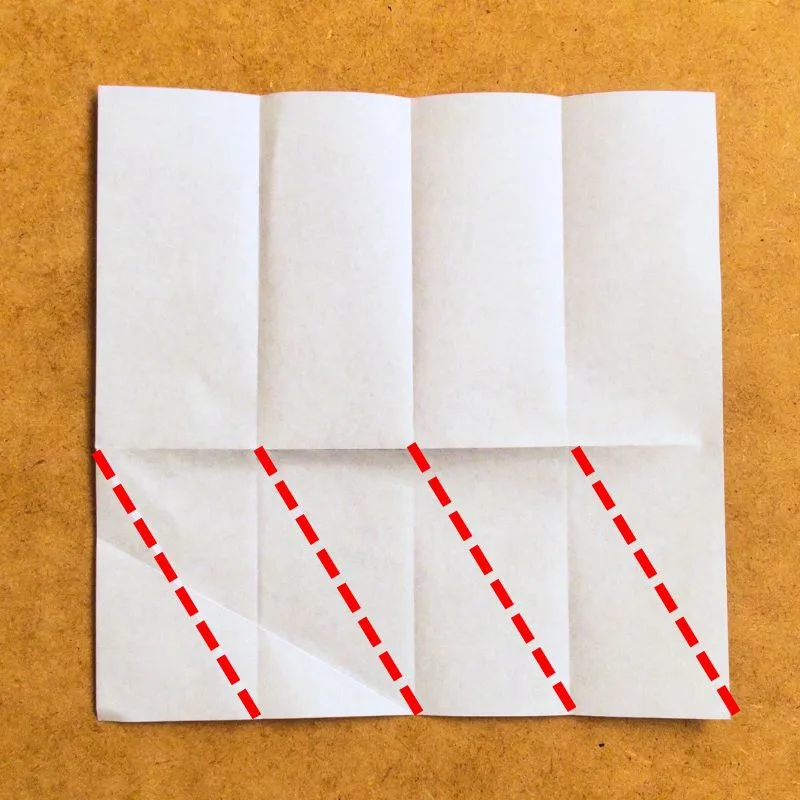
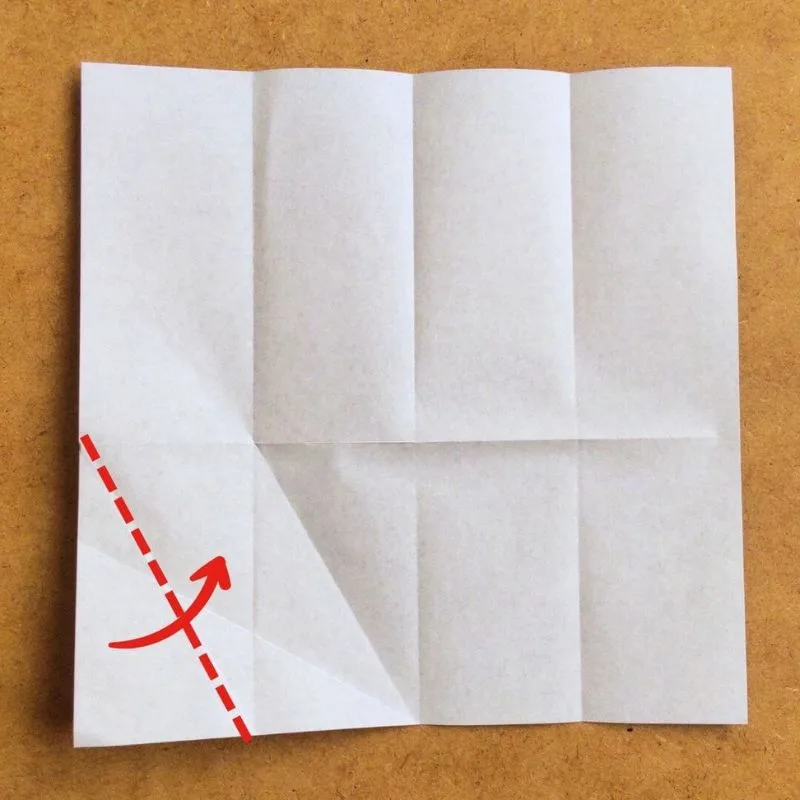
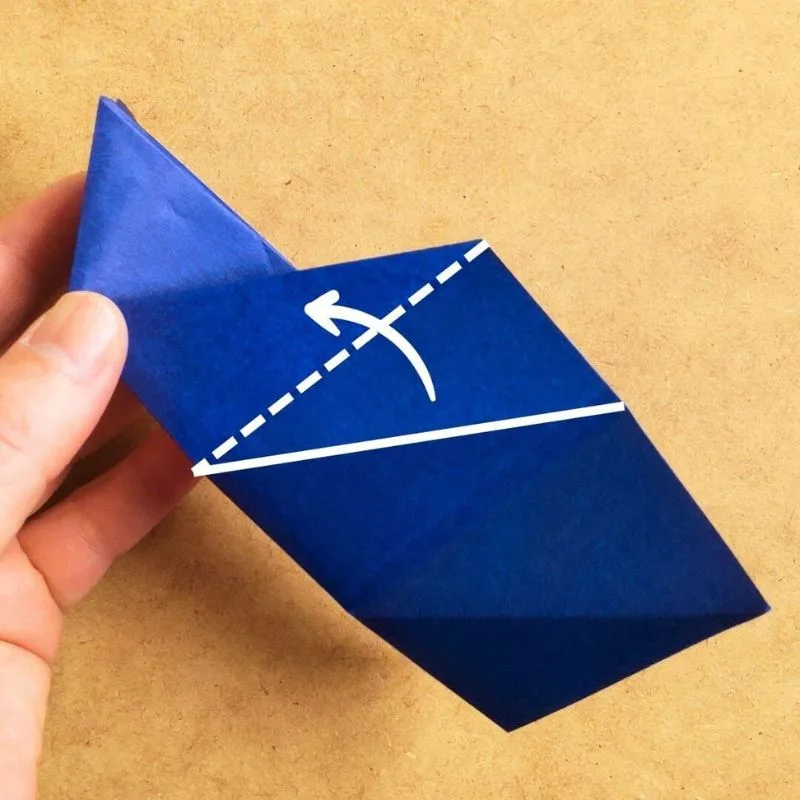
Next, draw four diagonal lines.
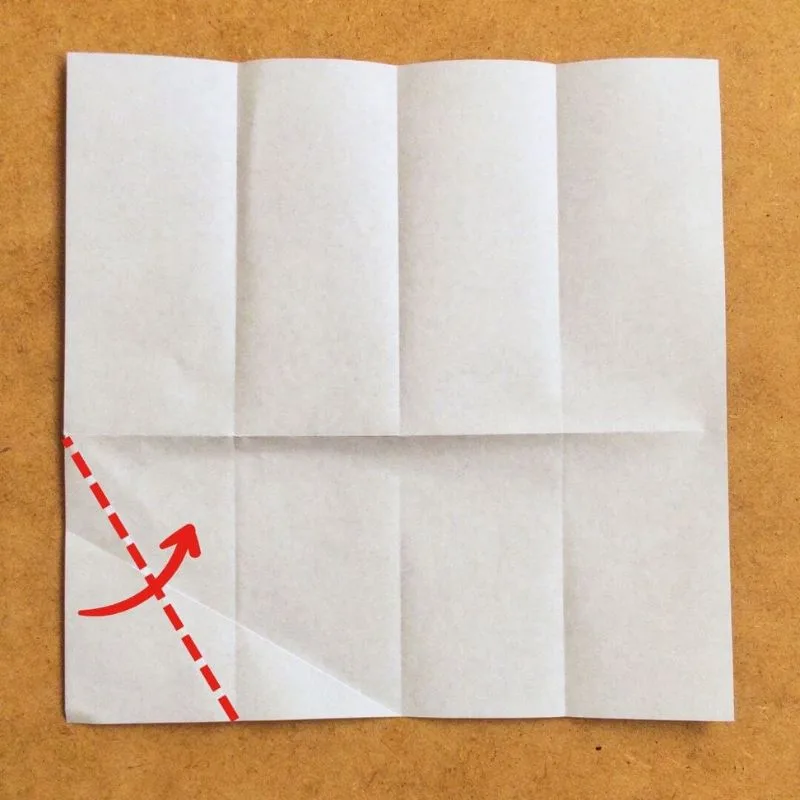
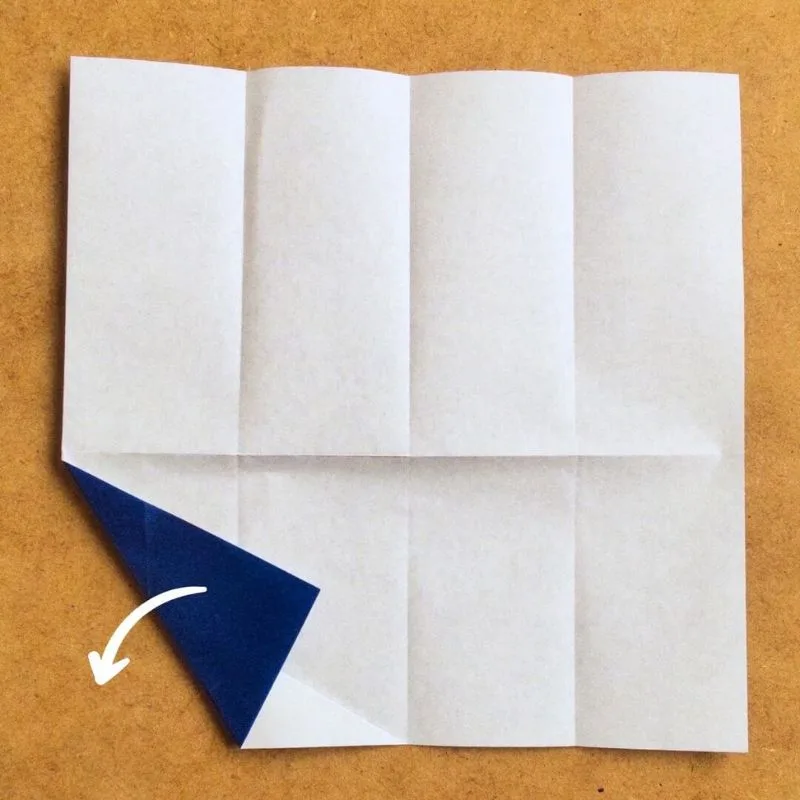
Fold the first line so that the left corner aligns.
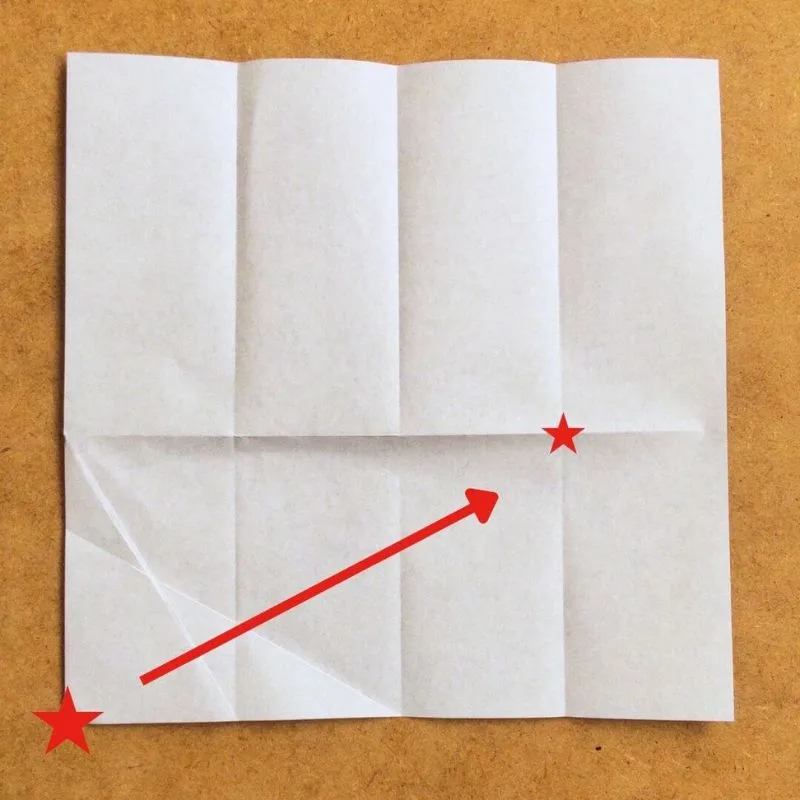
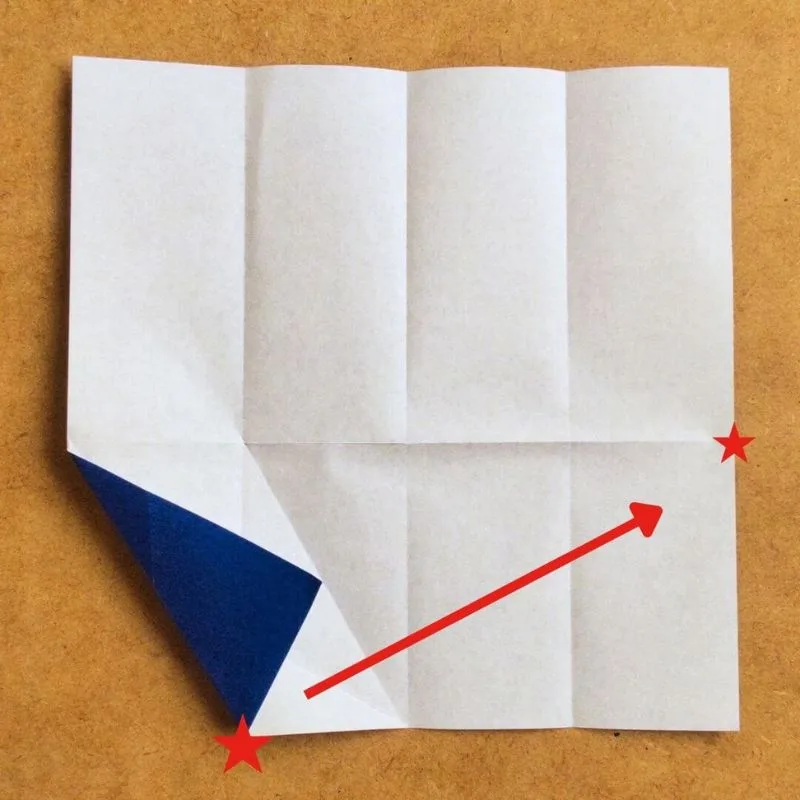
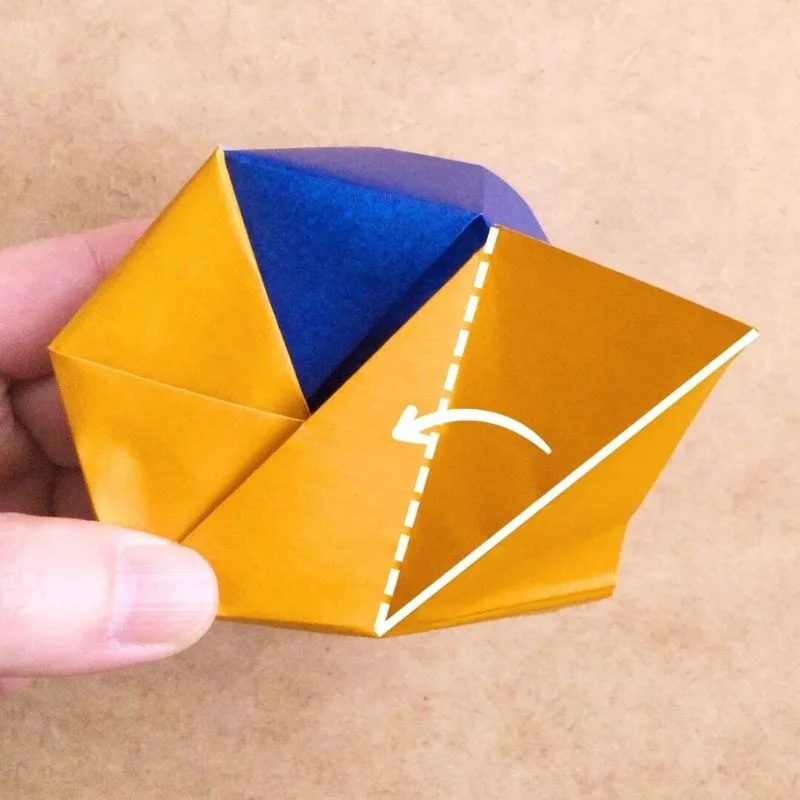
For the second fold, align the corners marked with stars and fold them together.
For the third one, fold the left corner first, then…
Align the star marks and fold.

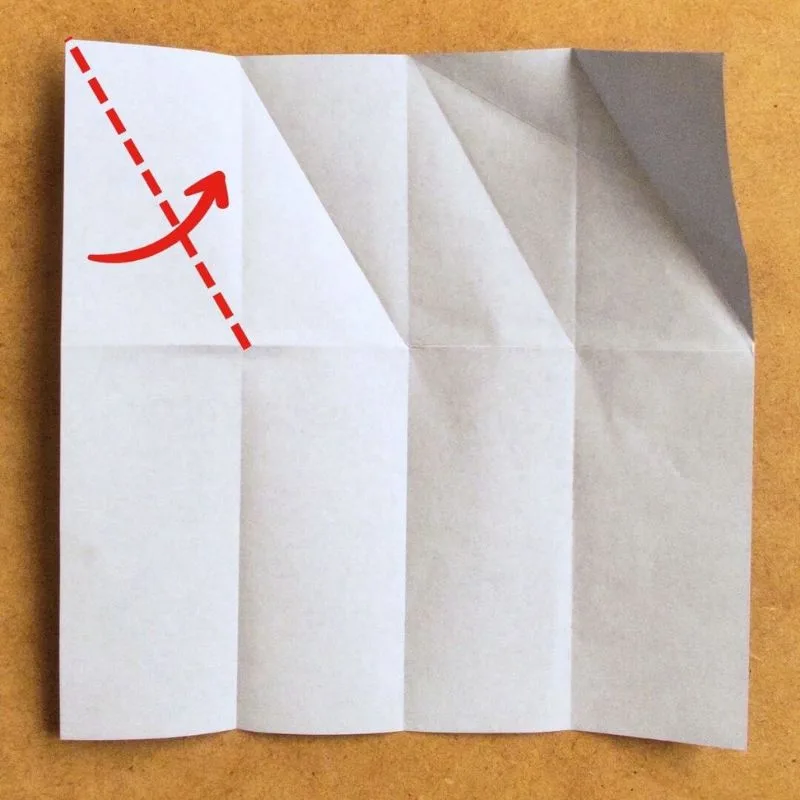
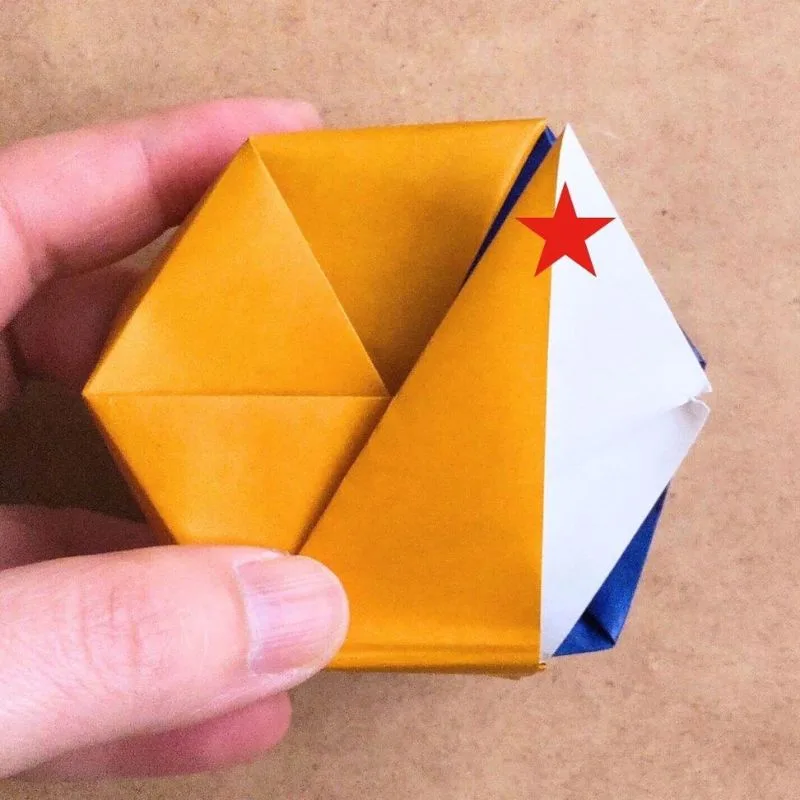
Fold the last line.
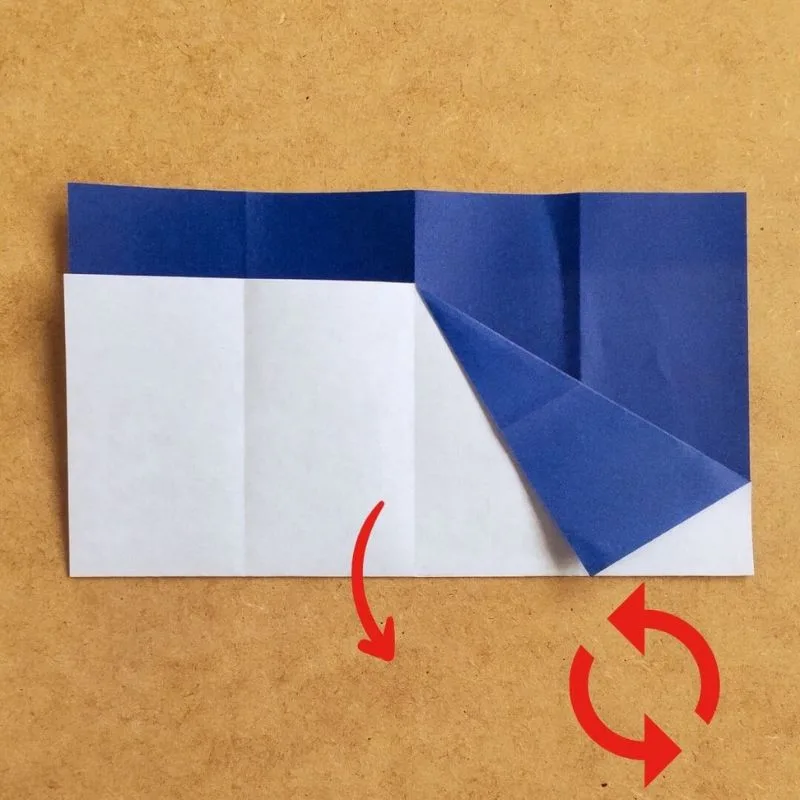
Next, use the diagonal line you folded first as a guide.
Next, fold the part that extends beyond the edge inward.
This will form the side.
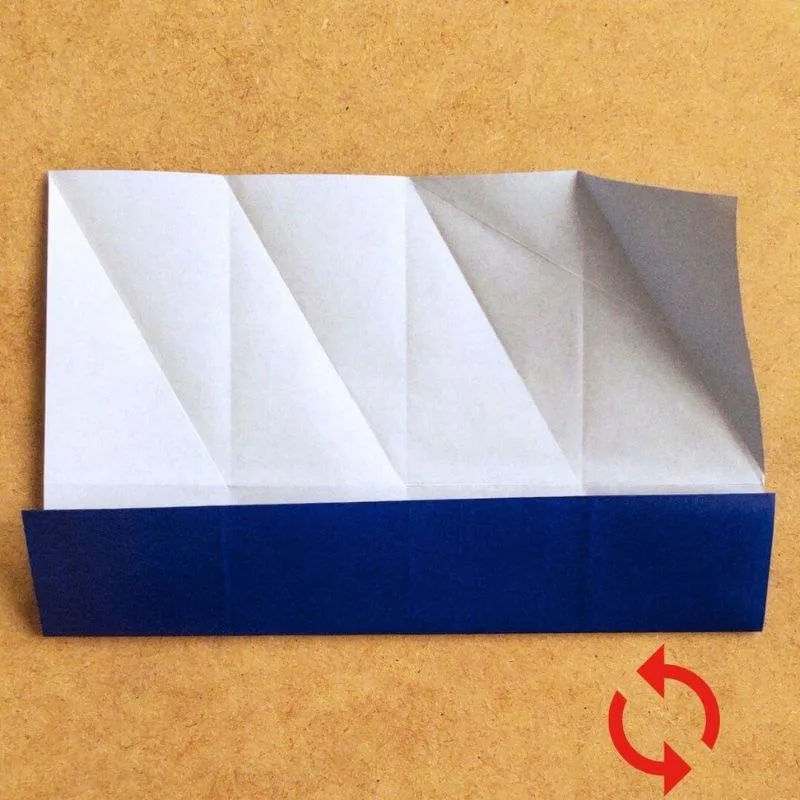
Turn it over.
Make sure to crease the folds firmly so that it’s easy to assemble
It may seem a bit tedious, but we’ll crease the paper to make assembly easier.
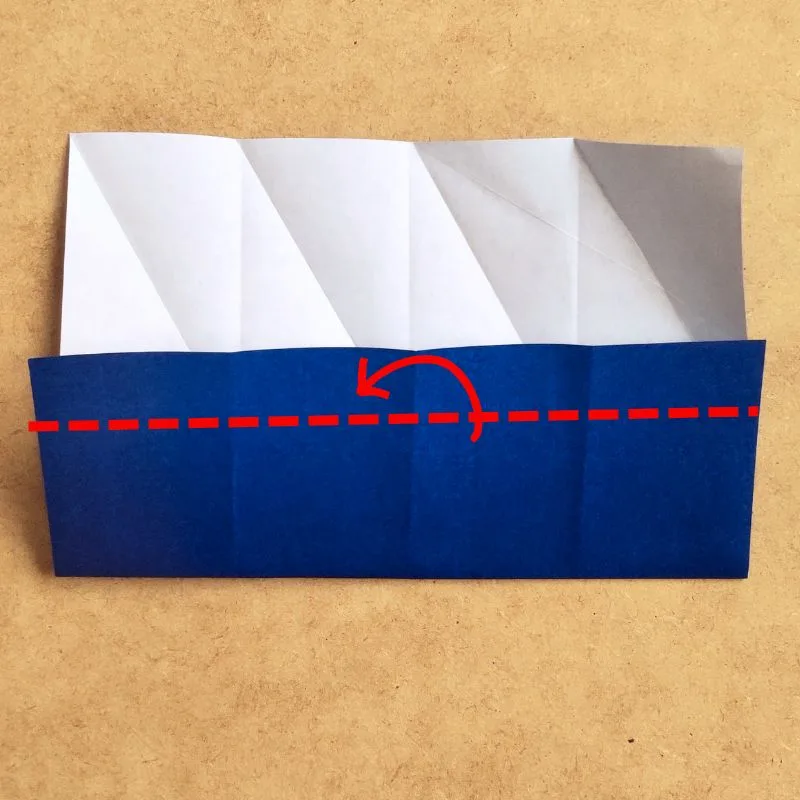
First, fold the line where the top flap meets the side panel into a mountain fold.
Next, fold the corner inward.
It has formed a triangle.
Fold it so that it covers the triangle.
Fold along each crease one after another.
Once you’ve made the folds up to this point, open it up.
Prepare two of these.
Let’s put it together
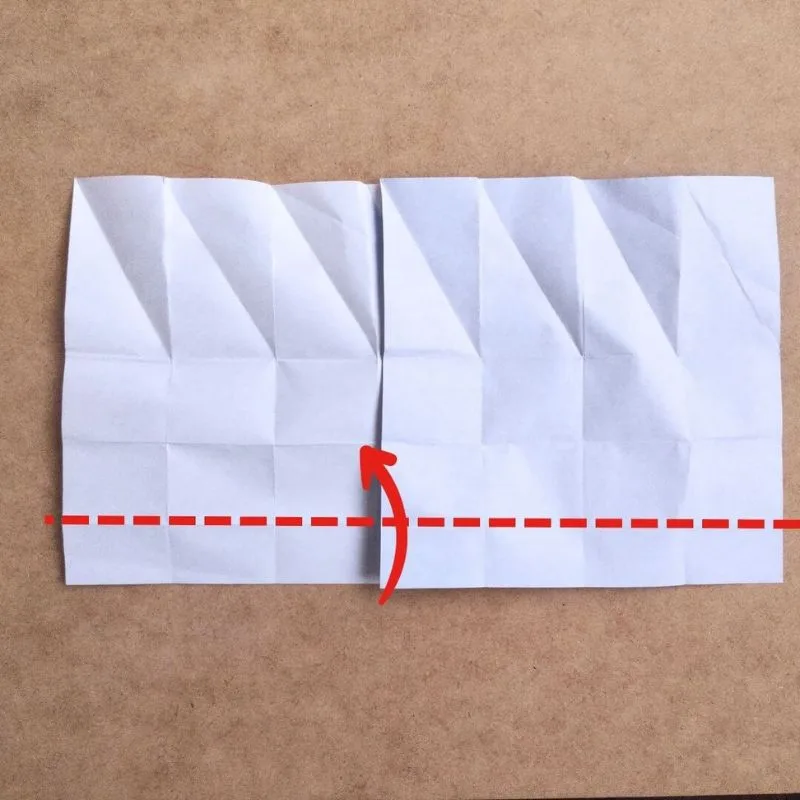
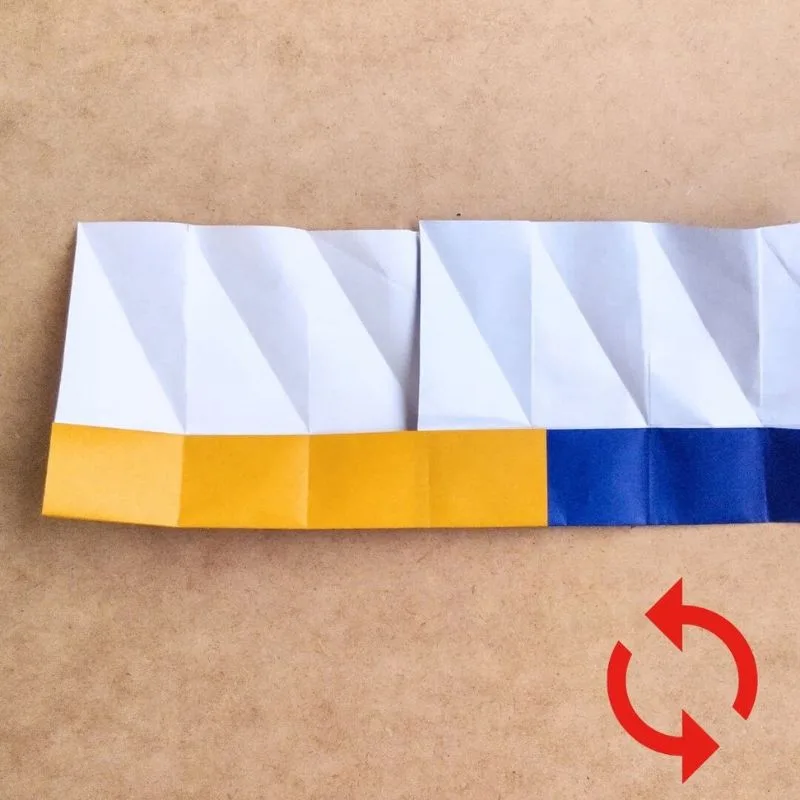
Now let’s put it all together.
Line them up side by side and overlap them by one-quarter.
Fold them up in a spiral starting from the bottom crease.
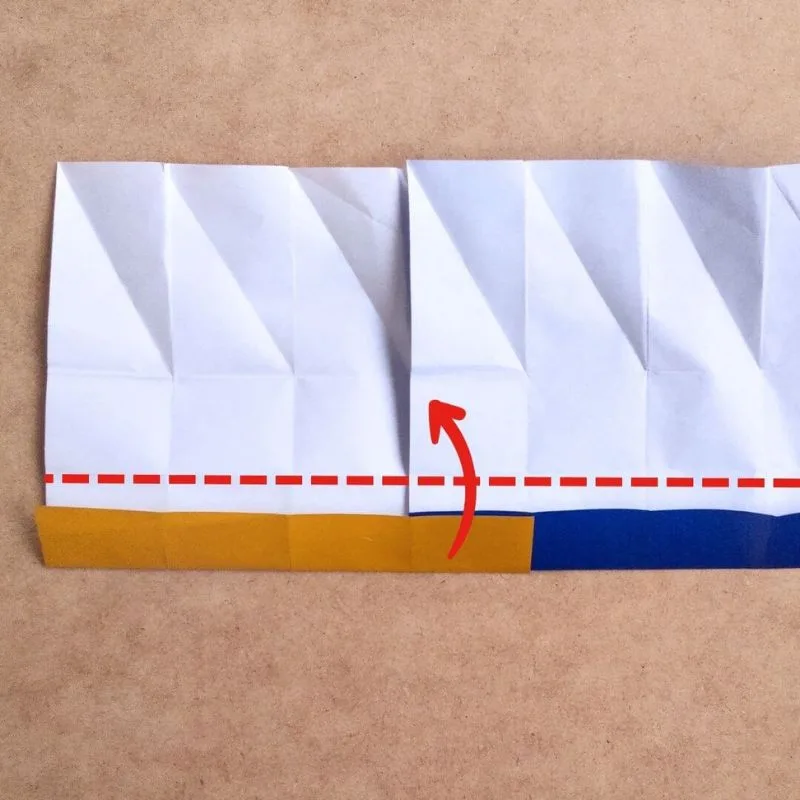
Once you’ve folded it to the crease, flip it over.
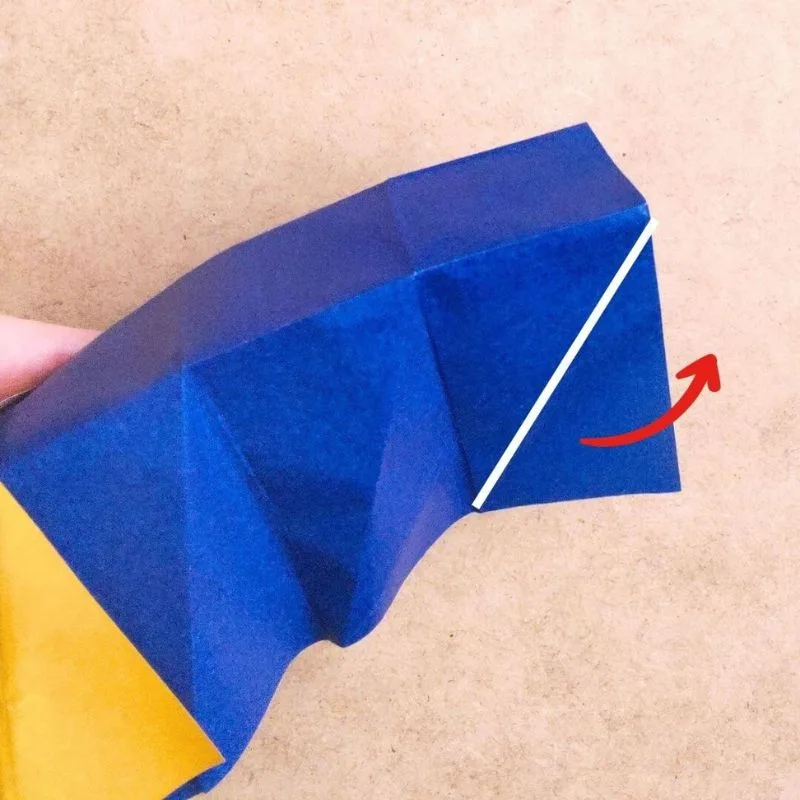
Next, fold along the creases.
Follow the same procedure as when you made the creases earlier.
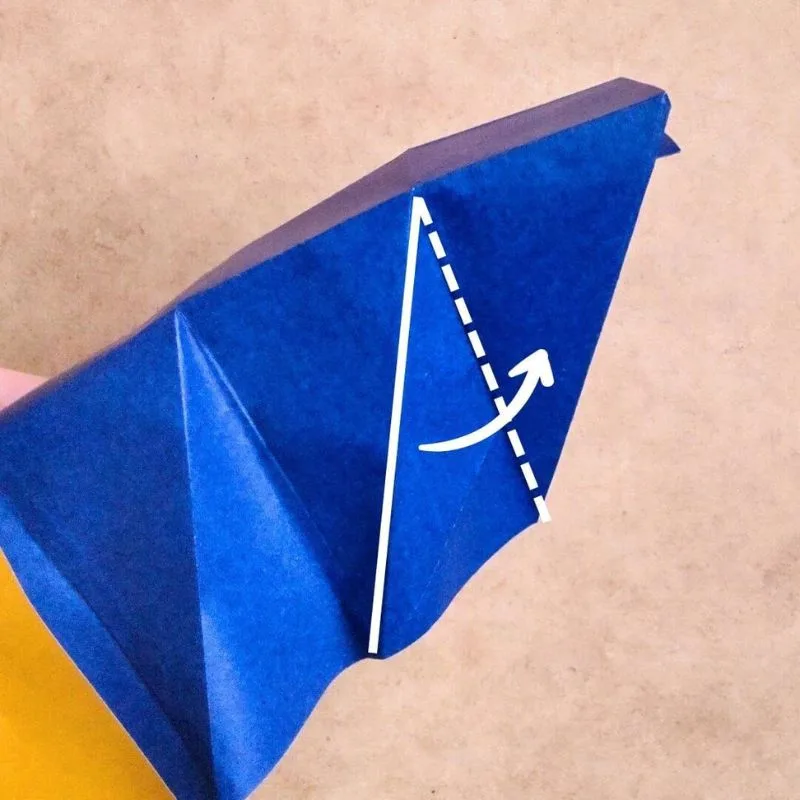
It’s a little tricky to fold where the layers overlap.
But I’ll fold it the same way.
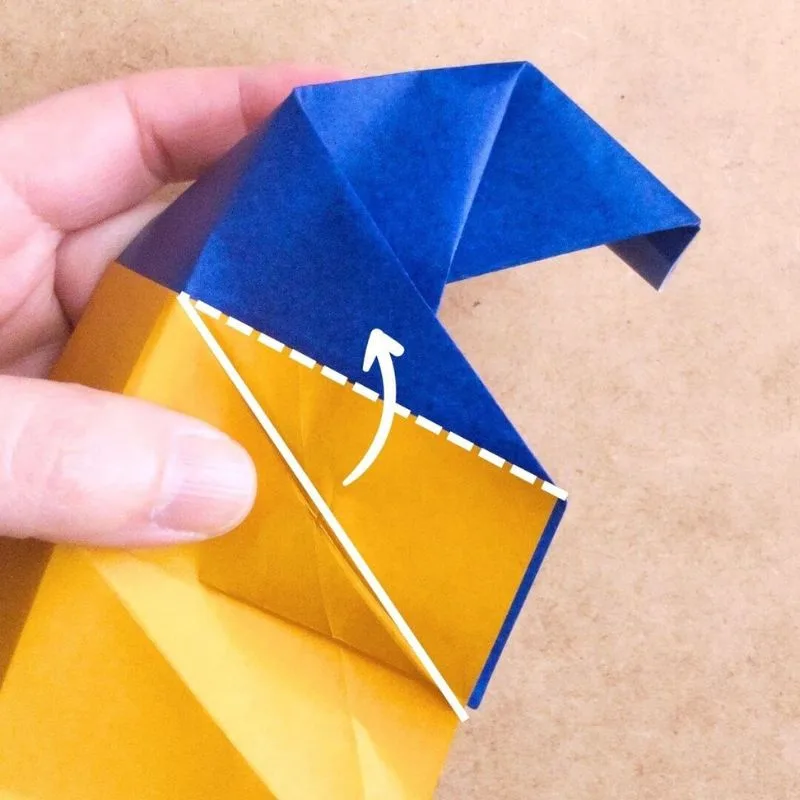
I folded it exactly as shown until the very end.
Now, let’s bring the edges together while tucking them inside the star-shaped fold.
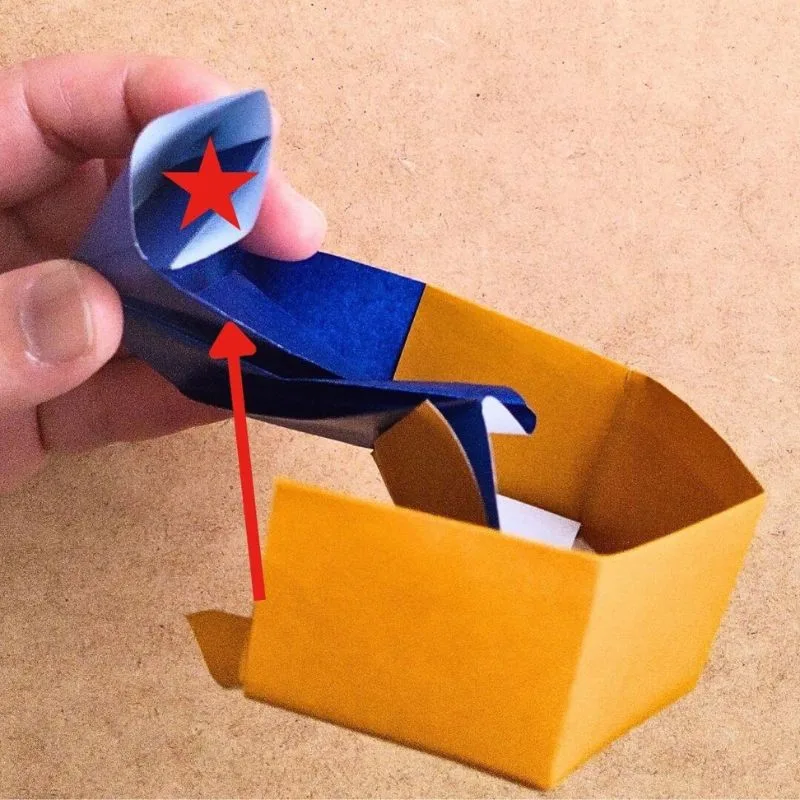
I think it’s easier to assemble if you overlap the ends slightly before tucking them inside.


At this point, tuck the protruding part inside.
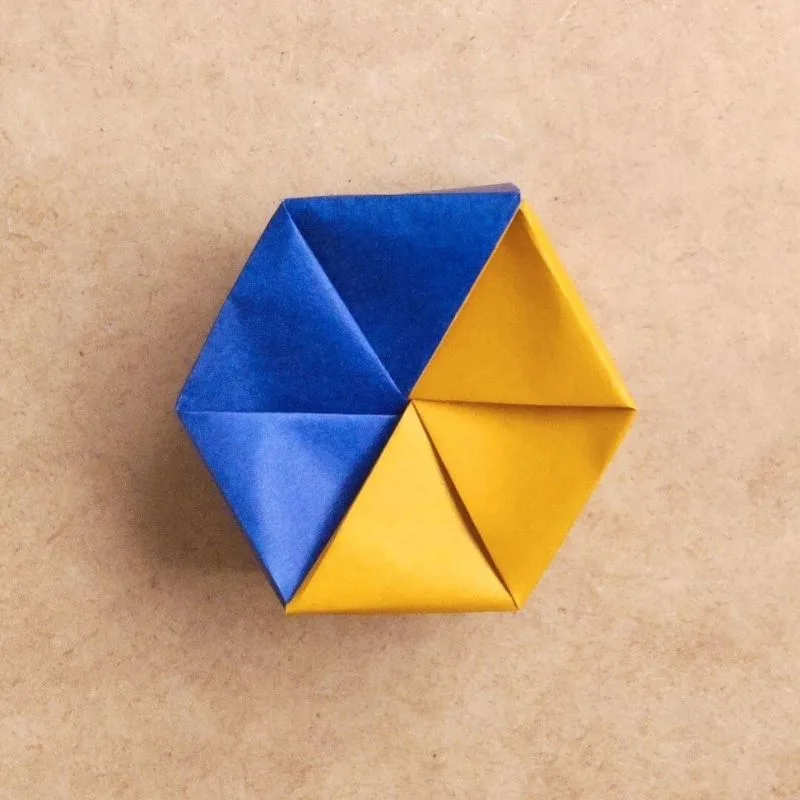
And there you have it—a hexagonal box.
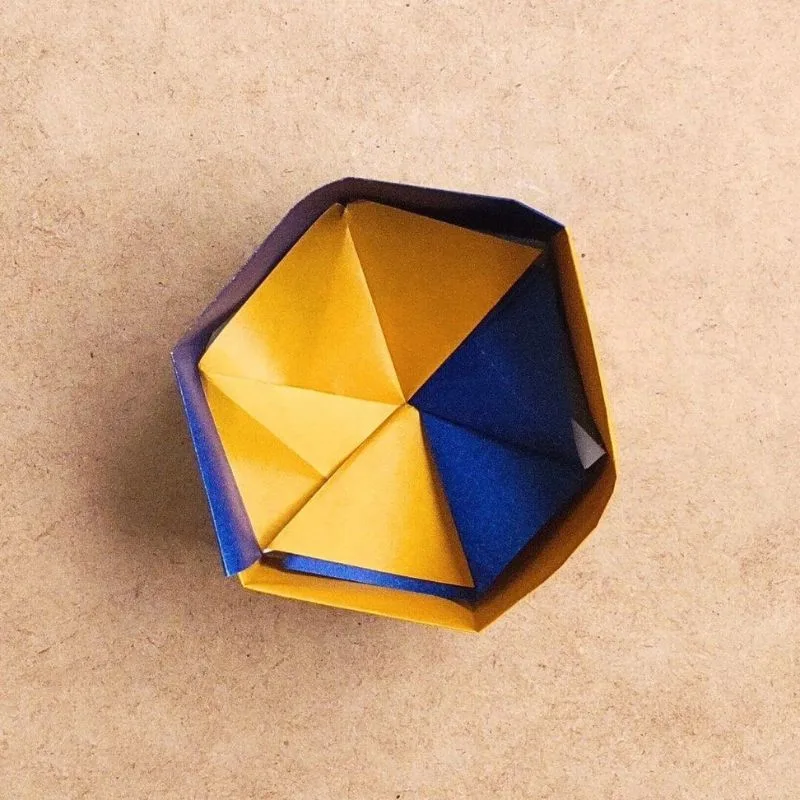
Here’s what it looks like inside.
Finished dimensions of the hexagonal box
The box is about 6 to 7 centimeters wide.
And it’s about 3 centimeters tall.
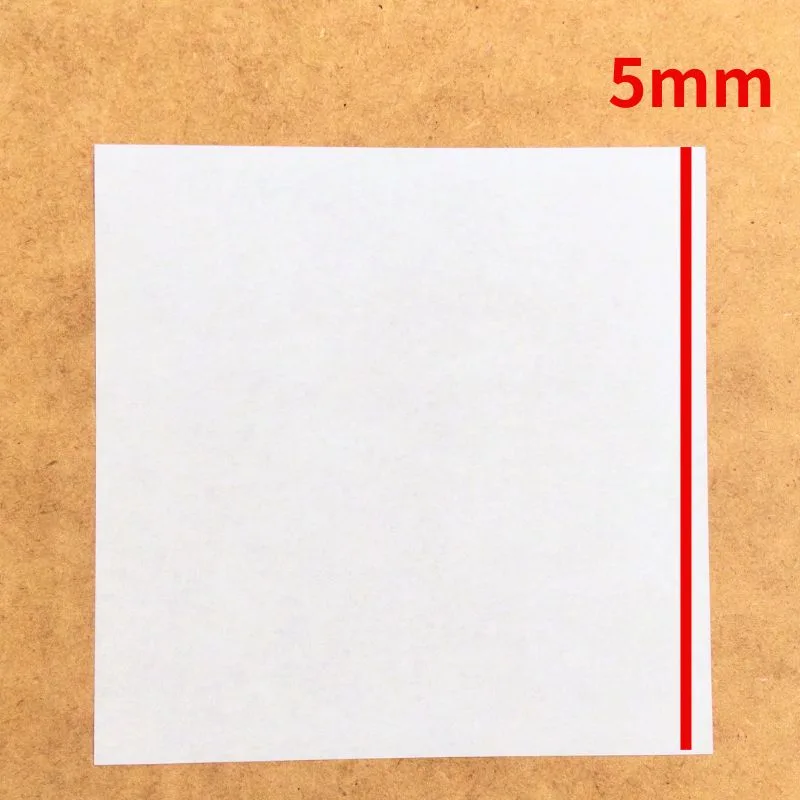
How to Make a Bottom Lid
Make the bottom lid slightly smaller than the top lid.
To do this, shorten the width of the two sheets of origami paper by about 5 millimeters.
Then fold it in the same way as the top lid.
Watch a video tutorial on how to fold it
On Pinterest, we show you how to fold it in a video.

In Conclusion
Take a deep breath and let your worries fade away as you focus on each precise crease.
Folding this floral gift box is a journey of mindfulness, where patience turns into a beautiful bloom in your hands.