
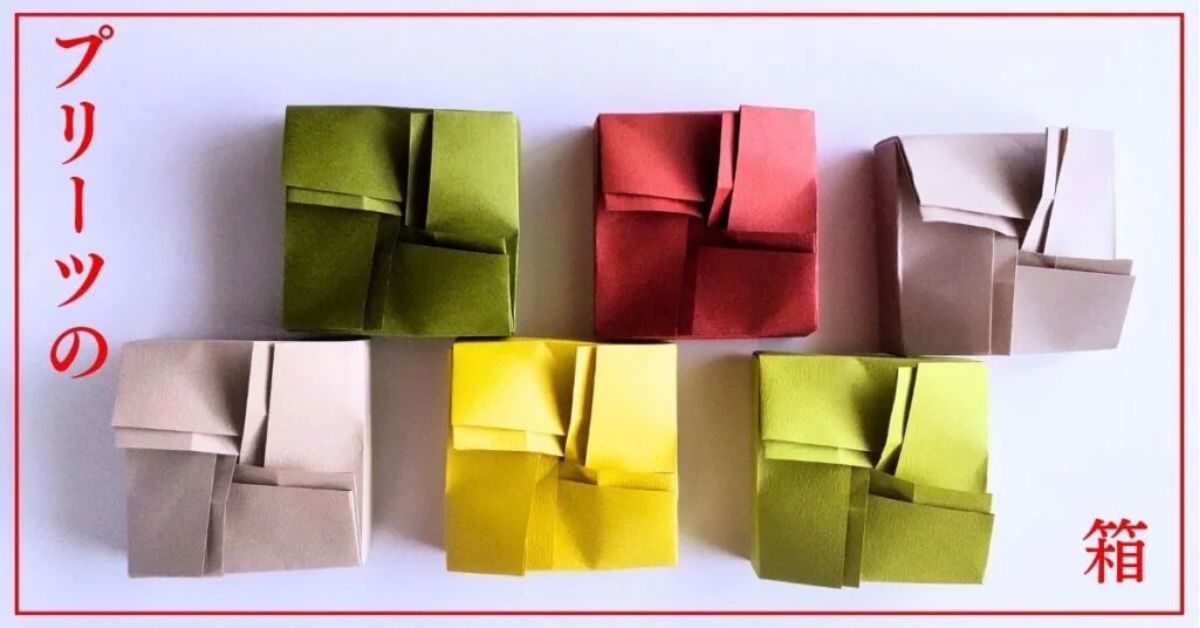
Here’s how to make a box with a pleated lid.
You can actually make it using a single sheet of origami paper.
I came across a pleated envelope.
I really liked the look of this pleated envelope, so I wondered if I could use it to make a box and decided to give it a try.
Since the envelope looked simple and the folding method didn’t seem complicated, I thought I could probably do it.
After a few days of experimenting, I succeeded.
What’s more, the lid closes securely without flapping open.
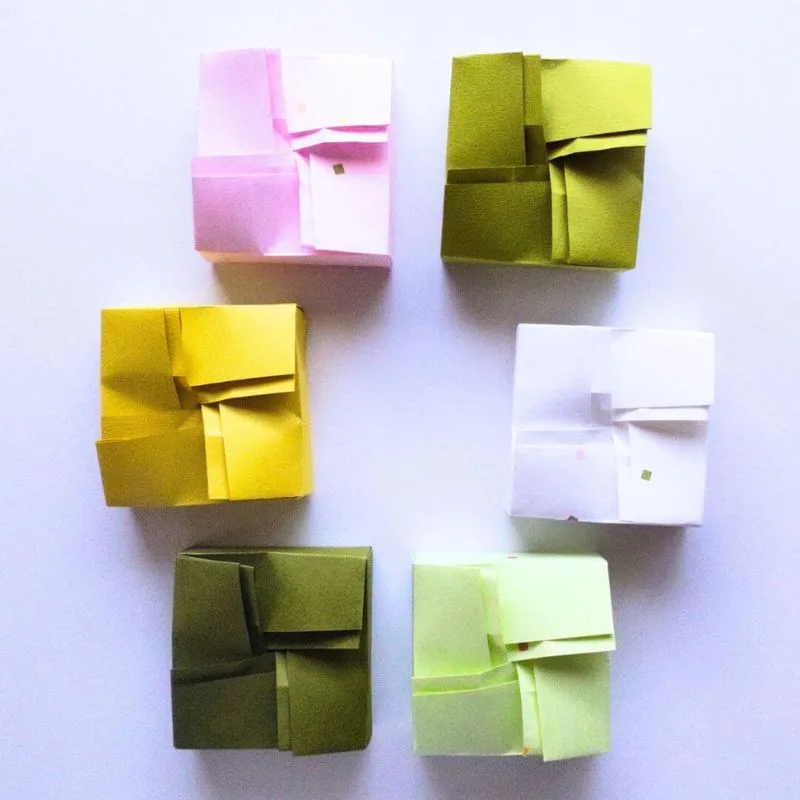
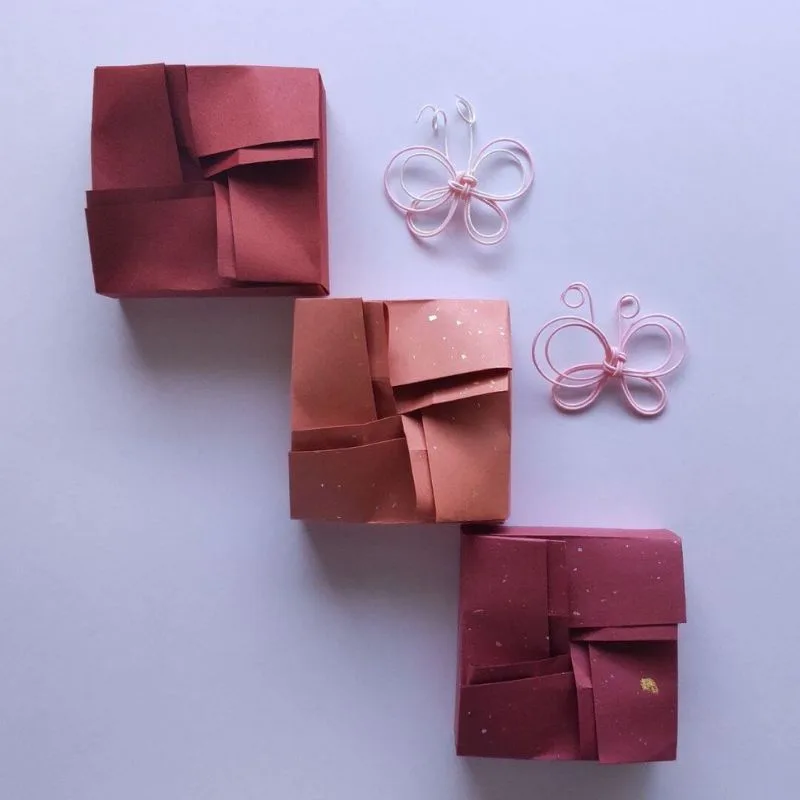
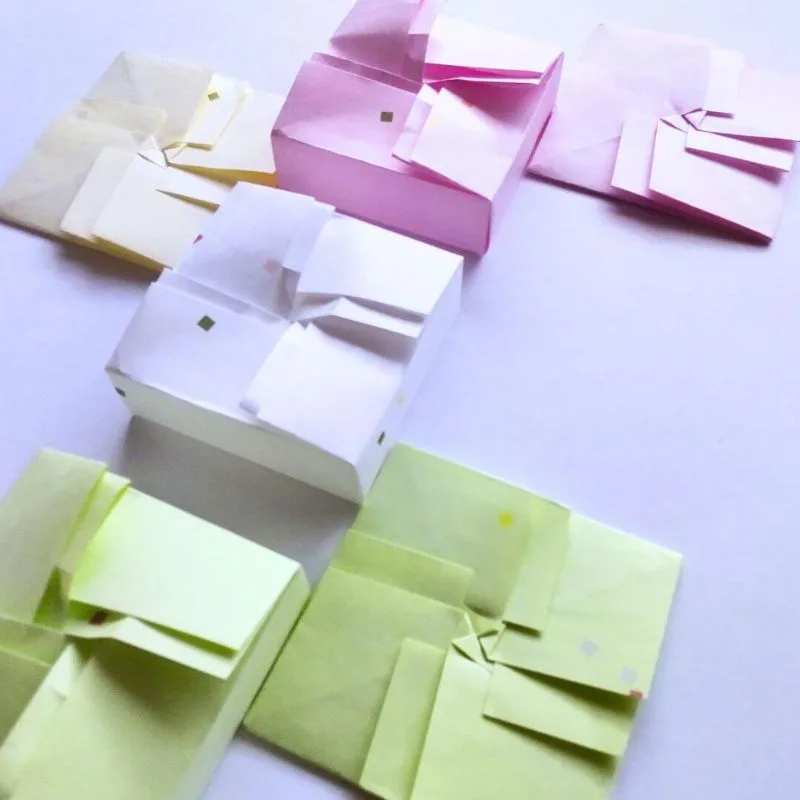
Folding Instructions
I used 15-centimeter origami paper.
Mark the crease lines
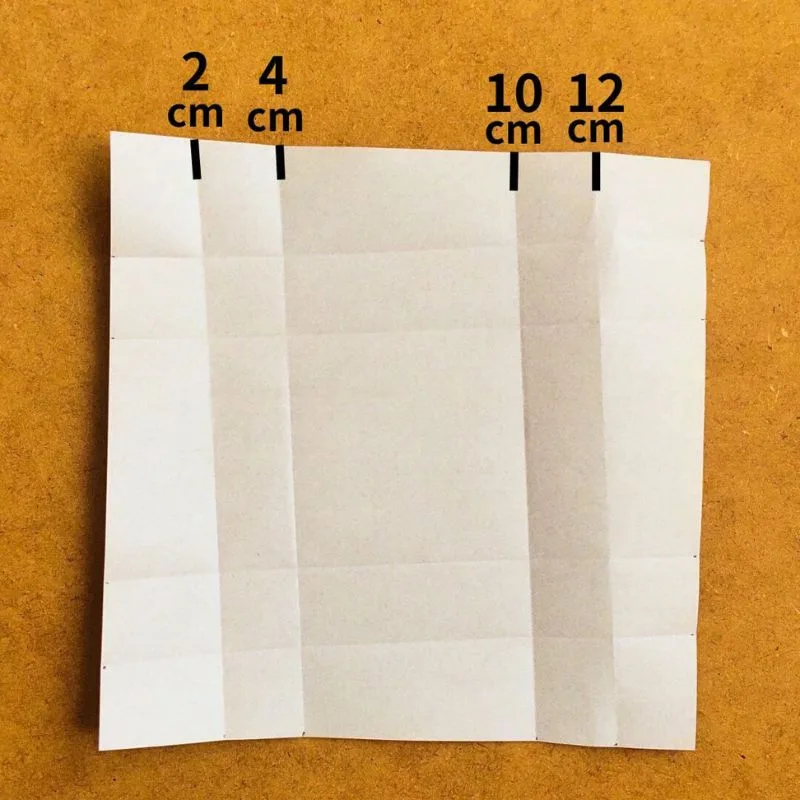
Now, mark the 15-centimeter origami paper.
Mark the points 2 centimeters, 4 centimeters, 10 centimeters, and 12 centimeters from the left.
Mark the four sides in the same way.
Let’s start creasing it.
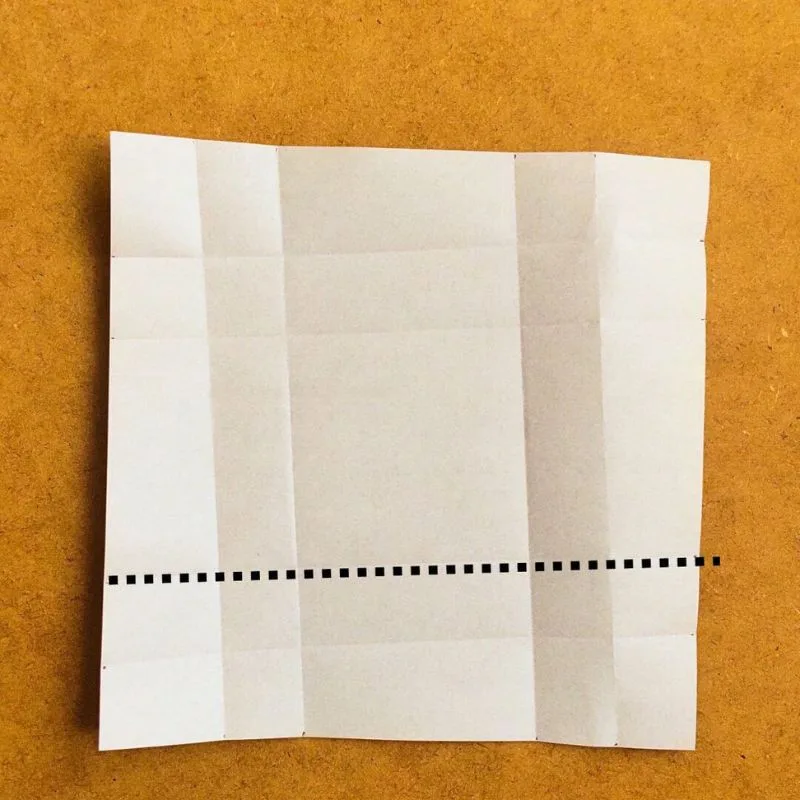
First, make a fold by bringing the second mark from the bottom on both sides together.
Then, unfold it.
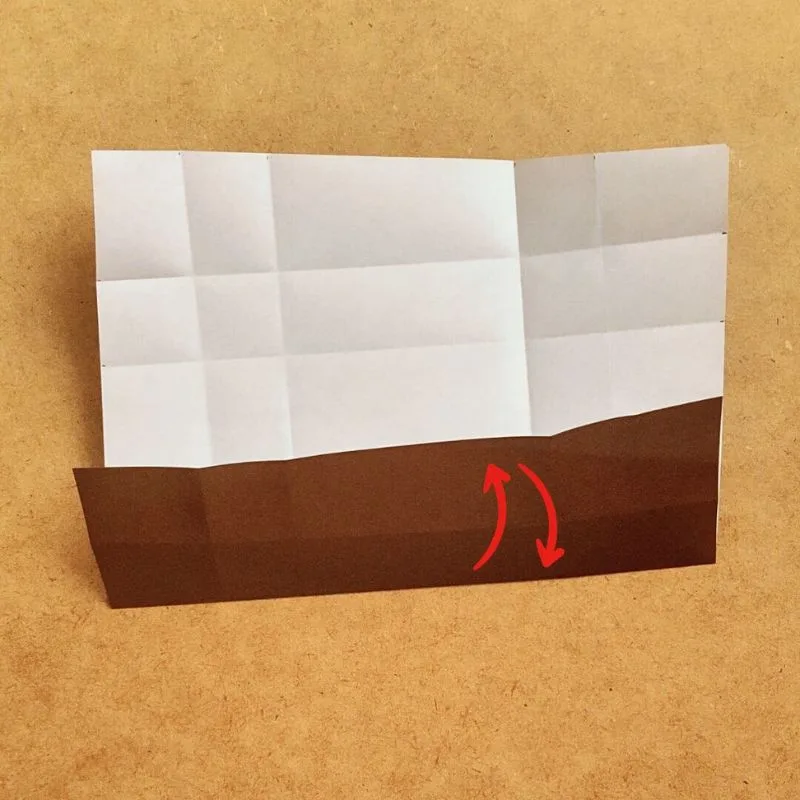
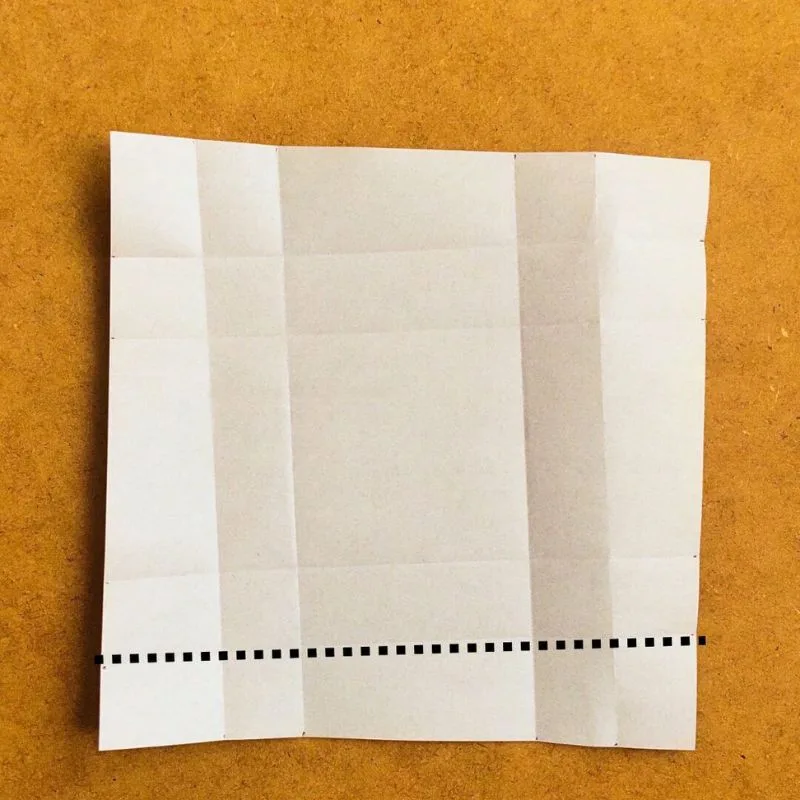
Next, fold along the crease shown below.
Repeat this three more times, making creases at the top and on both sides.
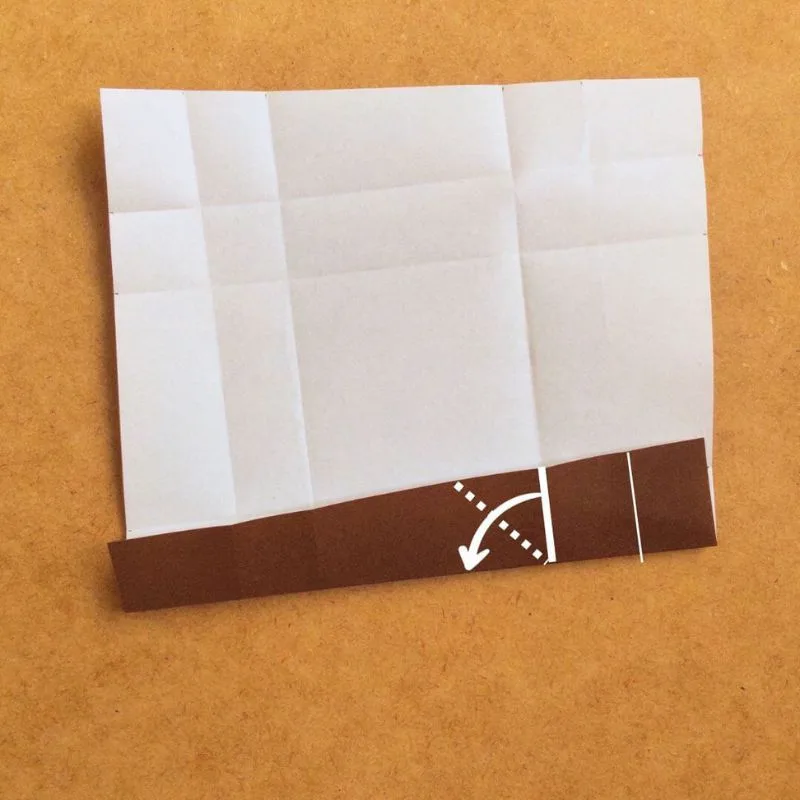
Once you’ve made all the folds, fold the bottom fold.
Then, fold the second fold from the outside so that it aligns with the bottom edge.
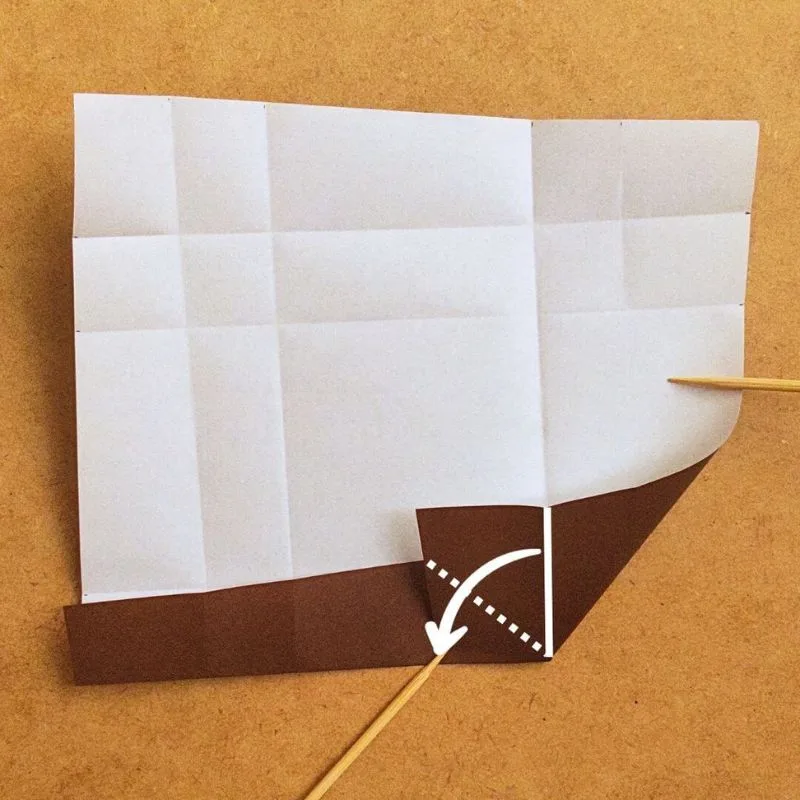
Next, fold the outer crease along the edge, then unfold it.
Here it is after being folded twice.
This is what the inside looks like.
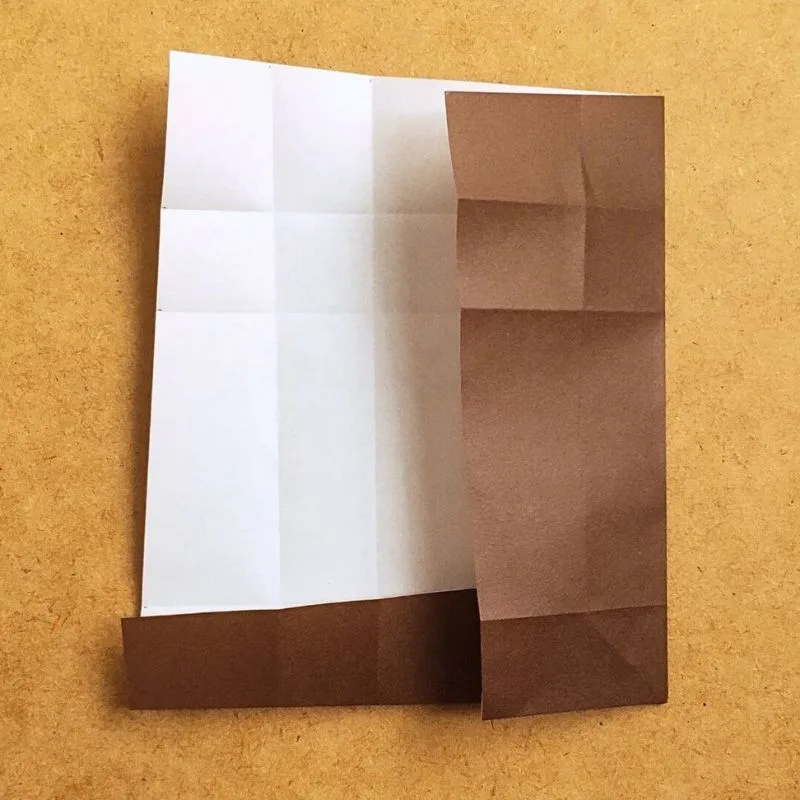
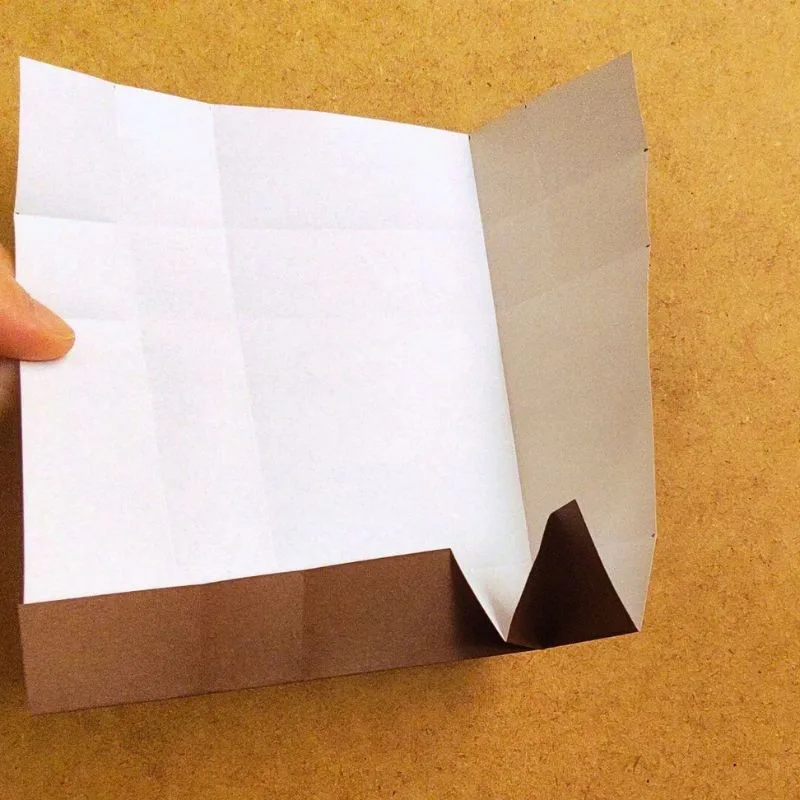
Repeat this folding step three more times.
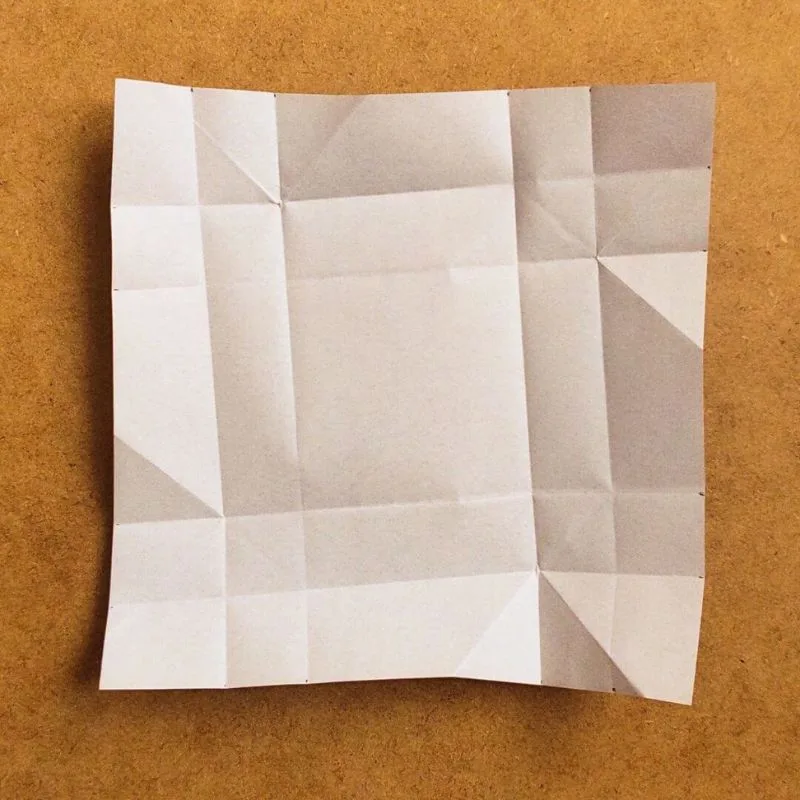
This is how the fold should look.
Next, flip it over.
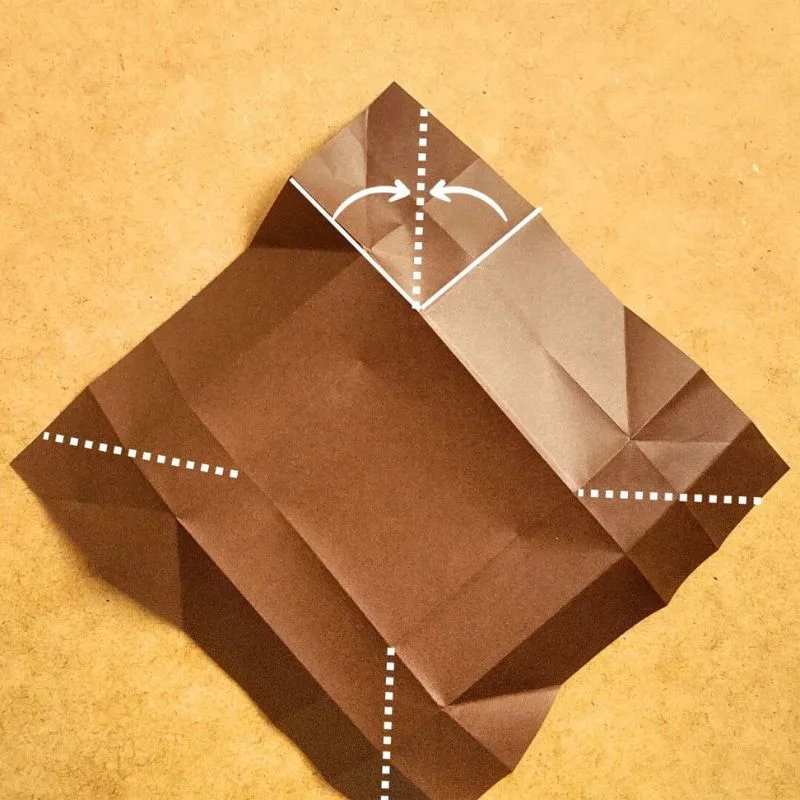
Fold along the dotted lines.
These folds will form the corners of the box.
Fold it up and put it in a box
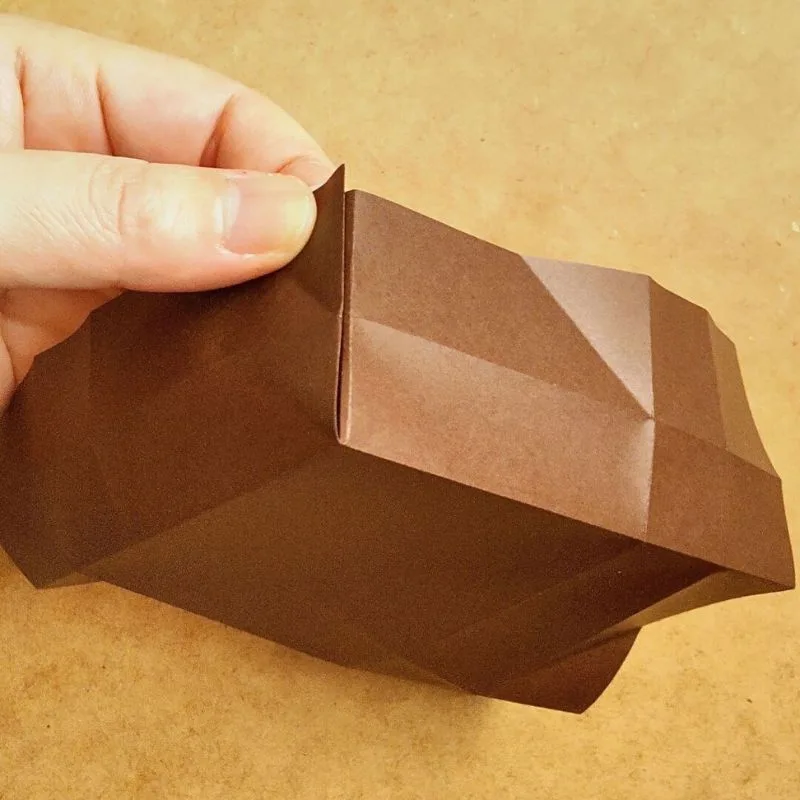
Now, let’s use the creases to turn this into a box.
Align the creases we just made to form the corners of the box.
This is what it looks like from the inside.
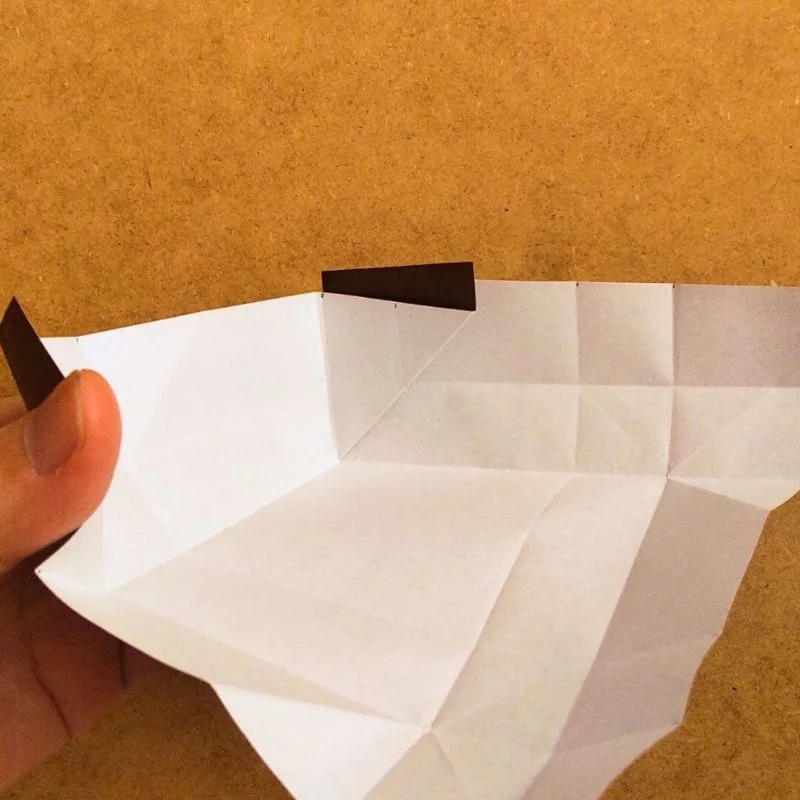
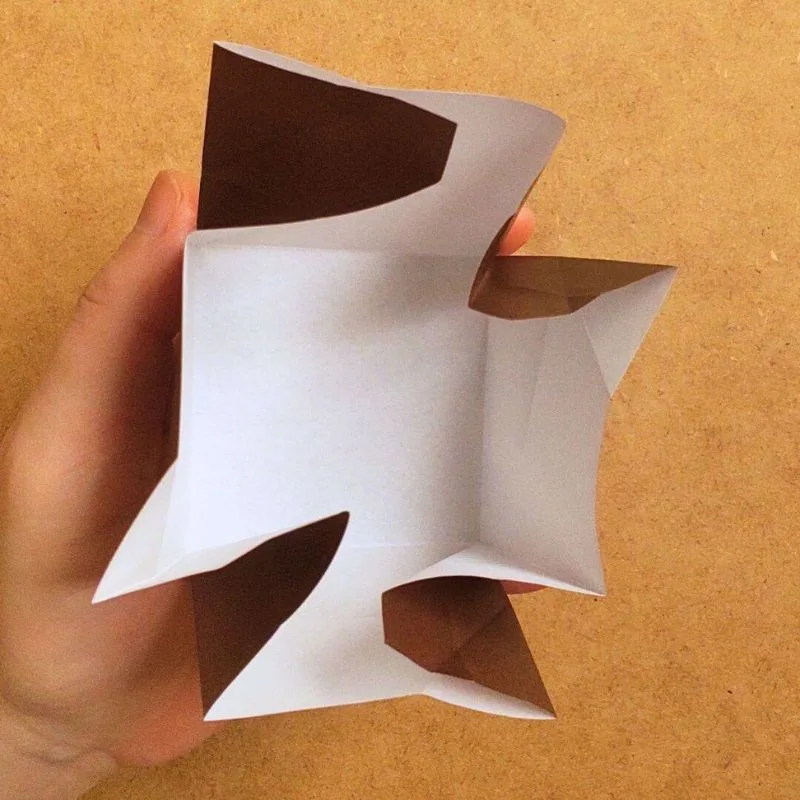
I folded the four corners.
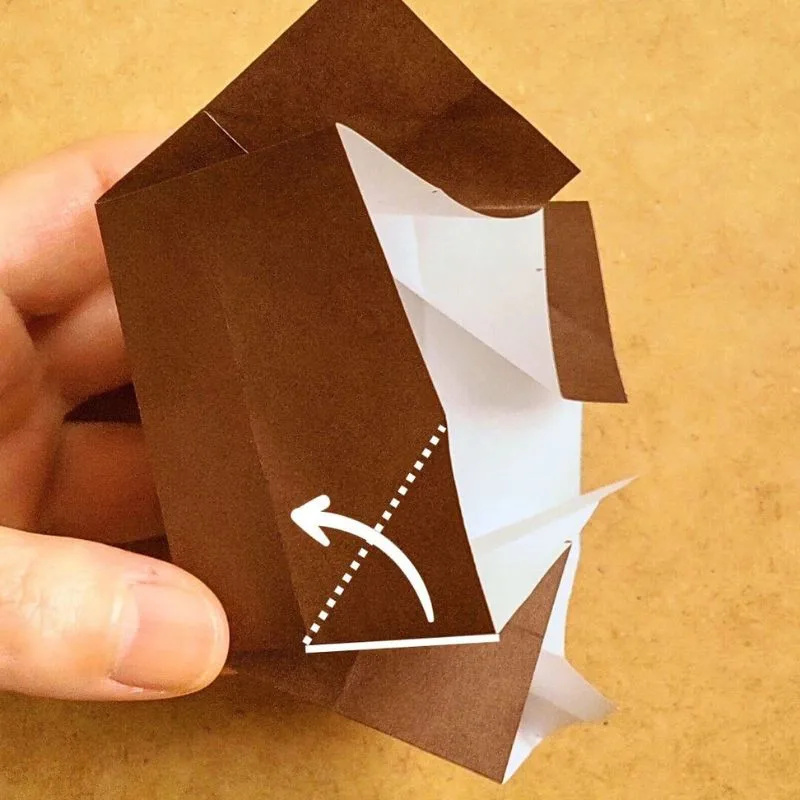
Now, we’ll close the pleated flap.
Since there’s already a crease, fold along it.
Fold down the first crease.
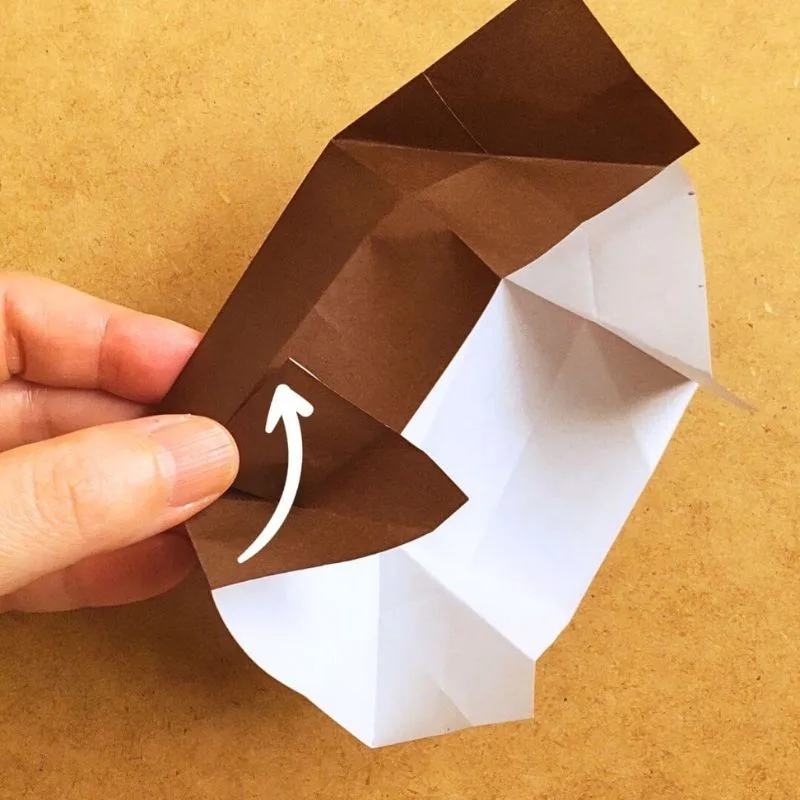
Next, fold down the second crease.
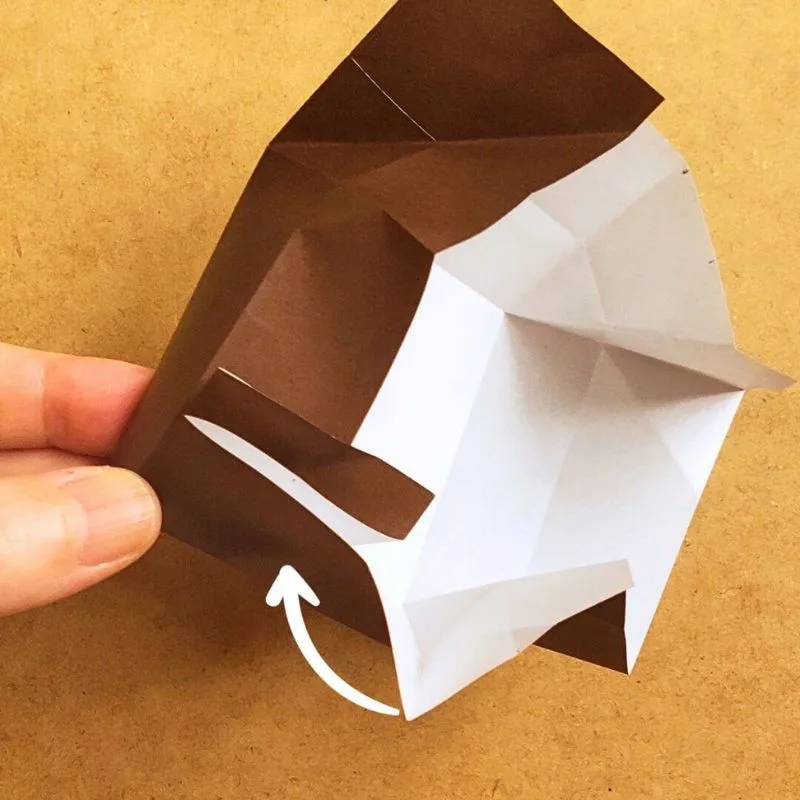
Next, rotate counterclockwise and fold down the first corner.
Then, fold down the second corner.
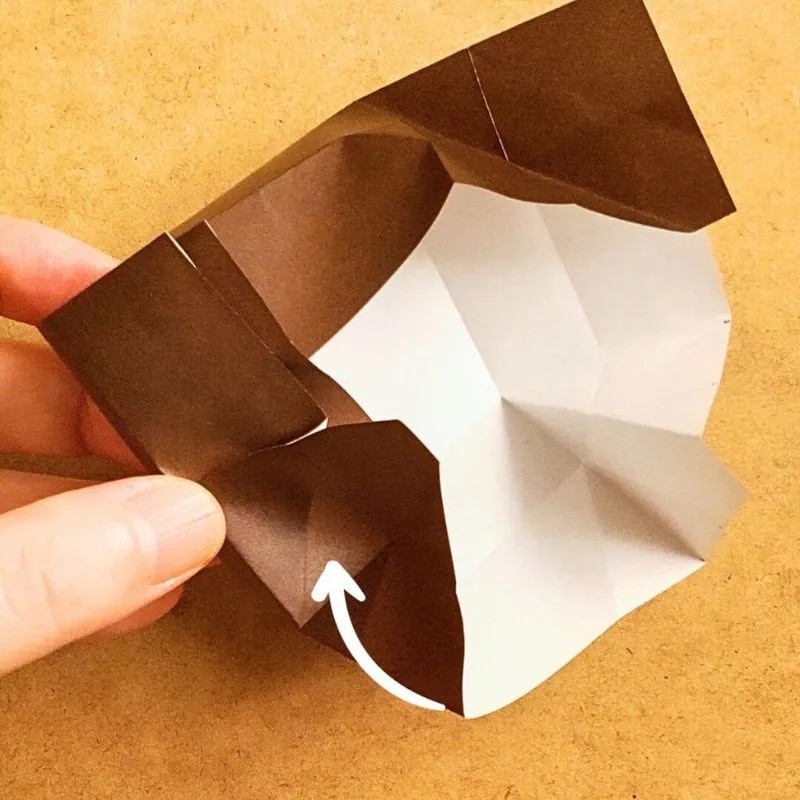
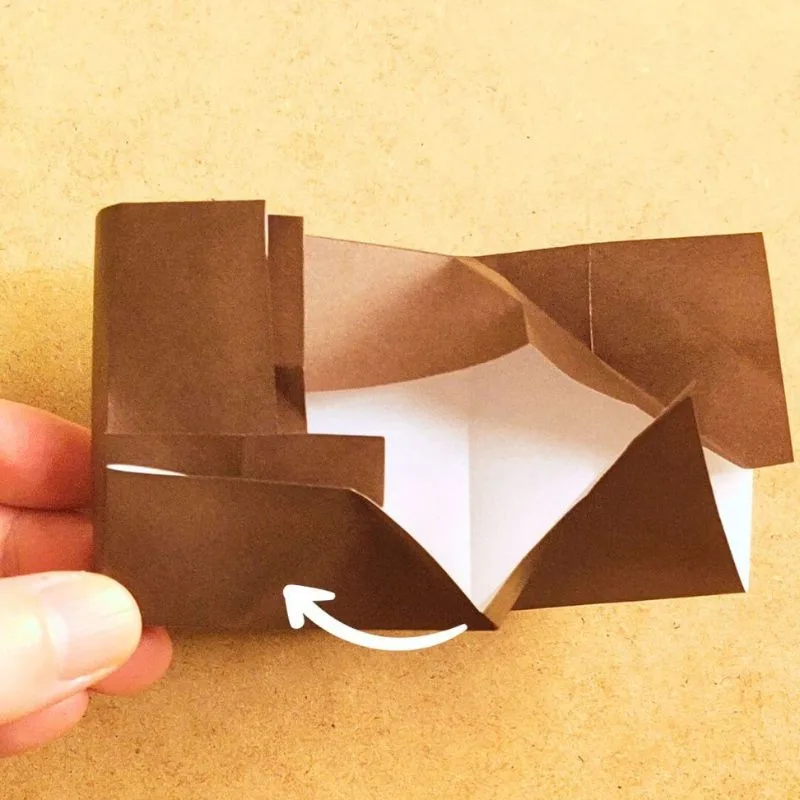
Similarly, make the second corner.
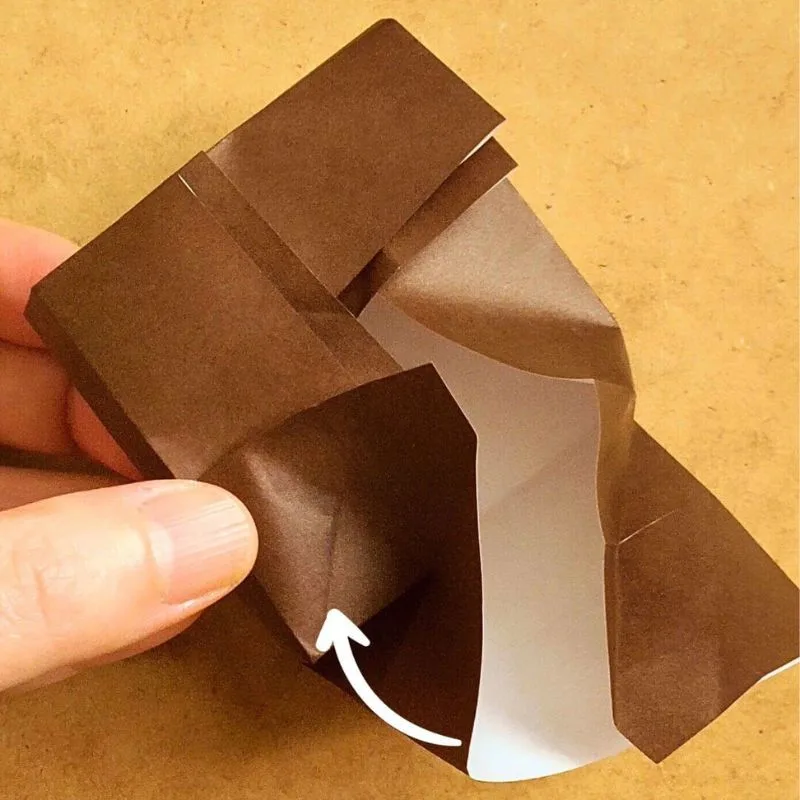
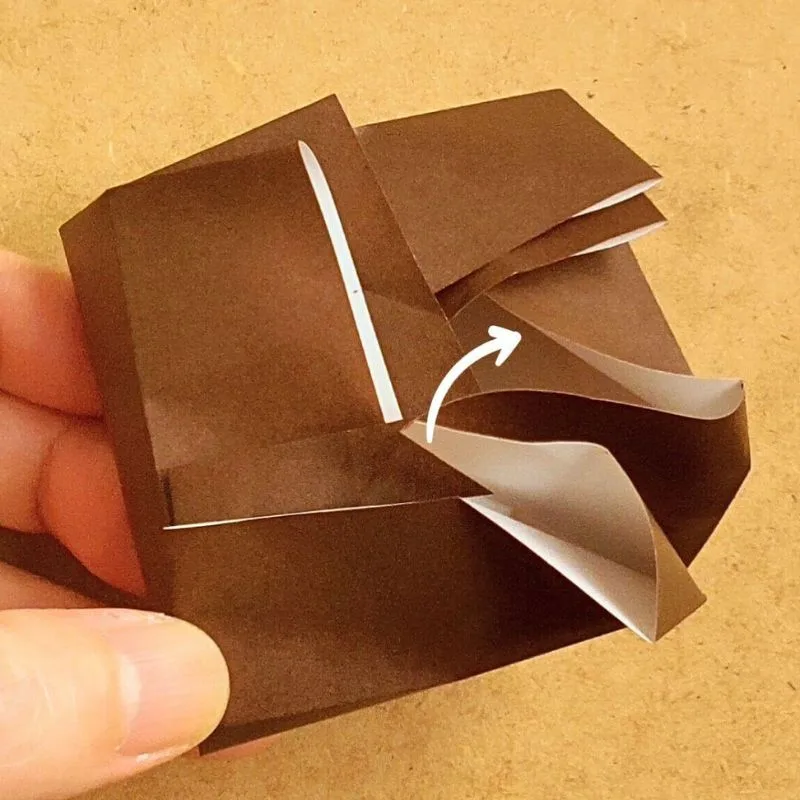
Since the fourth corner seems to be lost, I tell it, “That way is the direction you need to go.”
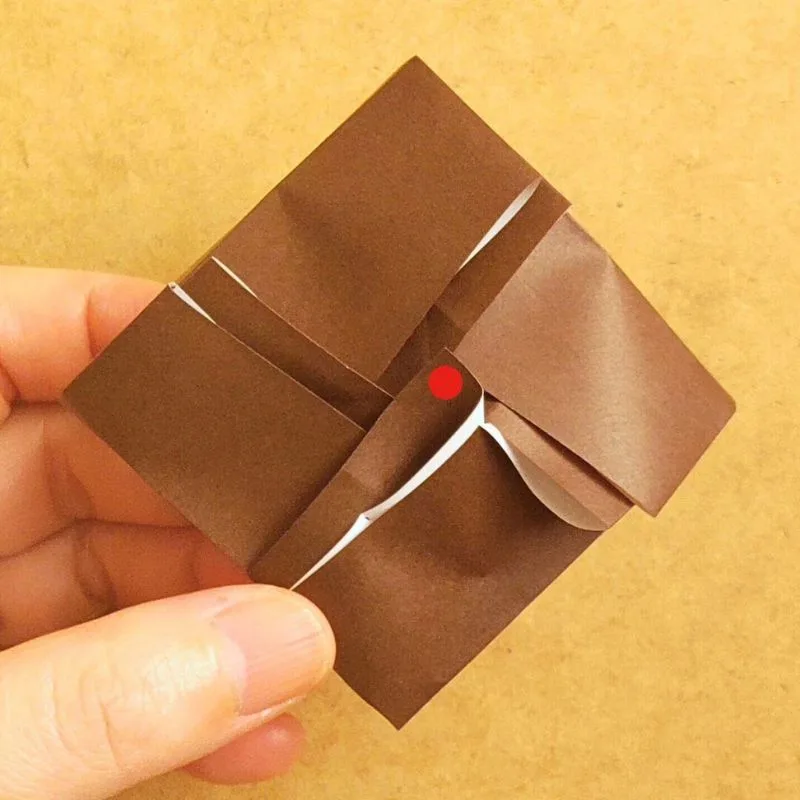
Gently tuck in the part that’s sticking out, saying, “There, there, this way.”
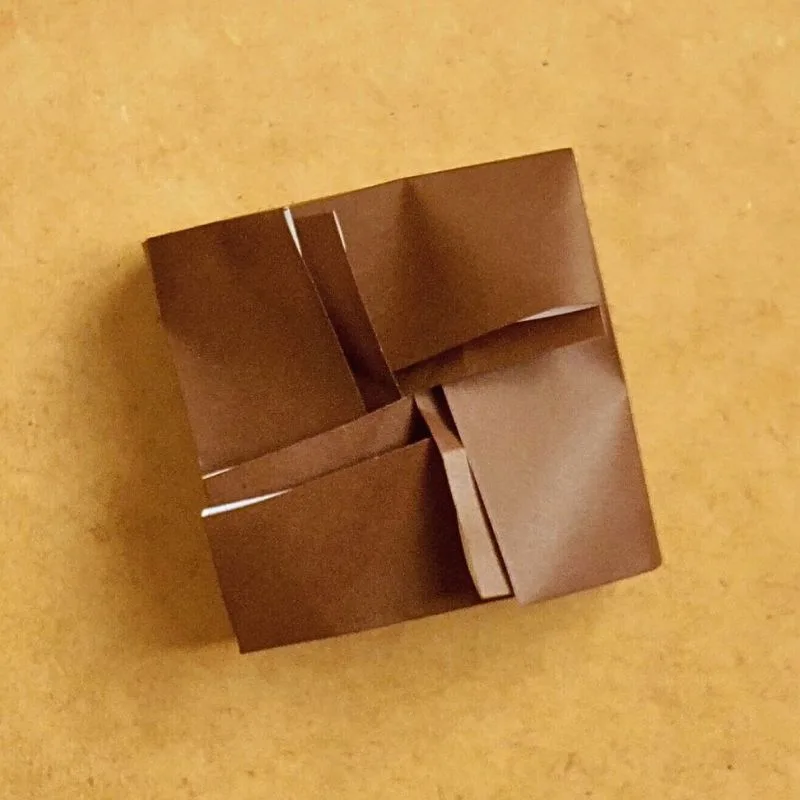
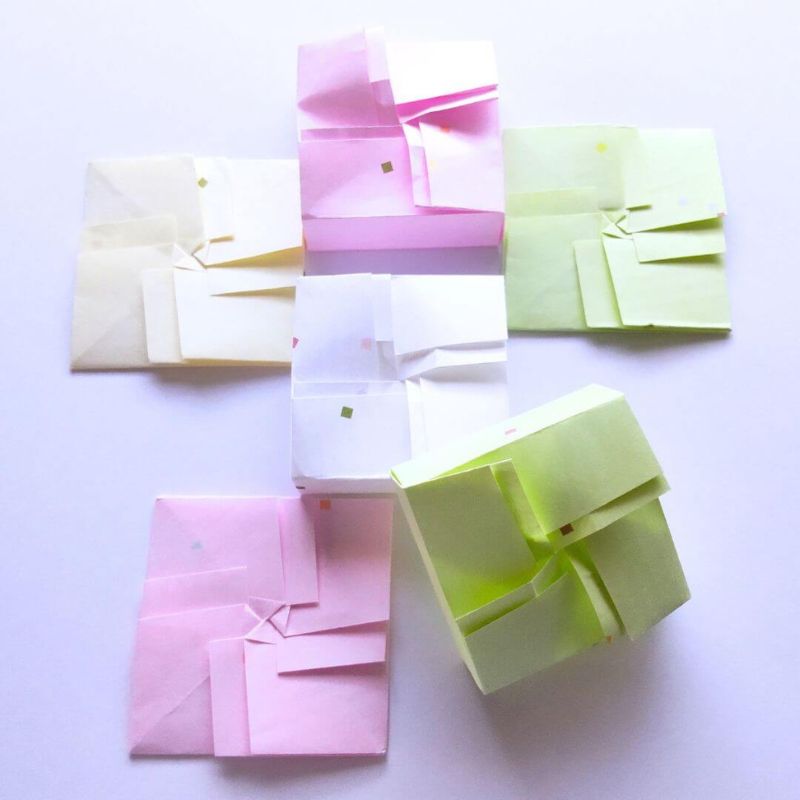
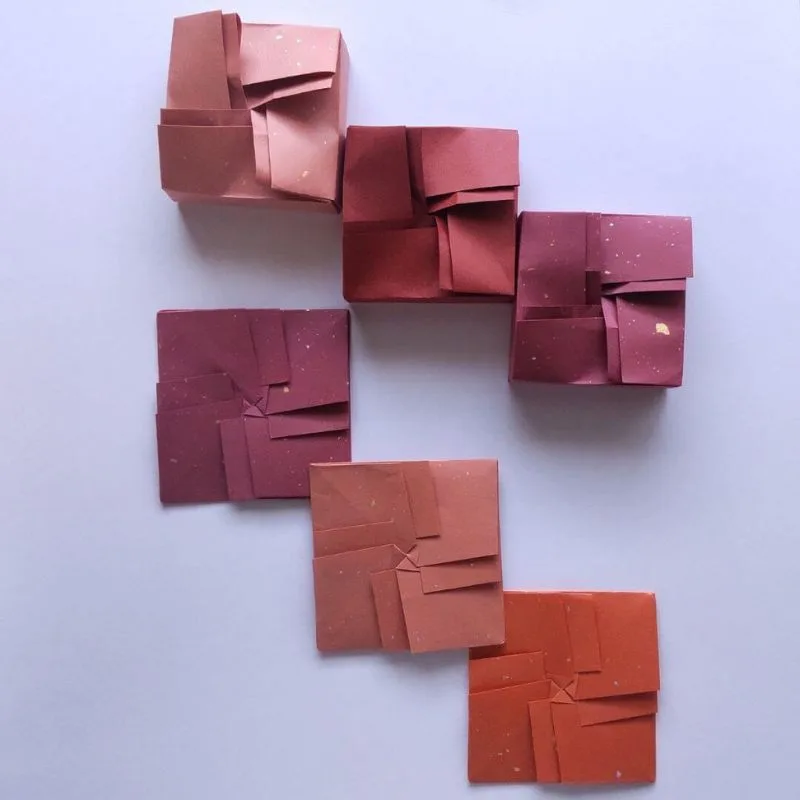
And there you have it—the pleated box is complete.
Watch a video tutorial on how to fold it
On Pinterest, we show you how to fold it in a video.

In Conclusion
Take your time, breathe, and enjoy the quiet magic of paper.
I would love to hear how your creation turned out.