
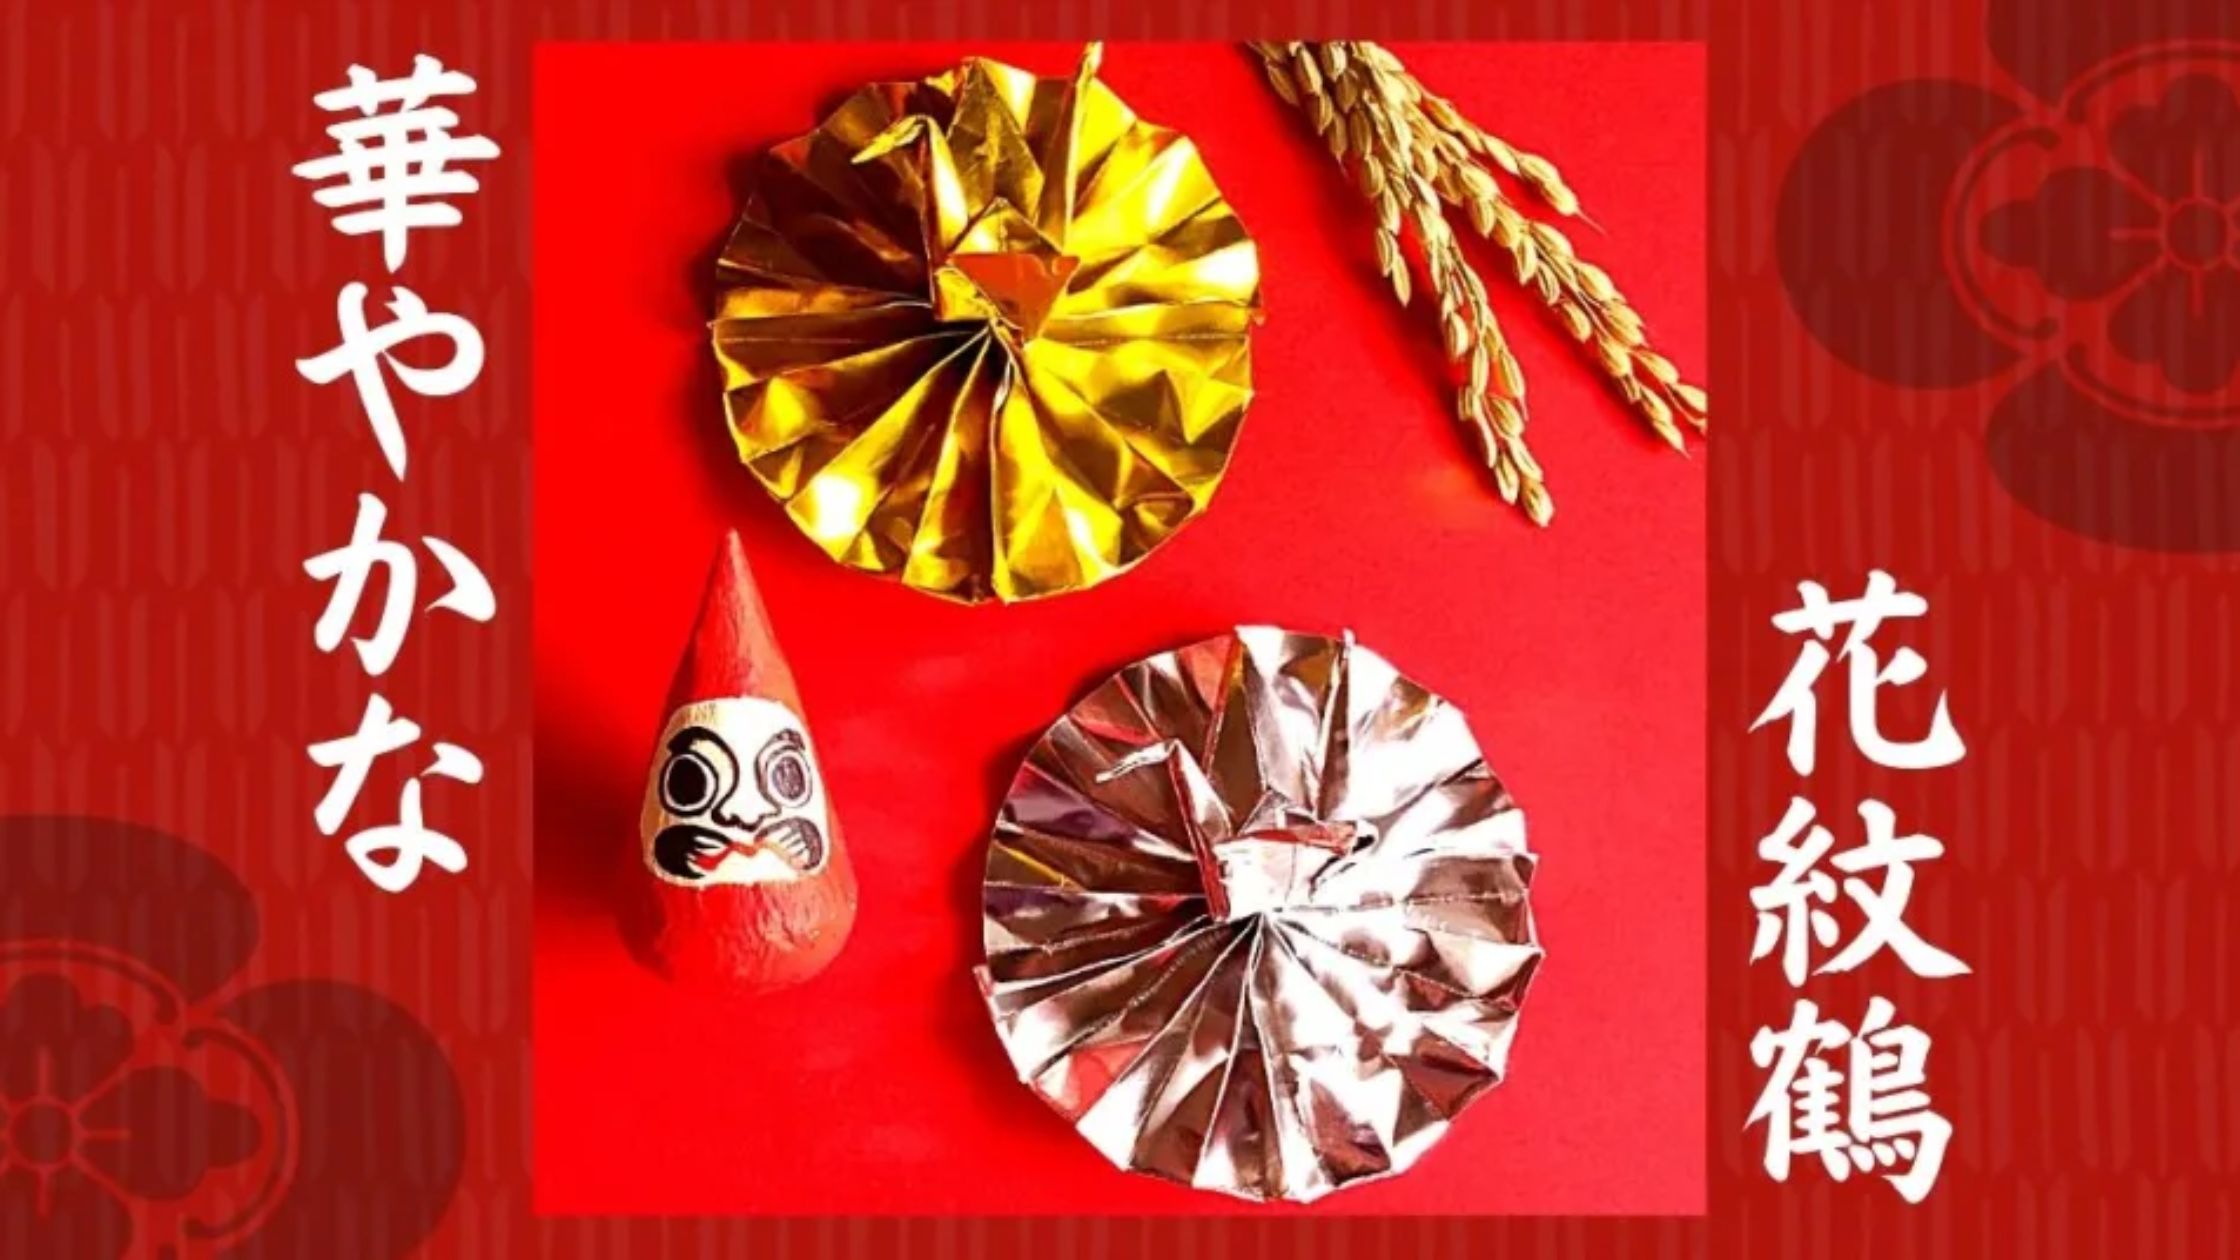
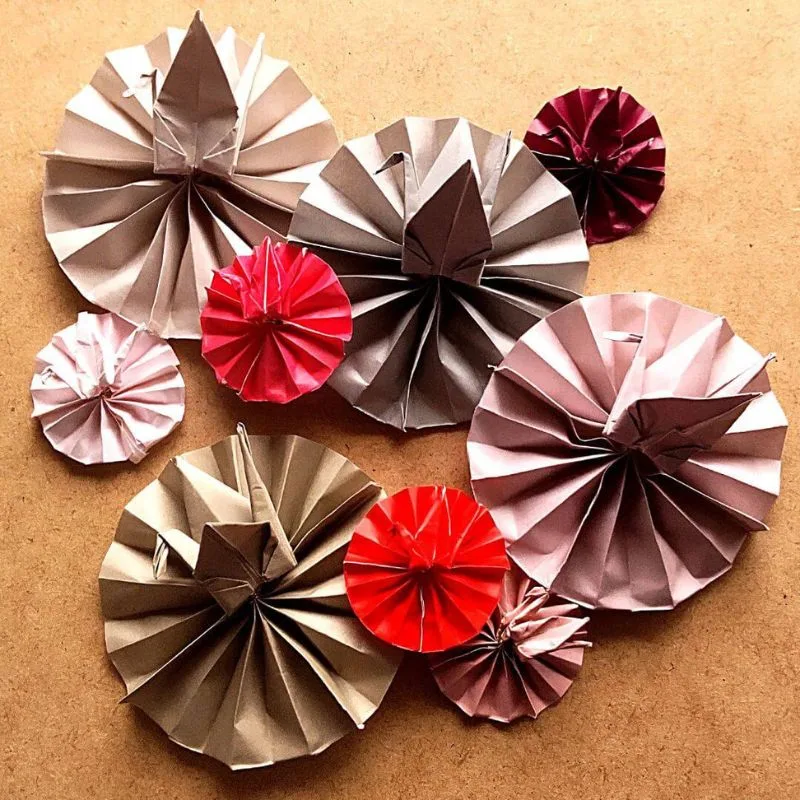
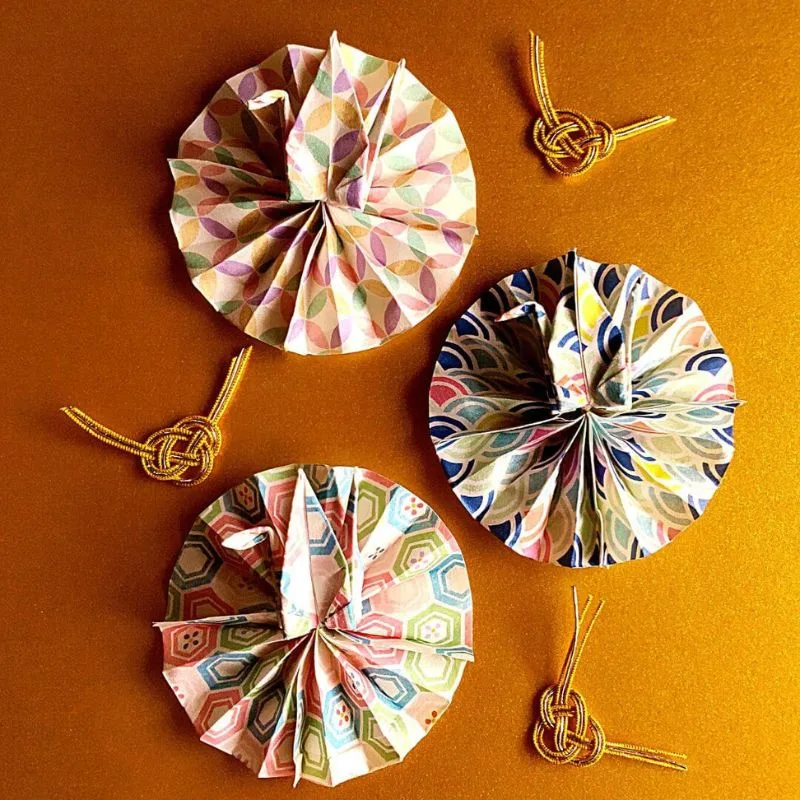
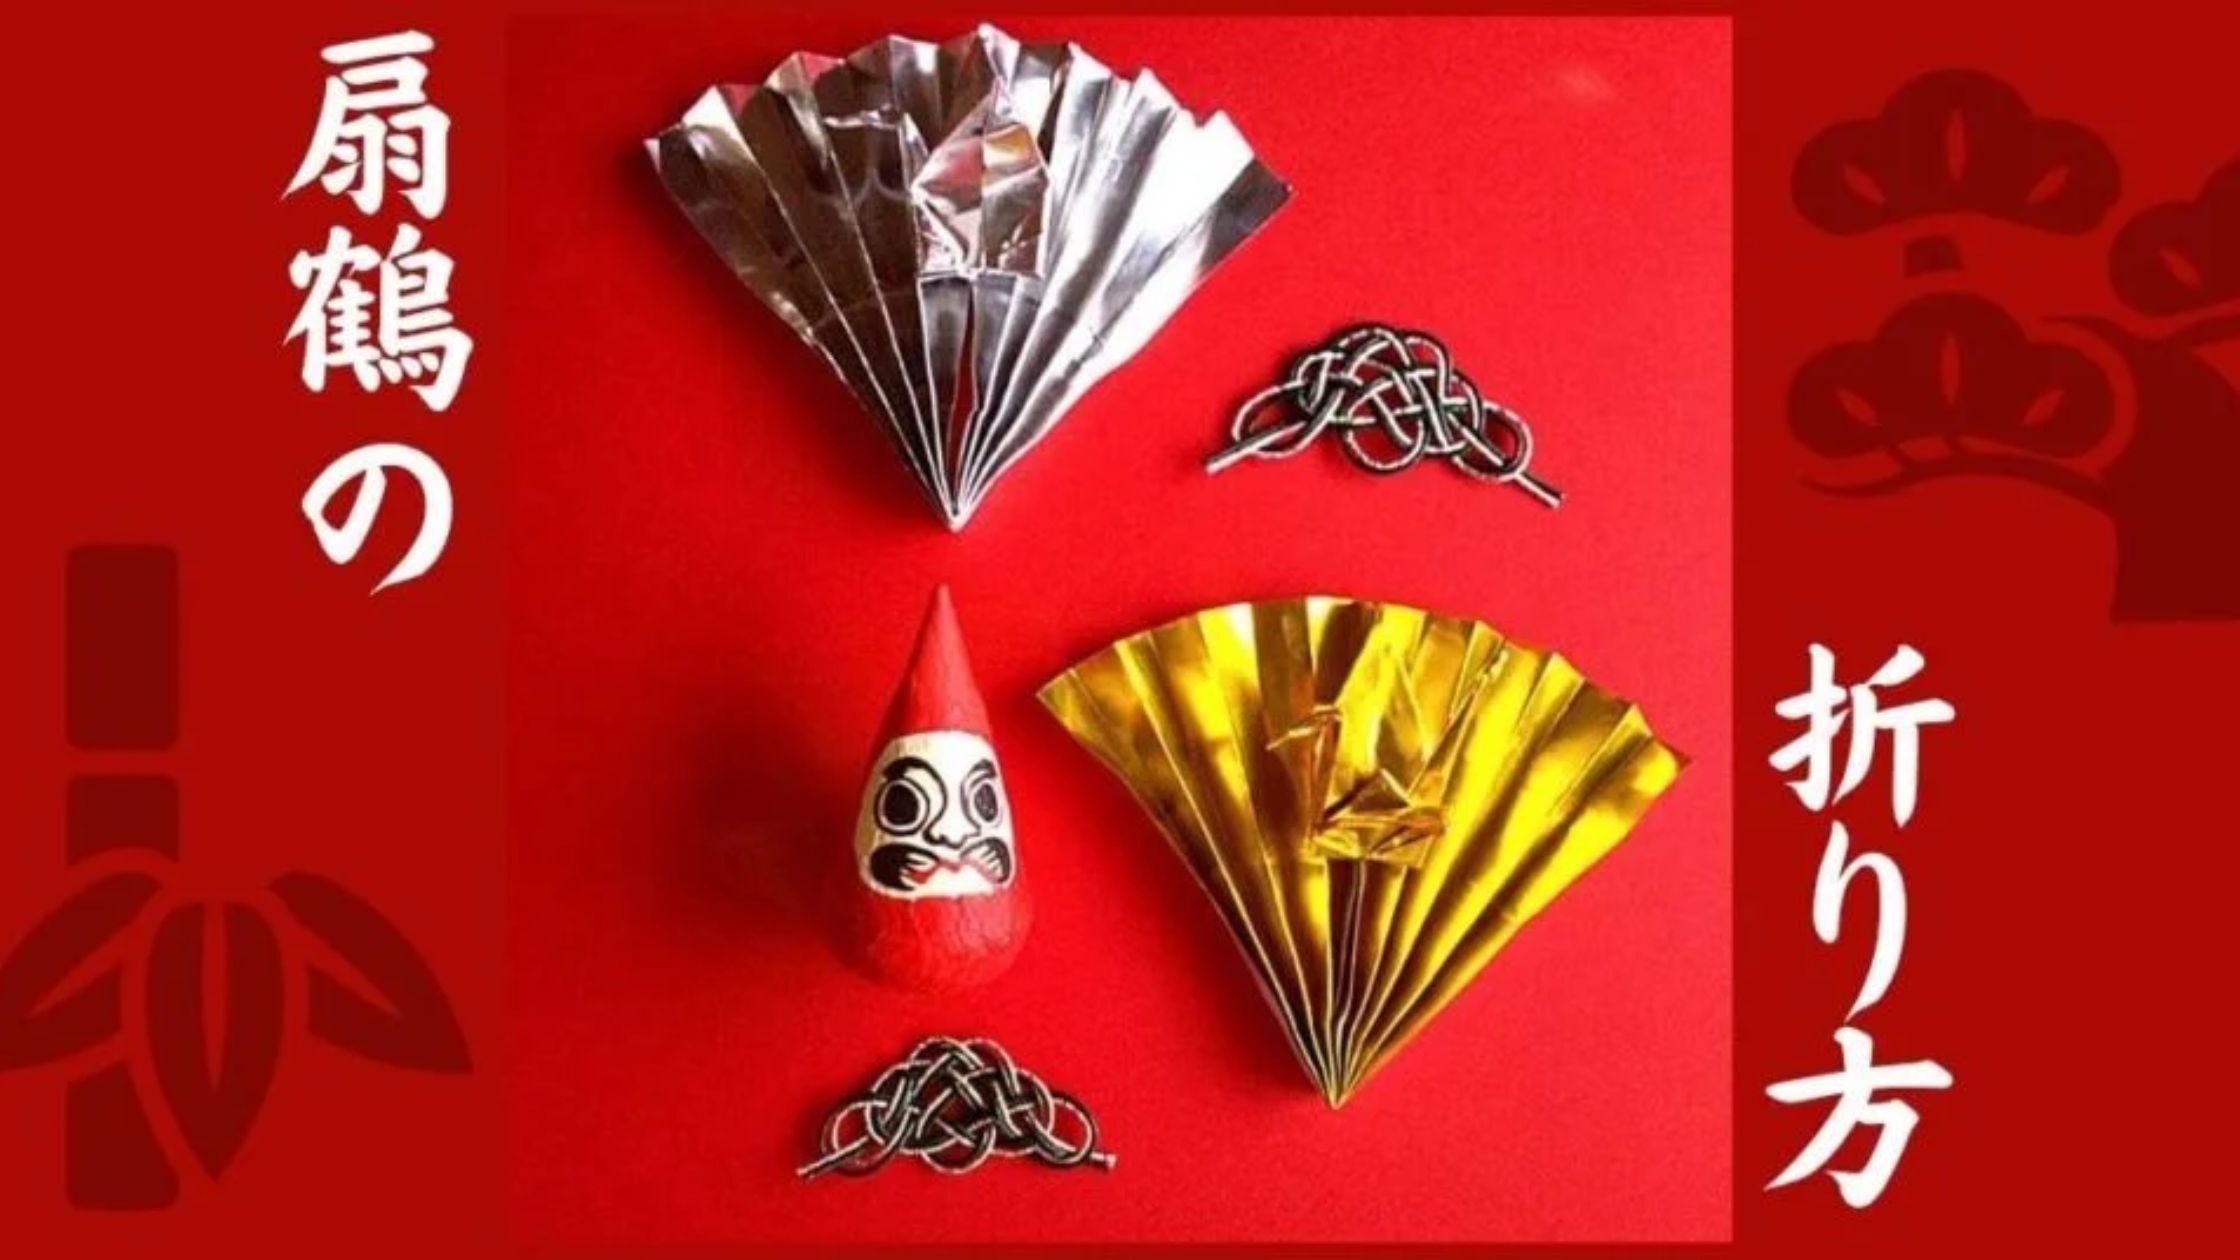
Let me introduce the Kamon-tsuru, a stunning member of the origami crane family. It’s perfect for adding a touch of elegance to celebrations like New Year’s, birthdays, weddings, or longevity milestones. This ornate crane is sure to brighten the festive mood.
The Kamon-tsuru is actually a beautiful variation of the “Fan Crane” (Ougi-tsuru). It’s a joy to fold, so why not try making one for your next special occasion?
What You’ll Need
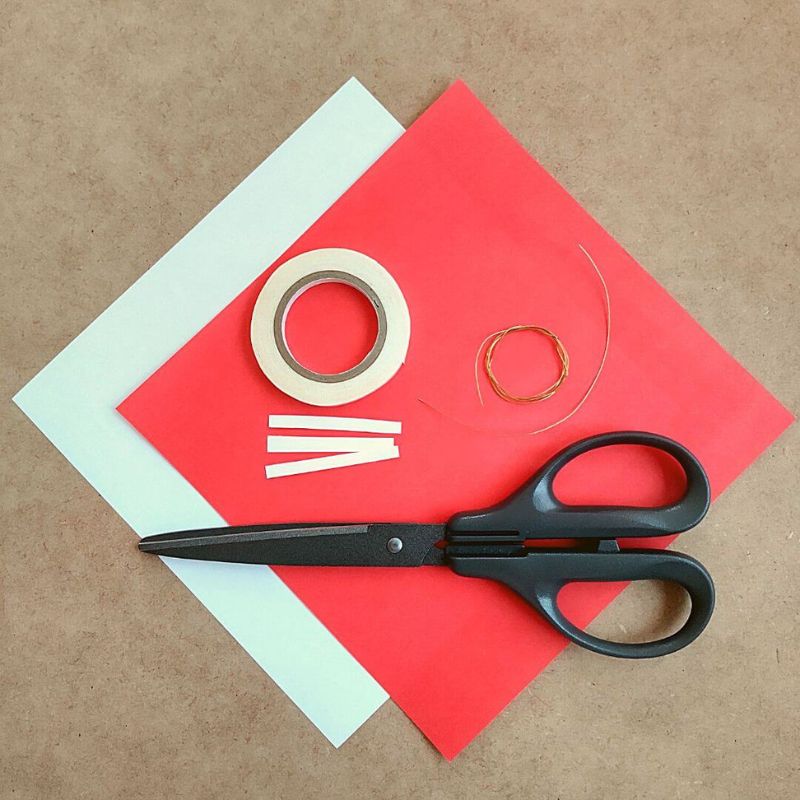
You will need origami paper, scissors, wire, and double-sided tape.
If you don’t have any wire on hand, you can also tie it together with string.
Similarly, you can substitute glue for the double-sided tape.
How to Fold a Kamon-Crane
扇鶴を折ってから花紋鶴にしていきます。
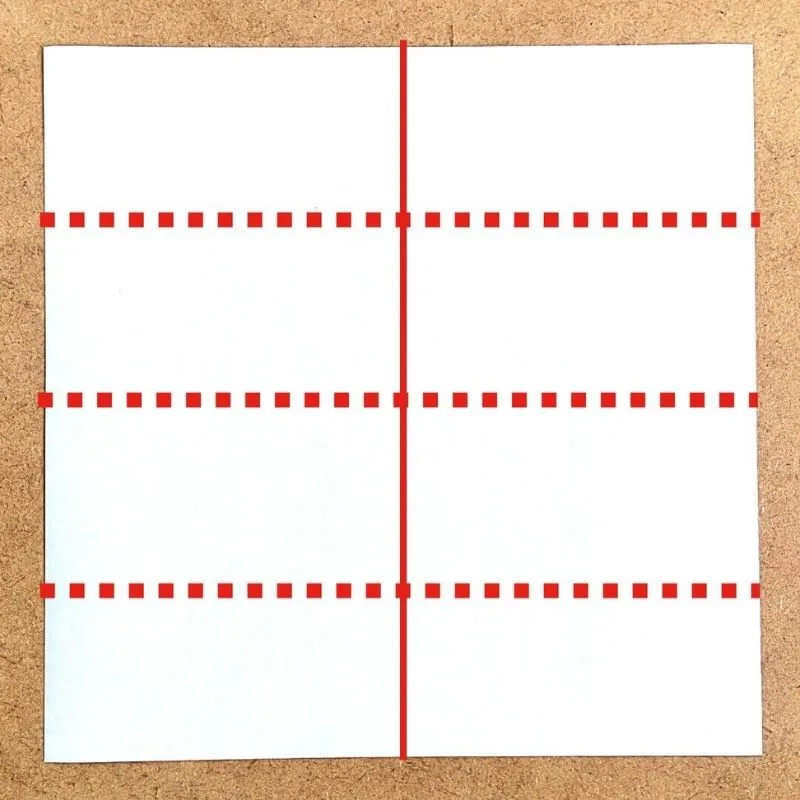
First, fold the paper into quarters.
Then fold it in half again.
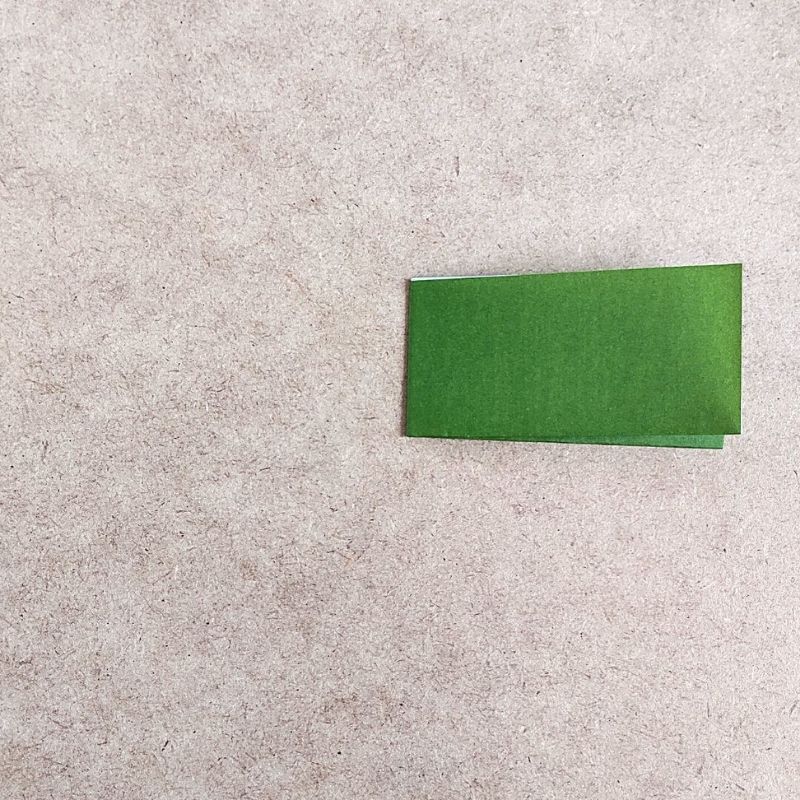
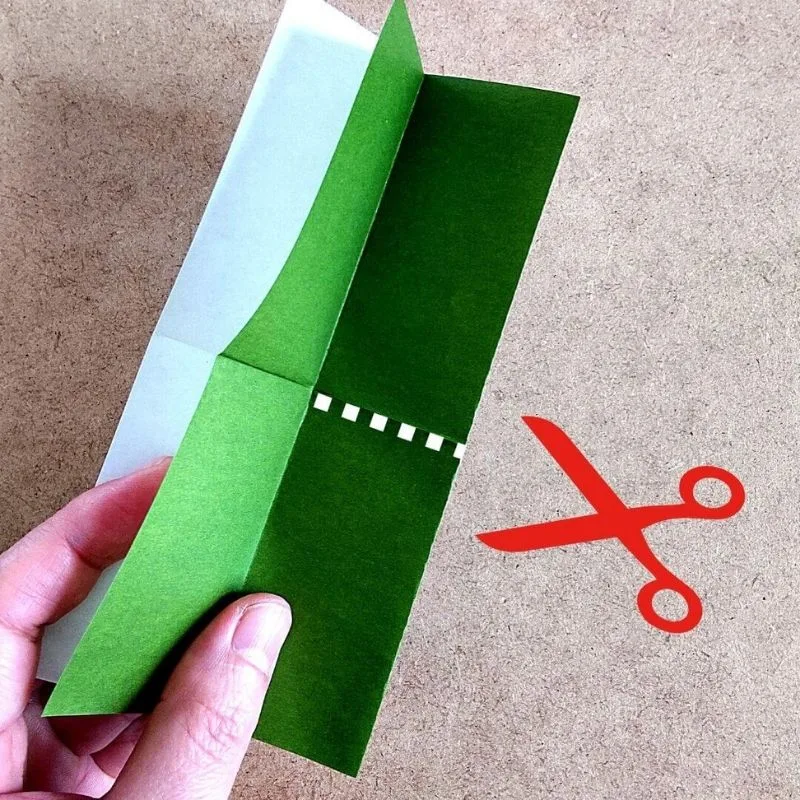
Check the orientation of the bag and the fold before making the cut.
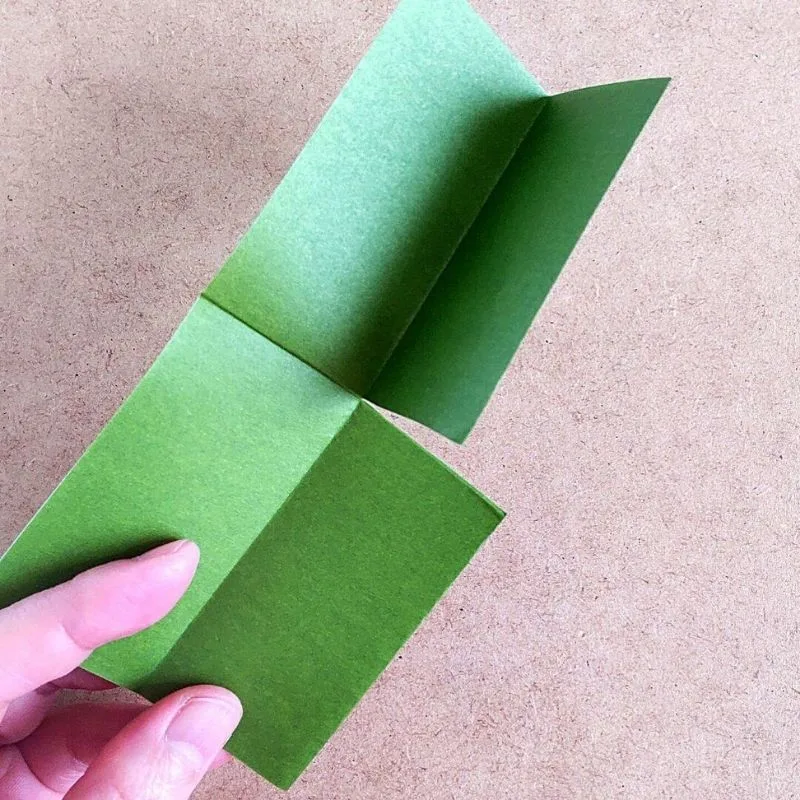
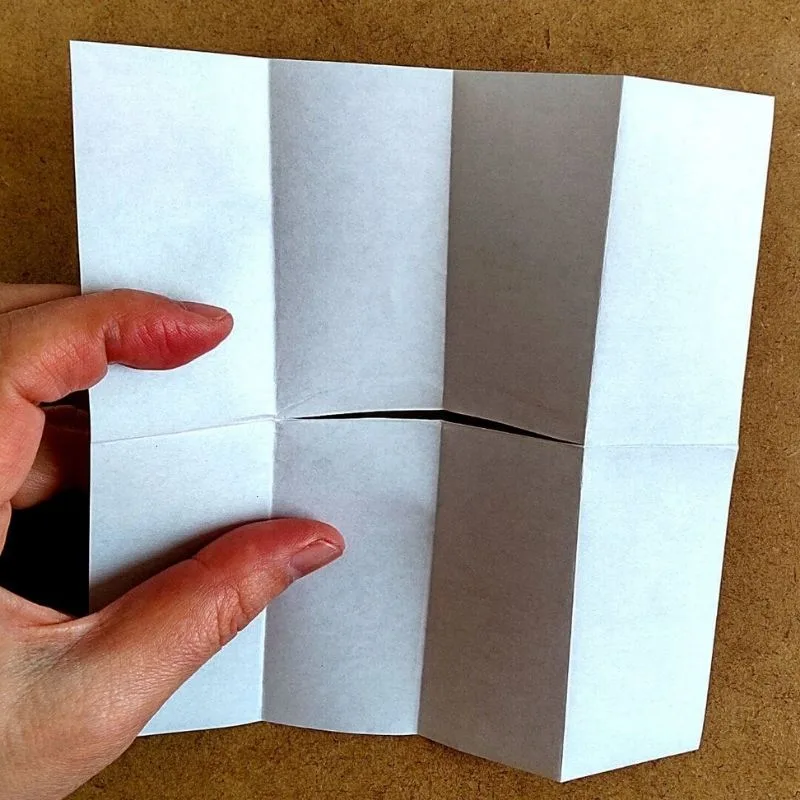
Open it so that the fold runs horizontally.
Fold the bottom half in half, then fold it in half again, and fold it one more time.
In short, fold it a total of three times.
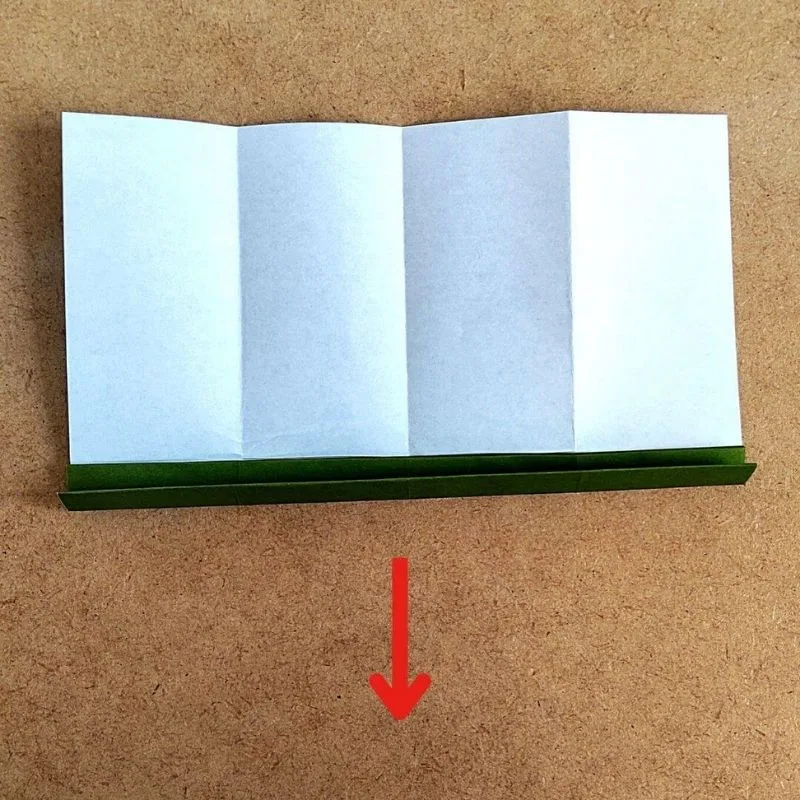
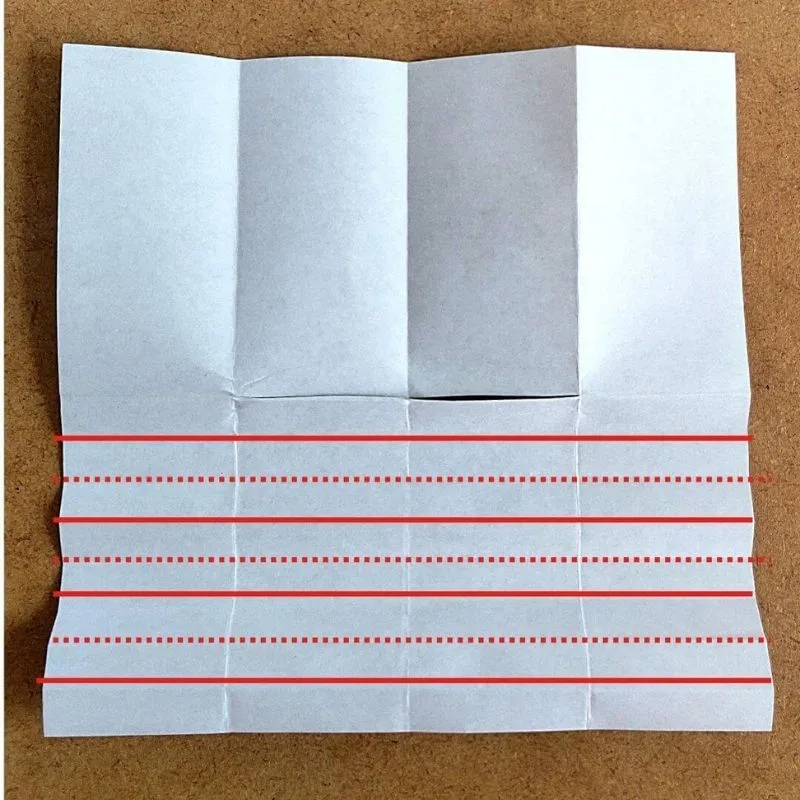
Unfold it, then fold it into an accordion fold.
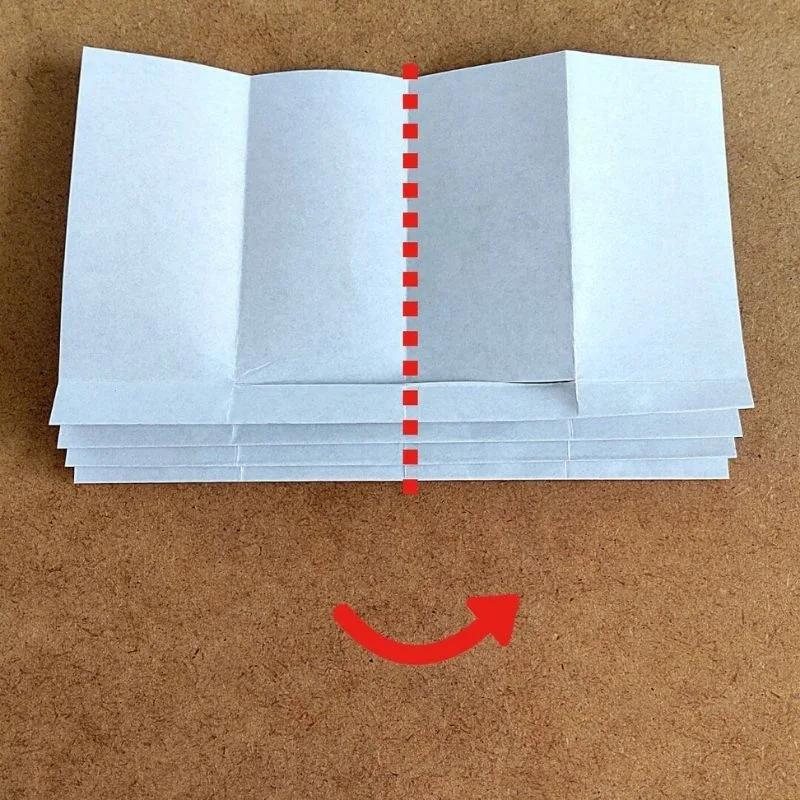
Next, fold it in half.
 yurari
The key here is to check the orientation.
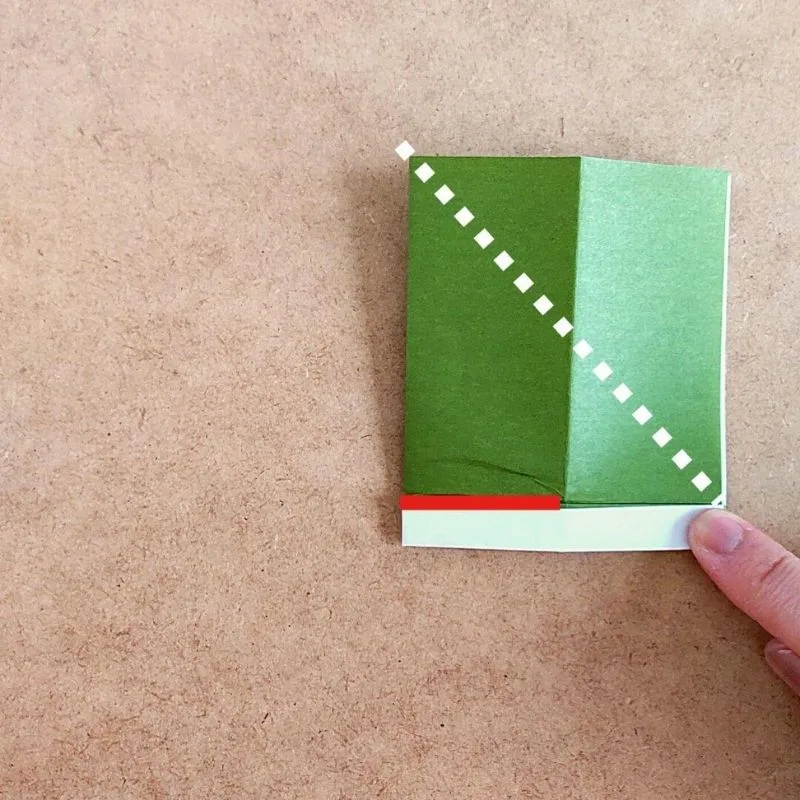
We’ll make an origami crane using these two overlapping layers.
Fold it into a triangle along the cut line.
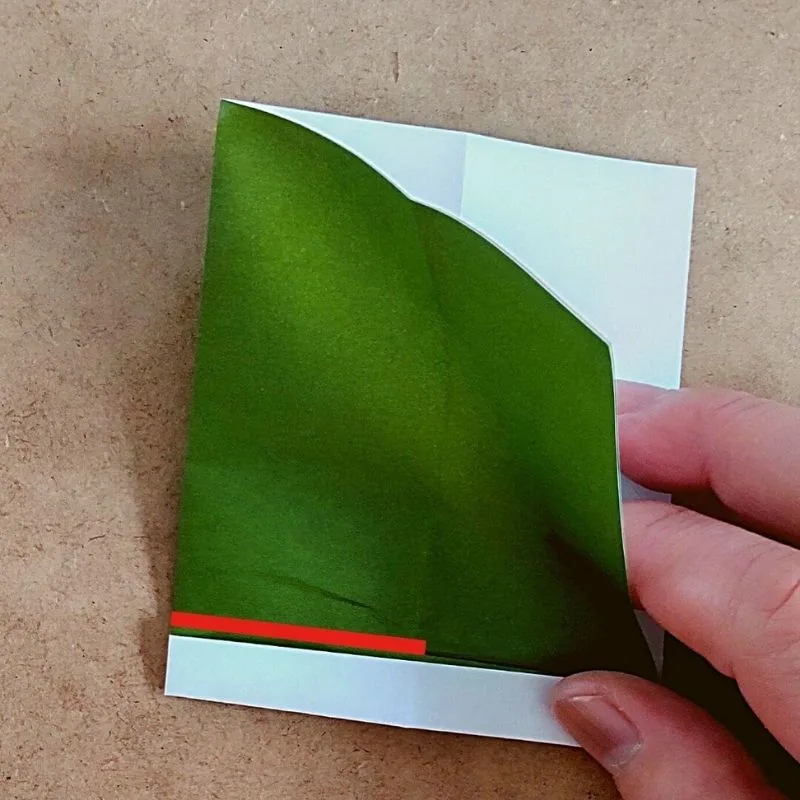
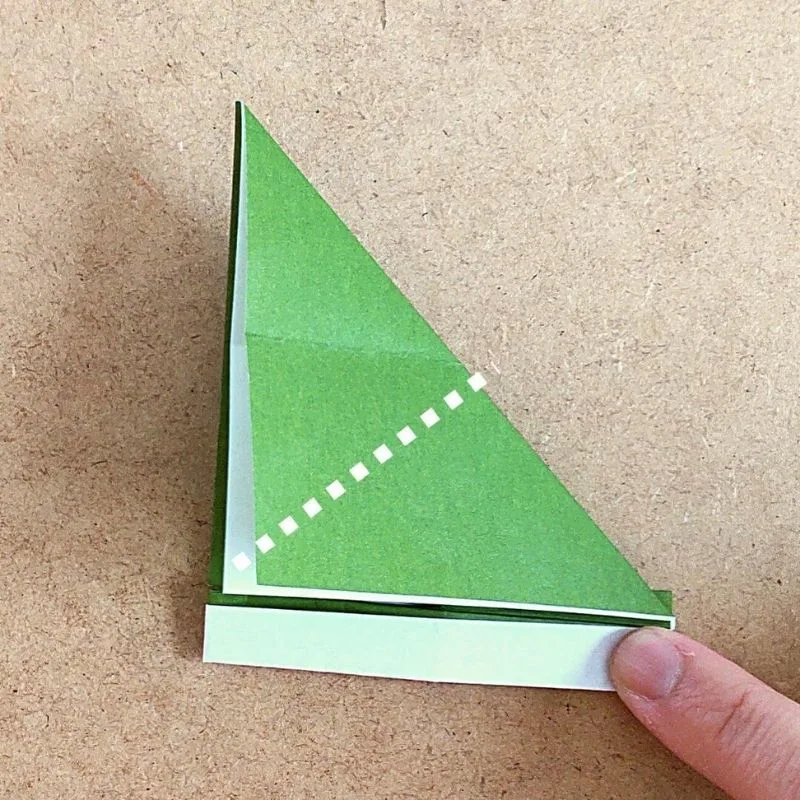
Fold it in half again to make a triangle.
Then unfold it to make a square.
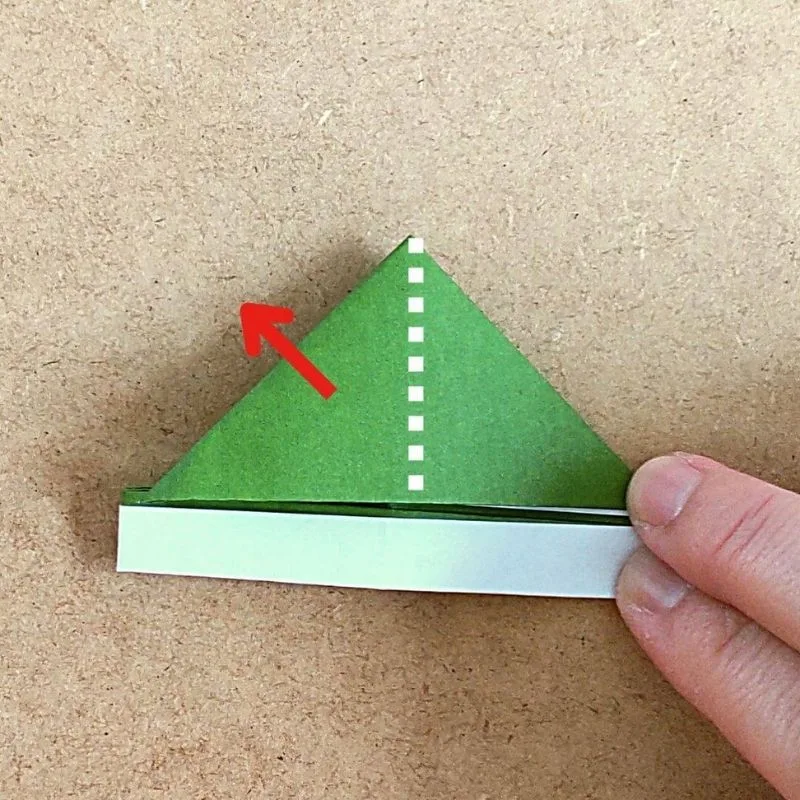
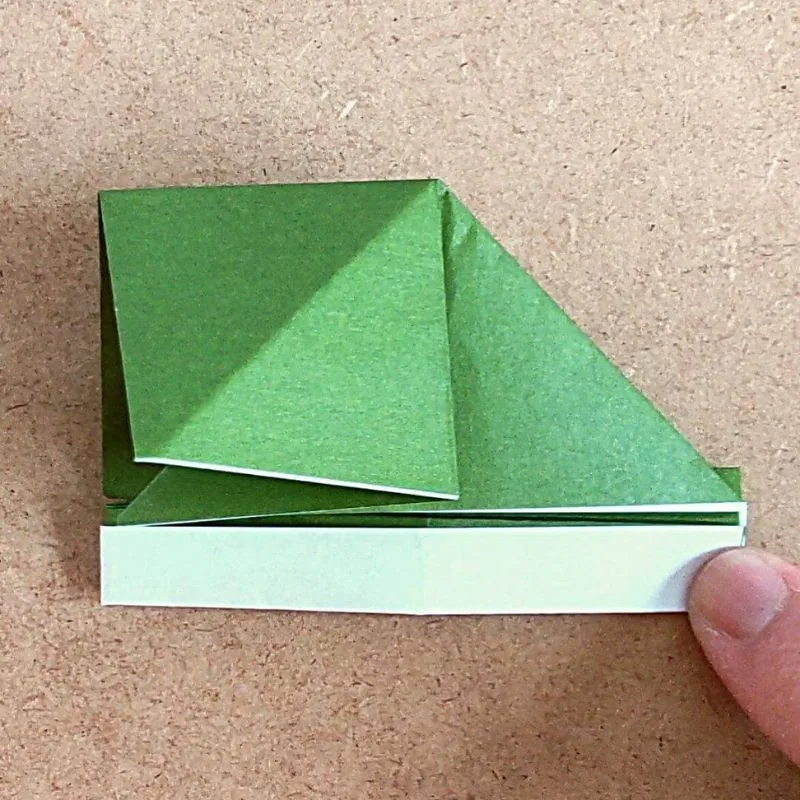
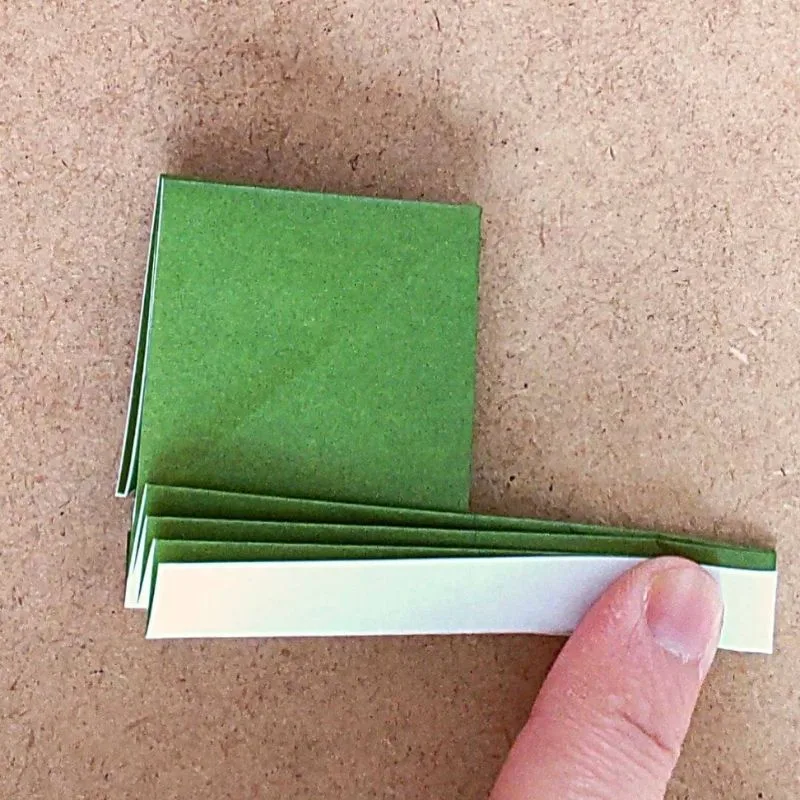
It’s difficult to fold the fan from the side with the fan attached, so try turning it over, creasing it, and then unfolding it.
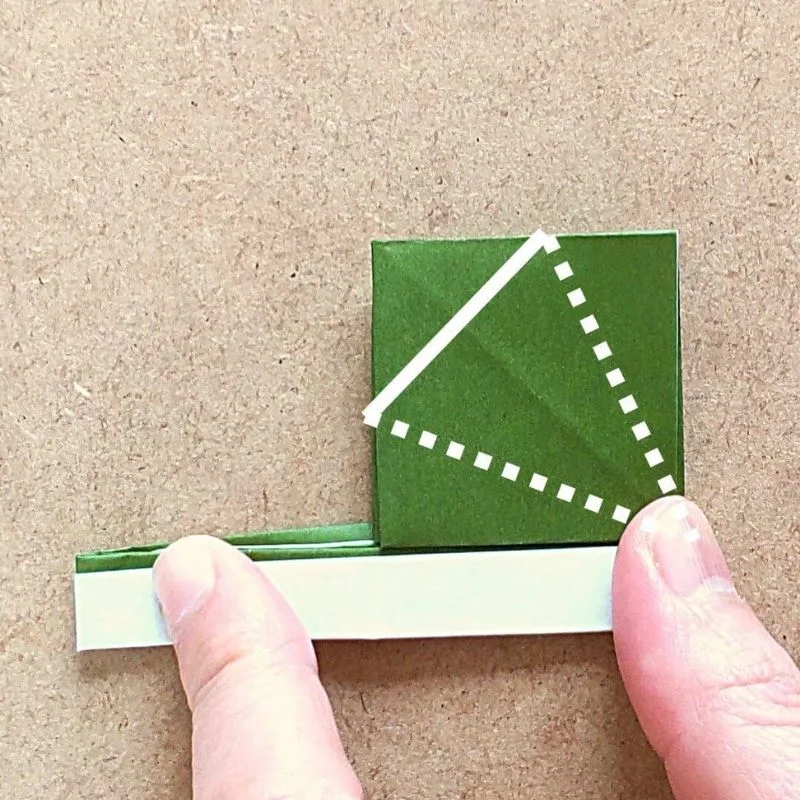
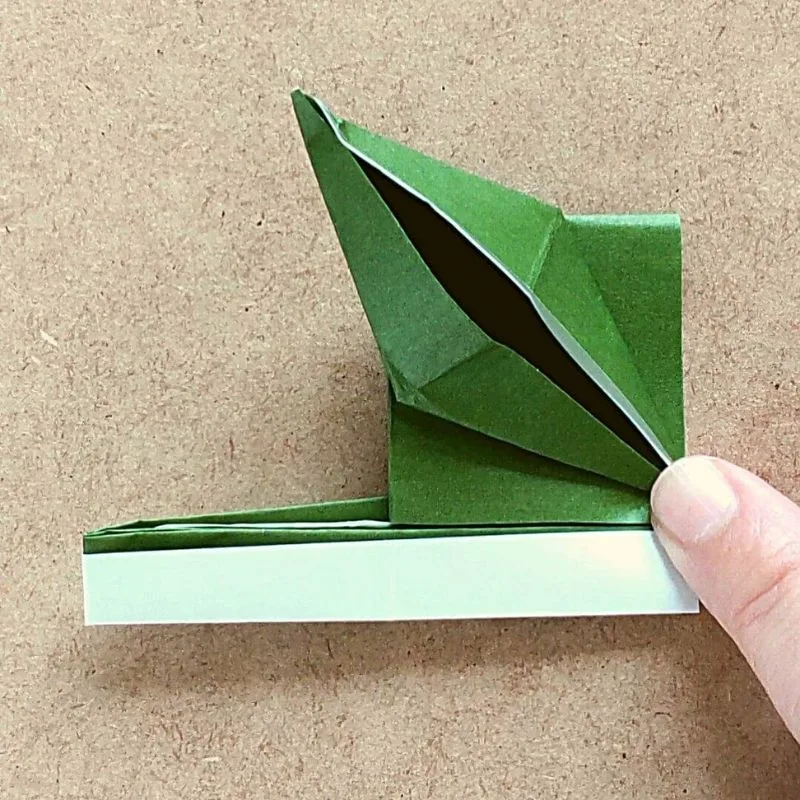
On the other side, open it as if lifting a fan.
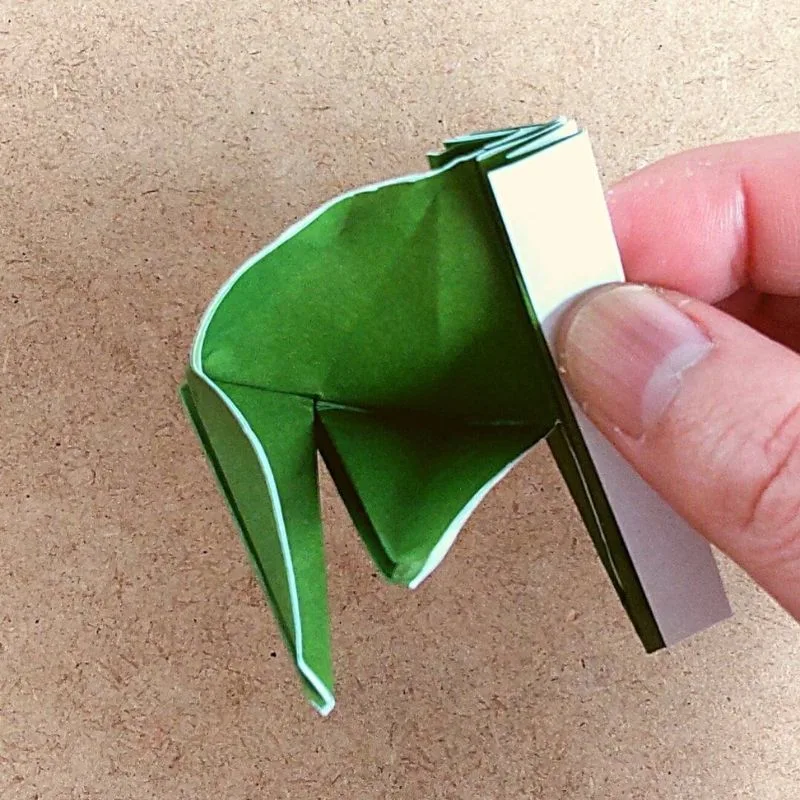
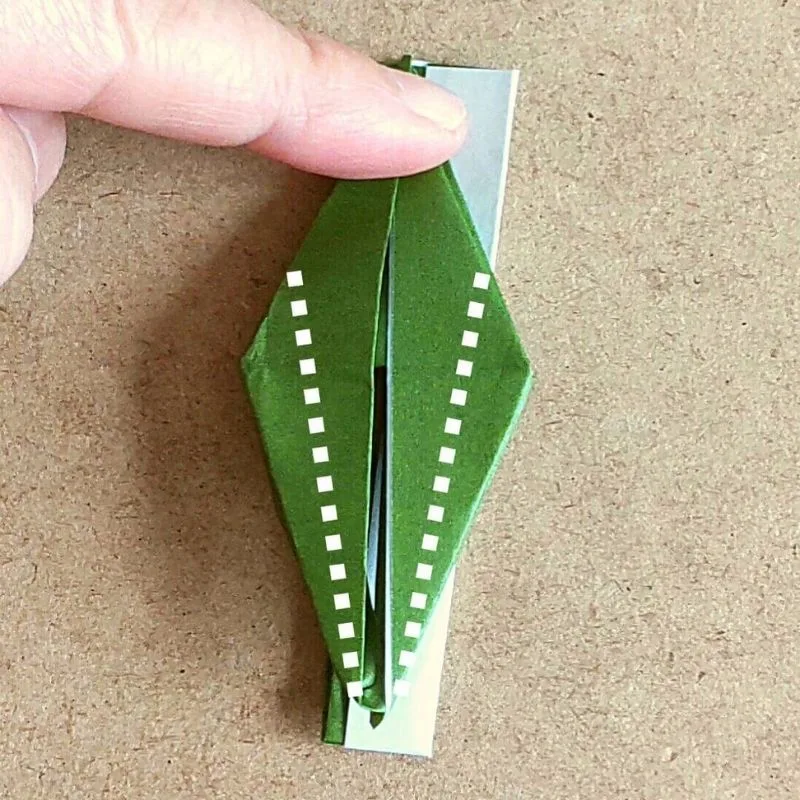
Next, we’ll make the neck and tail.
Fold the back side in the same way.
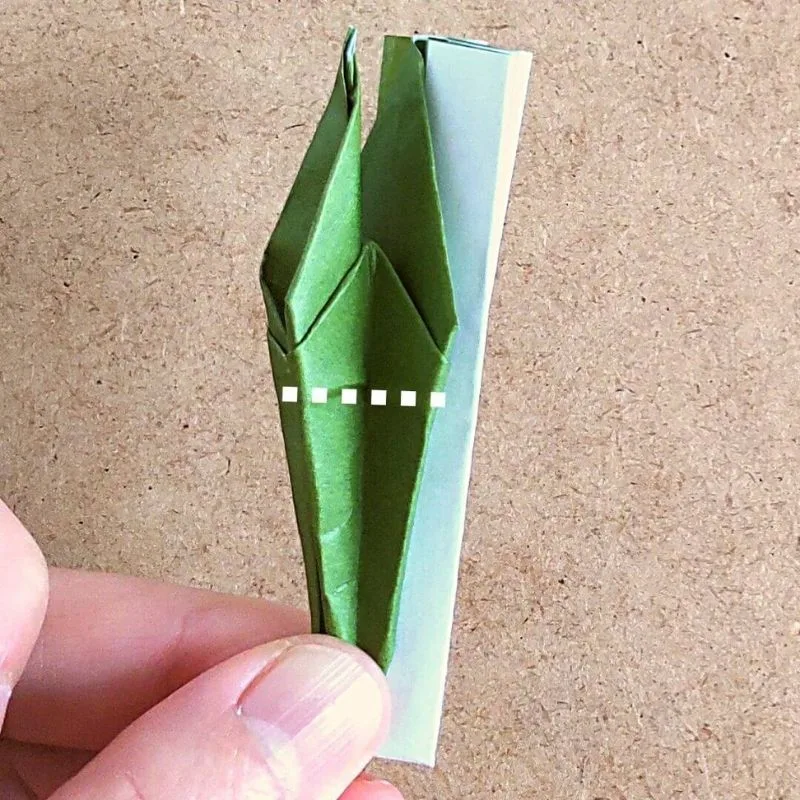
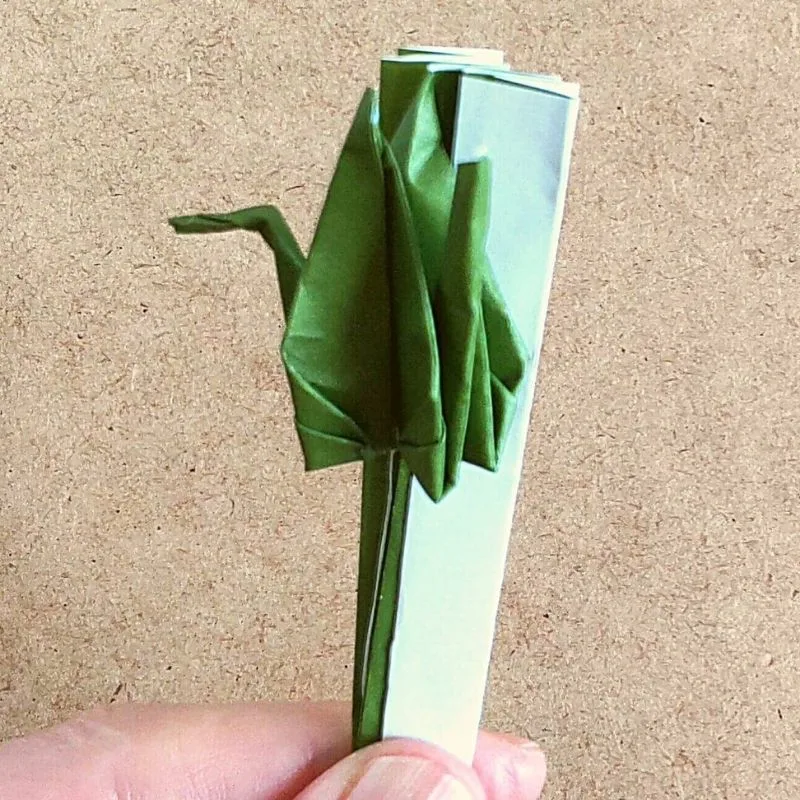
Open the fan part, and you’re done.
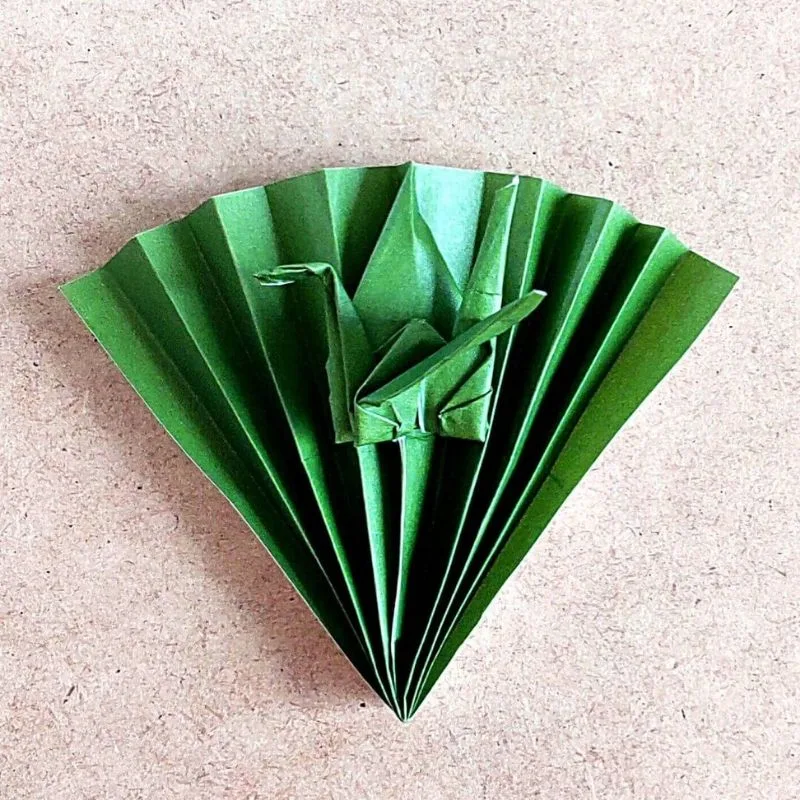
From here, I’ll turn it into a Kamon crane.
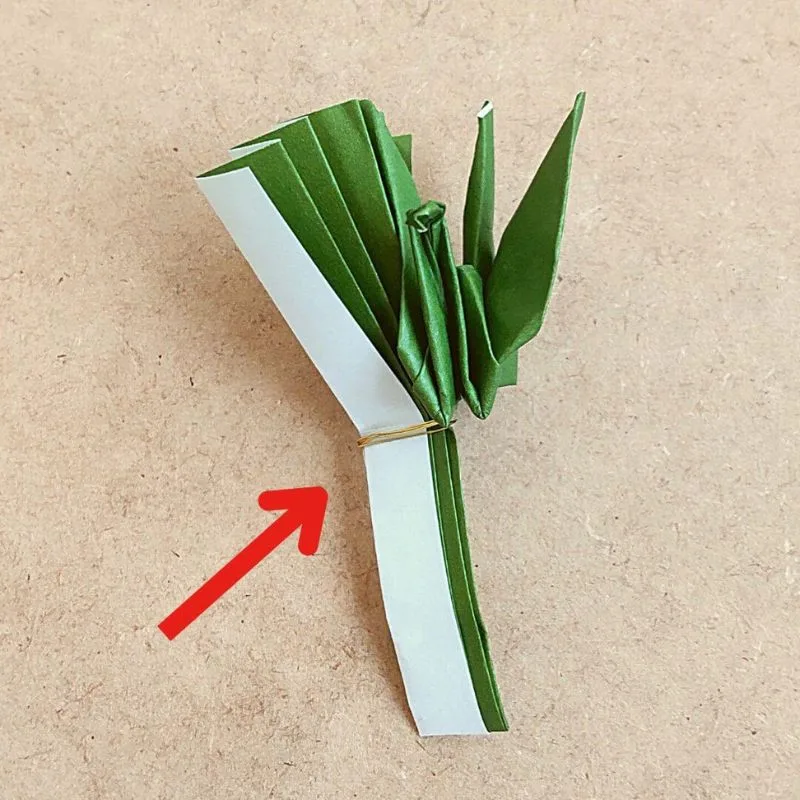
Wrap the wire around the middle of the fan to secure it.
Next, separate the bottom part of the fan into two pieces and cut them apart.
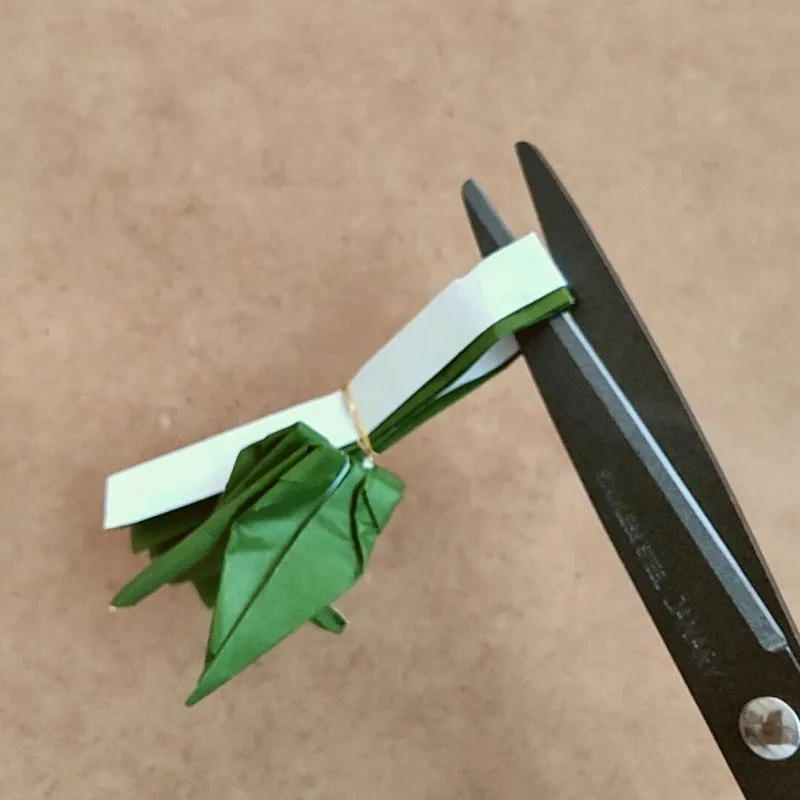
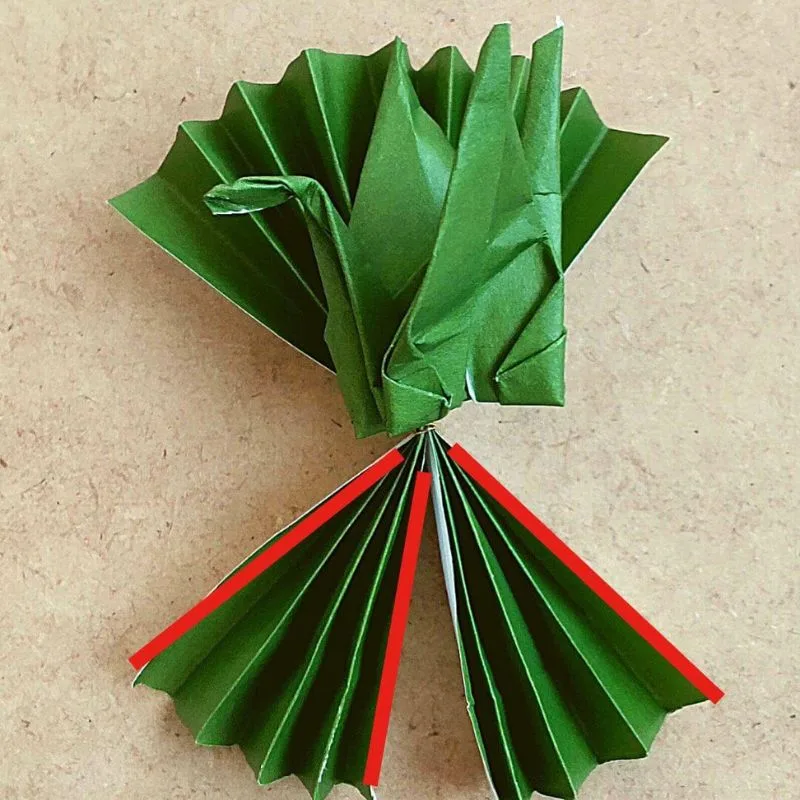
Once you’ve cut them apart, apply double-sided tape to the left, right, and center sides to stick them together, and you’re done.
Of course, you can use glue if you prefer.
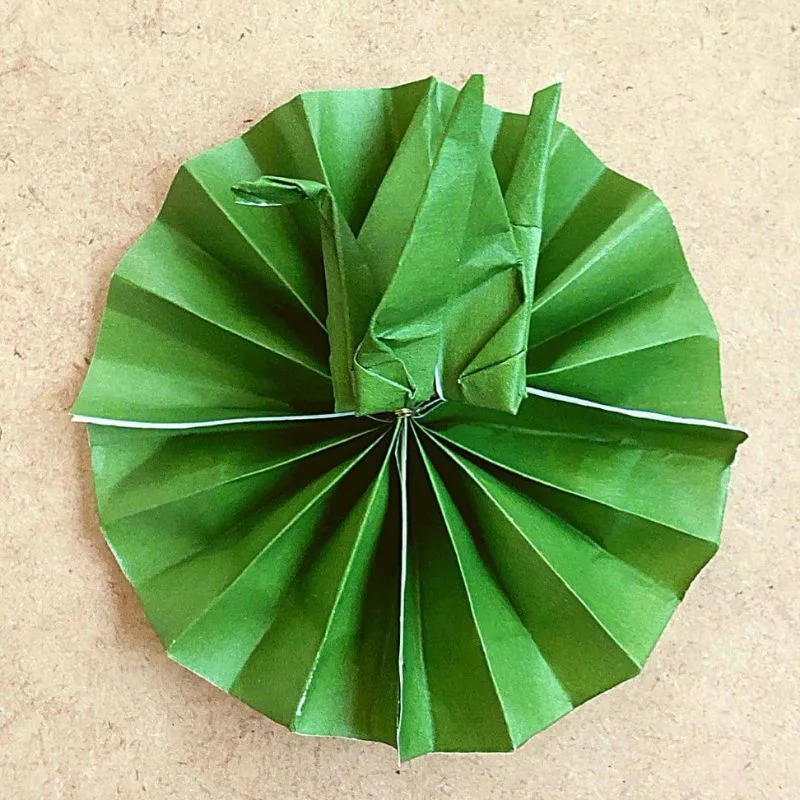
A fan-shaped crane facing forward
I unfolded the fan-shaped crane facing forward—which I’d made by chance—and took a closer look.
After folding it accordion-style and then in half, it looks a little different.
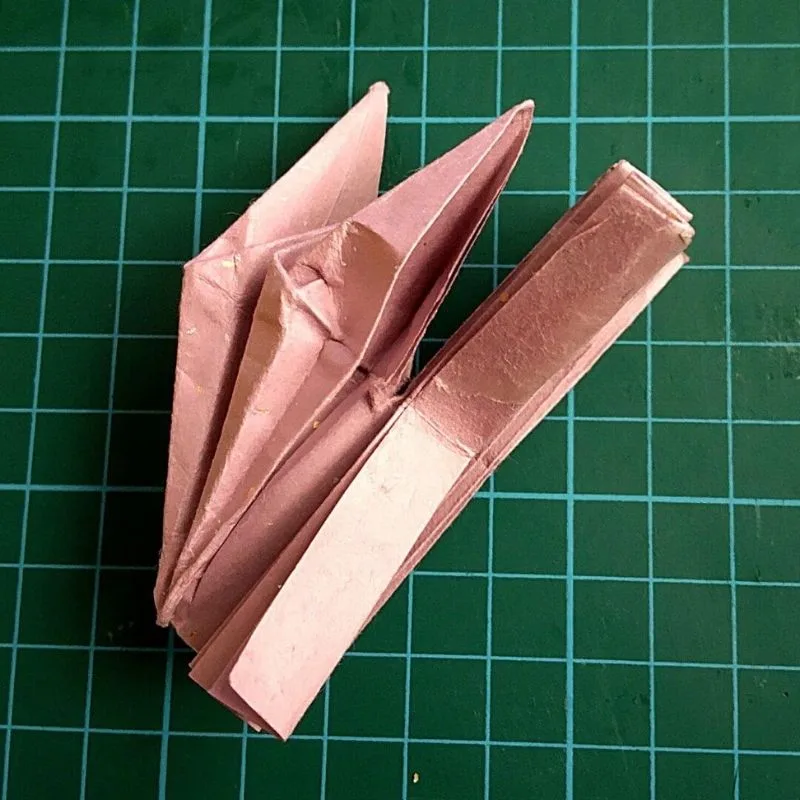
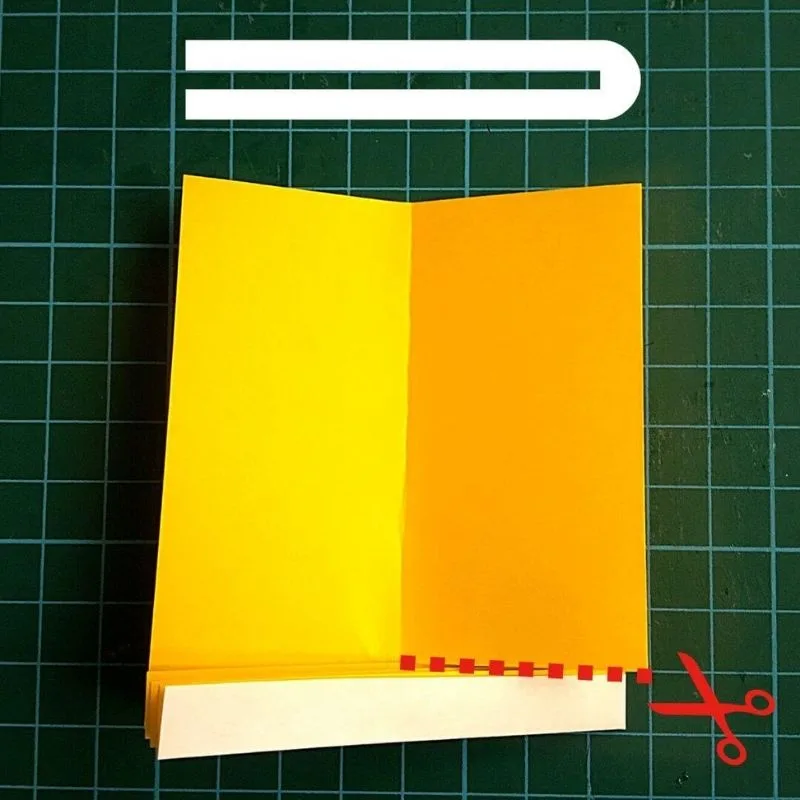
With the sideways crane, the cut was on the left side, but this time it’s on the right.
Then, fold down the pouch-like section to form a triangle.
After that, fold it the same way as the sideways crane.
However, I found it a little tricky to fold when making the crane’s neck and tail.
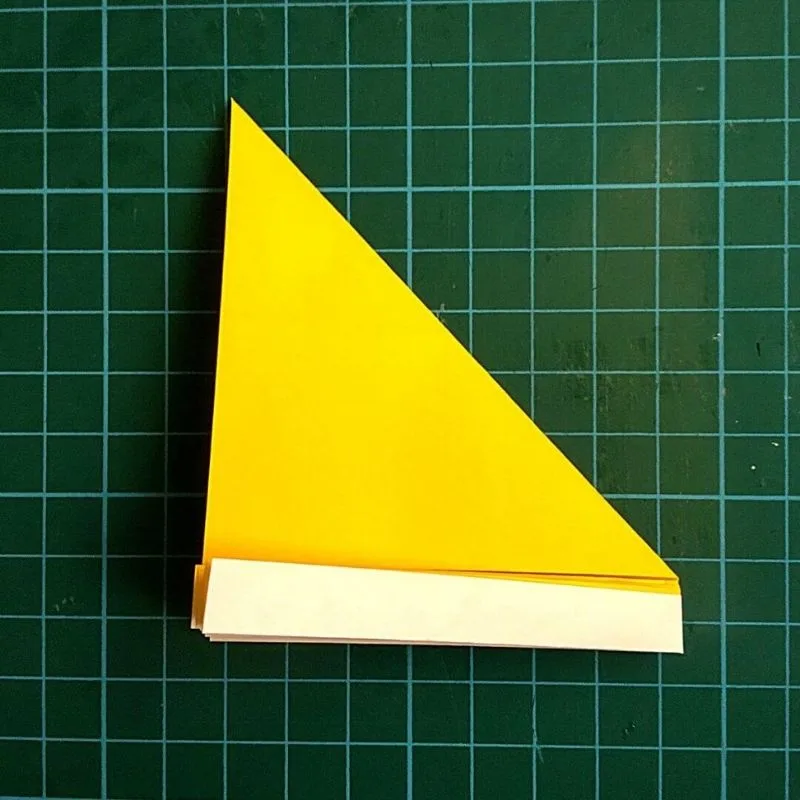
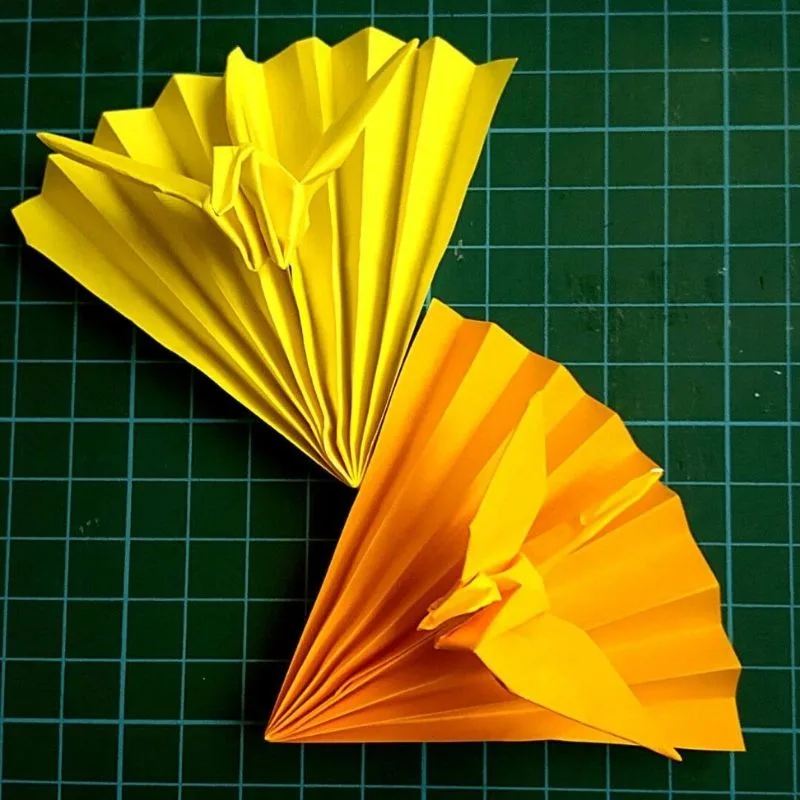
When the crane is facing forward, it looks really dynamic.
Displaying the Kamon Crane
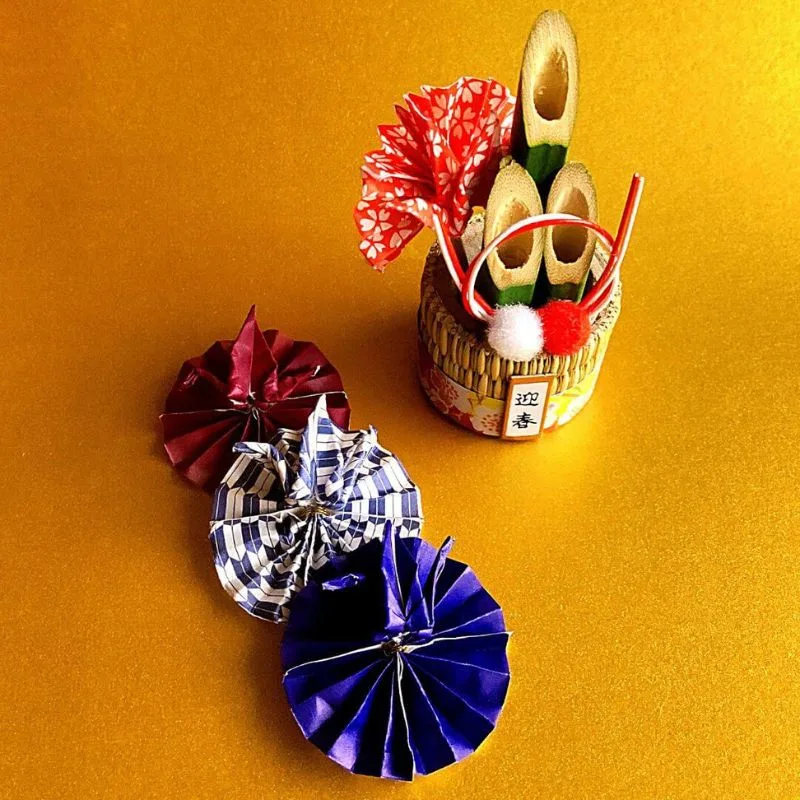
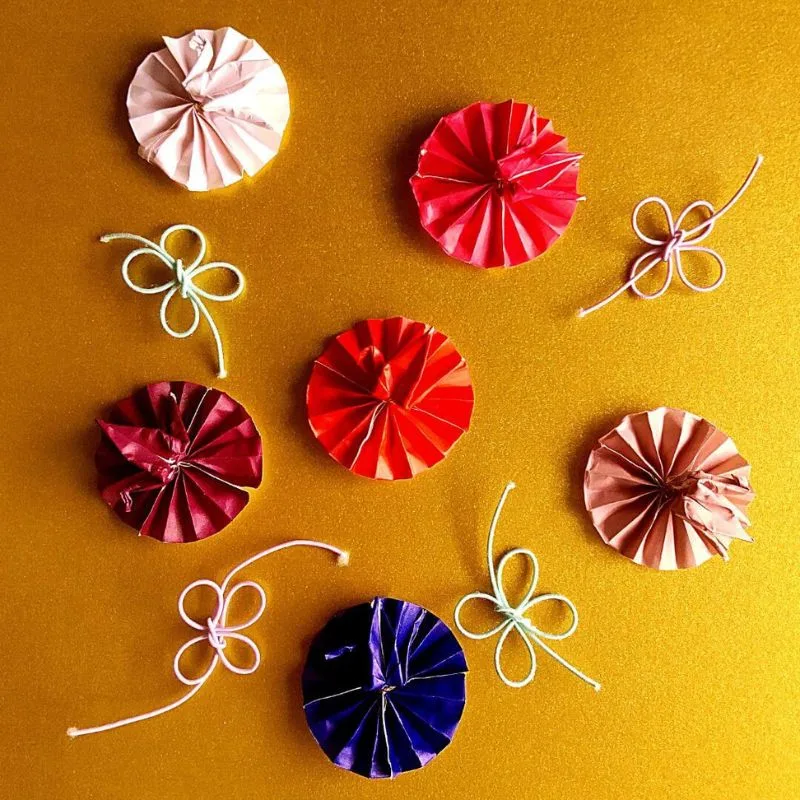
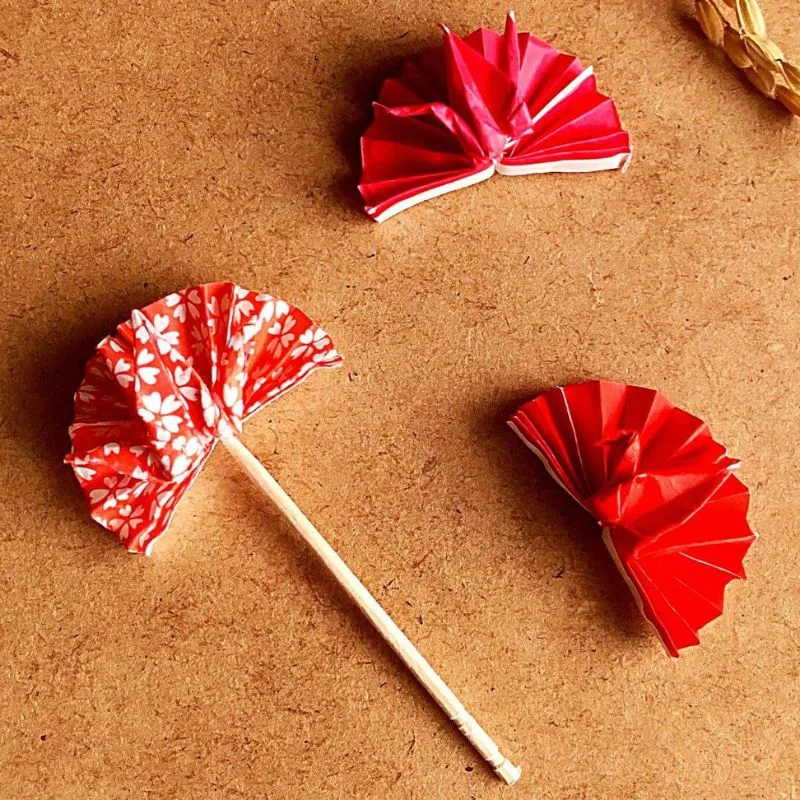
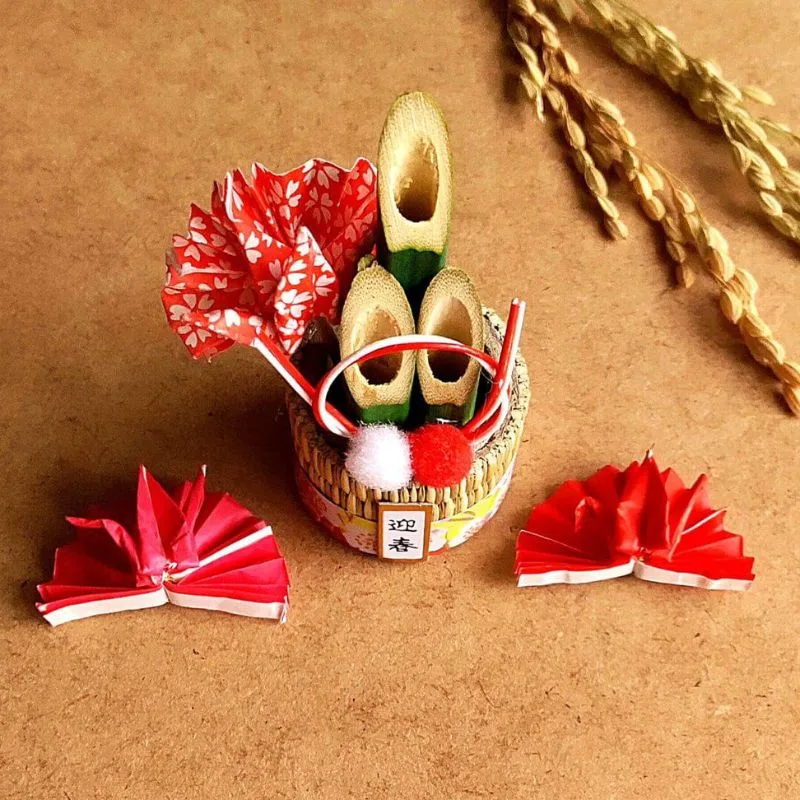
I stuck a toothpick into the Sunrise Crane to make a party pick.
This opens up more ways to display it.
Watch the video to see how to fold it
On Pinterest, we show you how to fold it in a video.

In Conclusion
That concludes our introduction to the “Flower-Patterned Crane,” a member of the origami crane family perfect for celebratory occasions.
Why not add a touch of elegance to your celebrations with this beautiful crane?
yurariI hope you enjoy the process of folding as much as the finished piece. Don’t worry if it’s not perfect at first—every fold is a step toward your own unique creation. Happy folding!